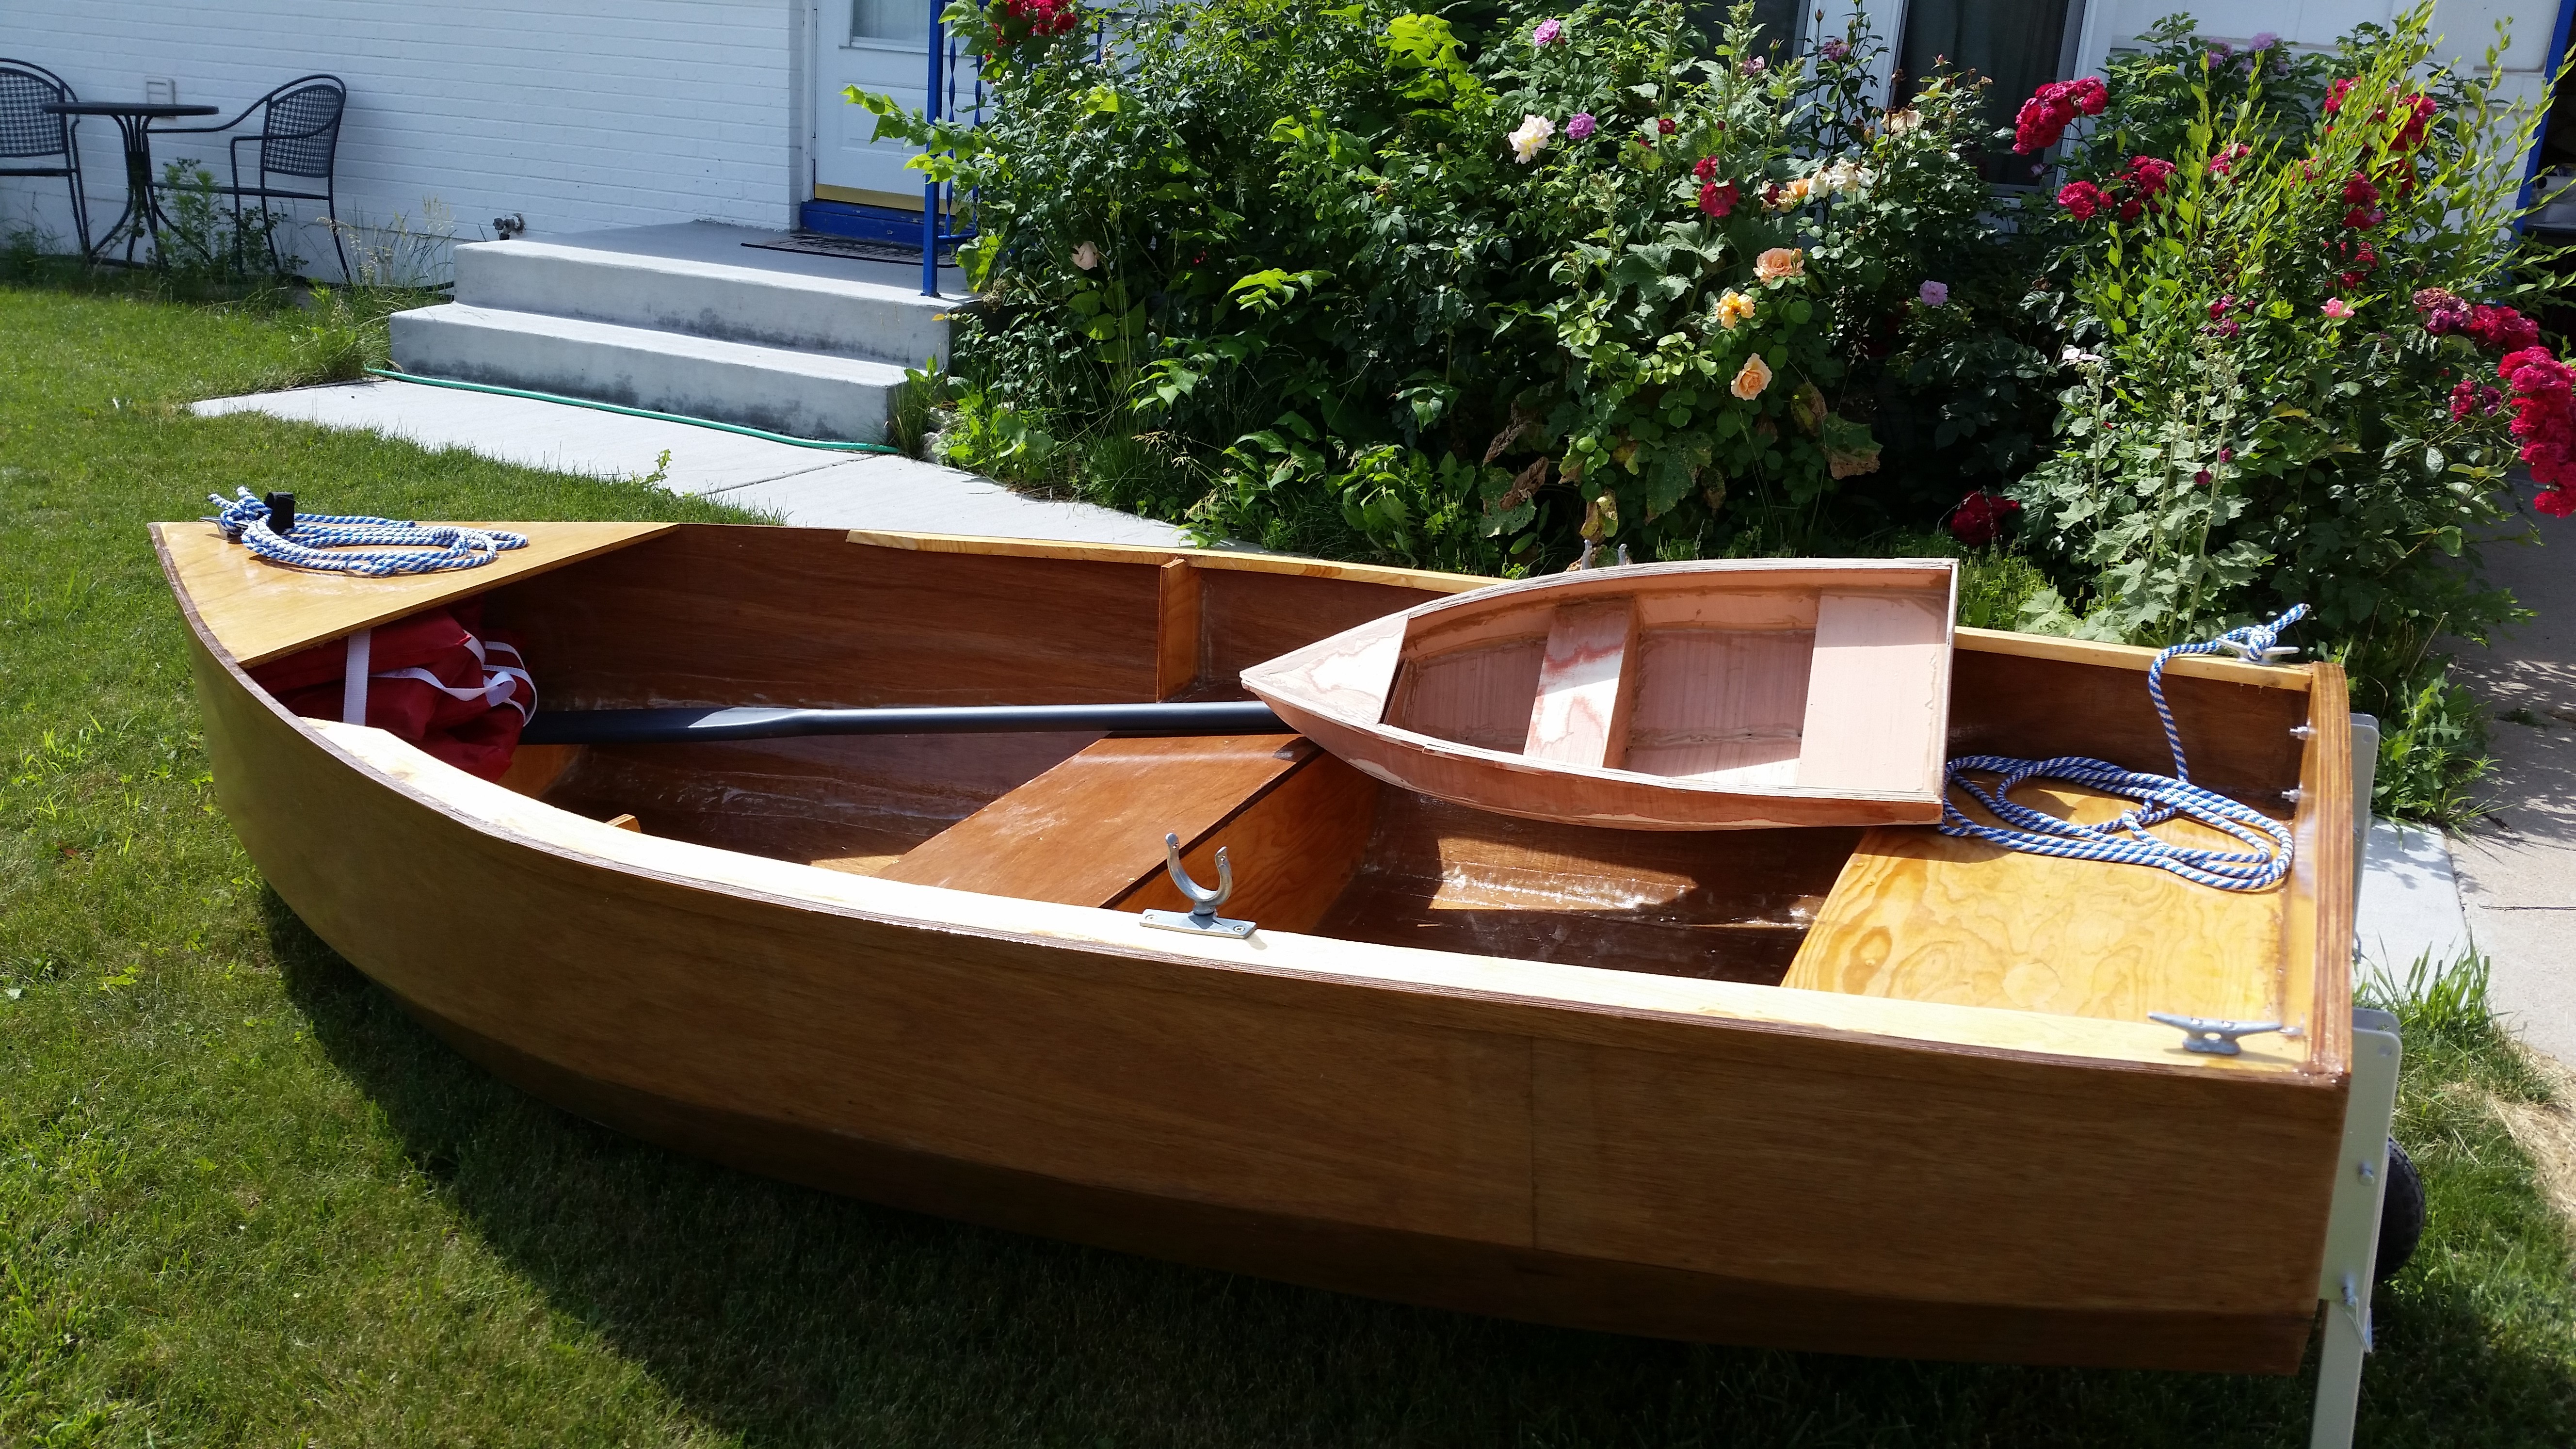
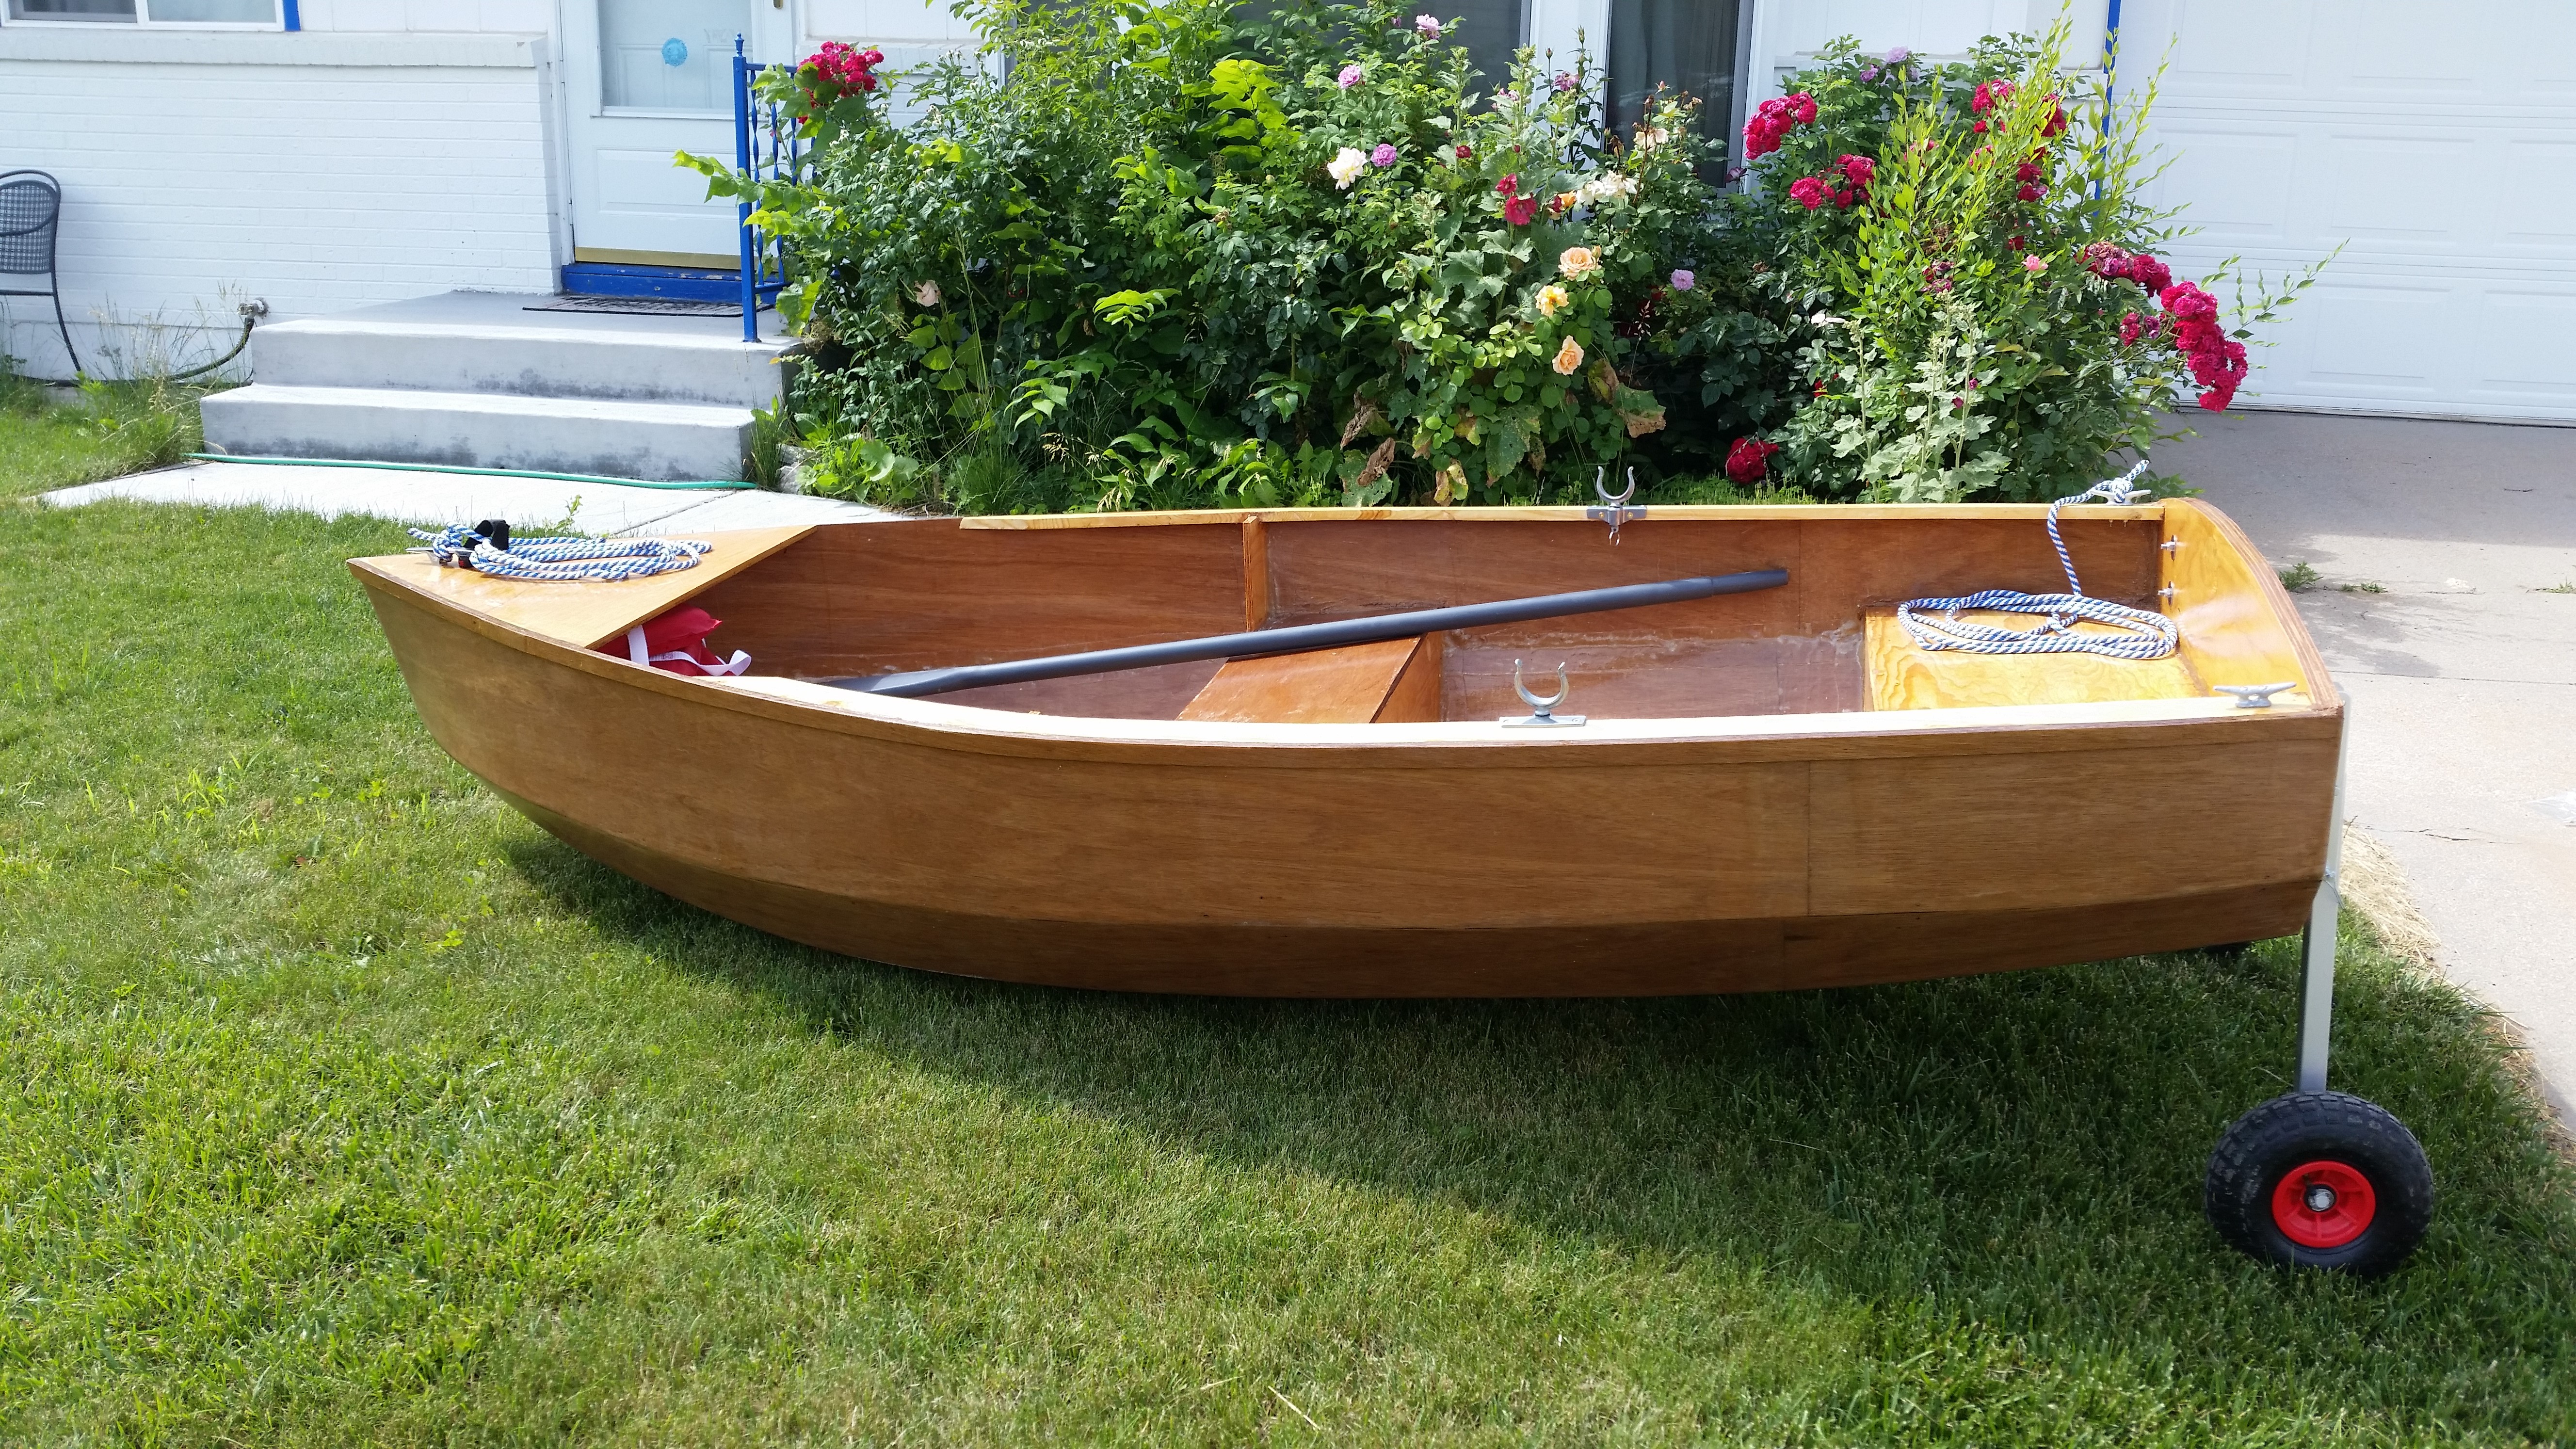
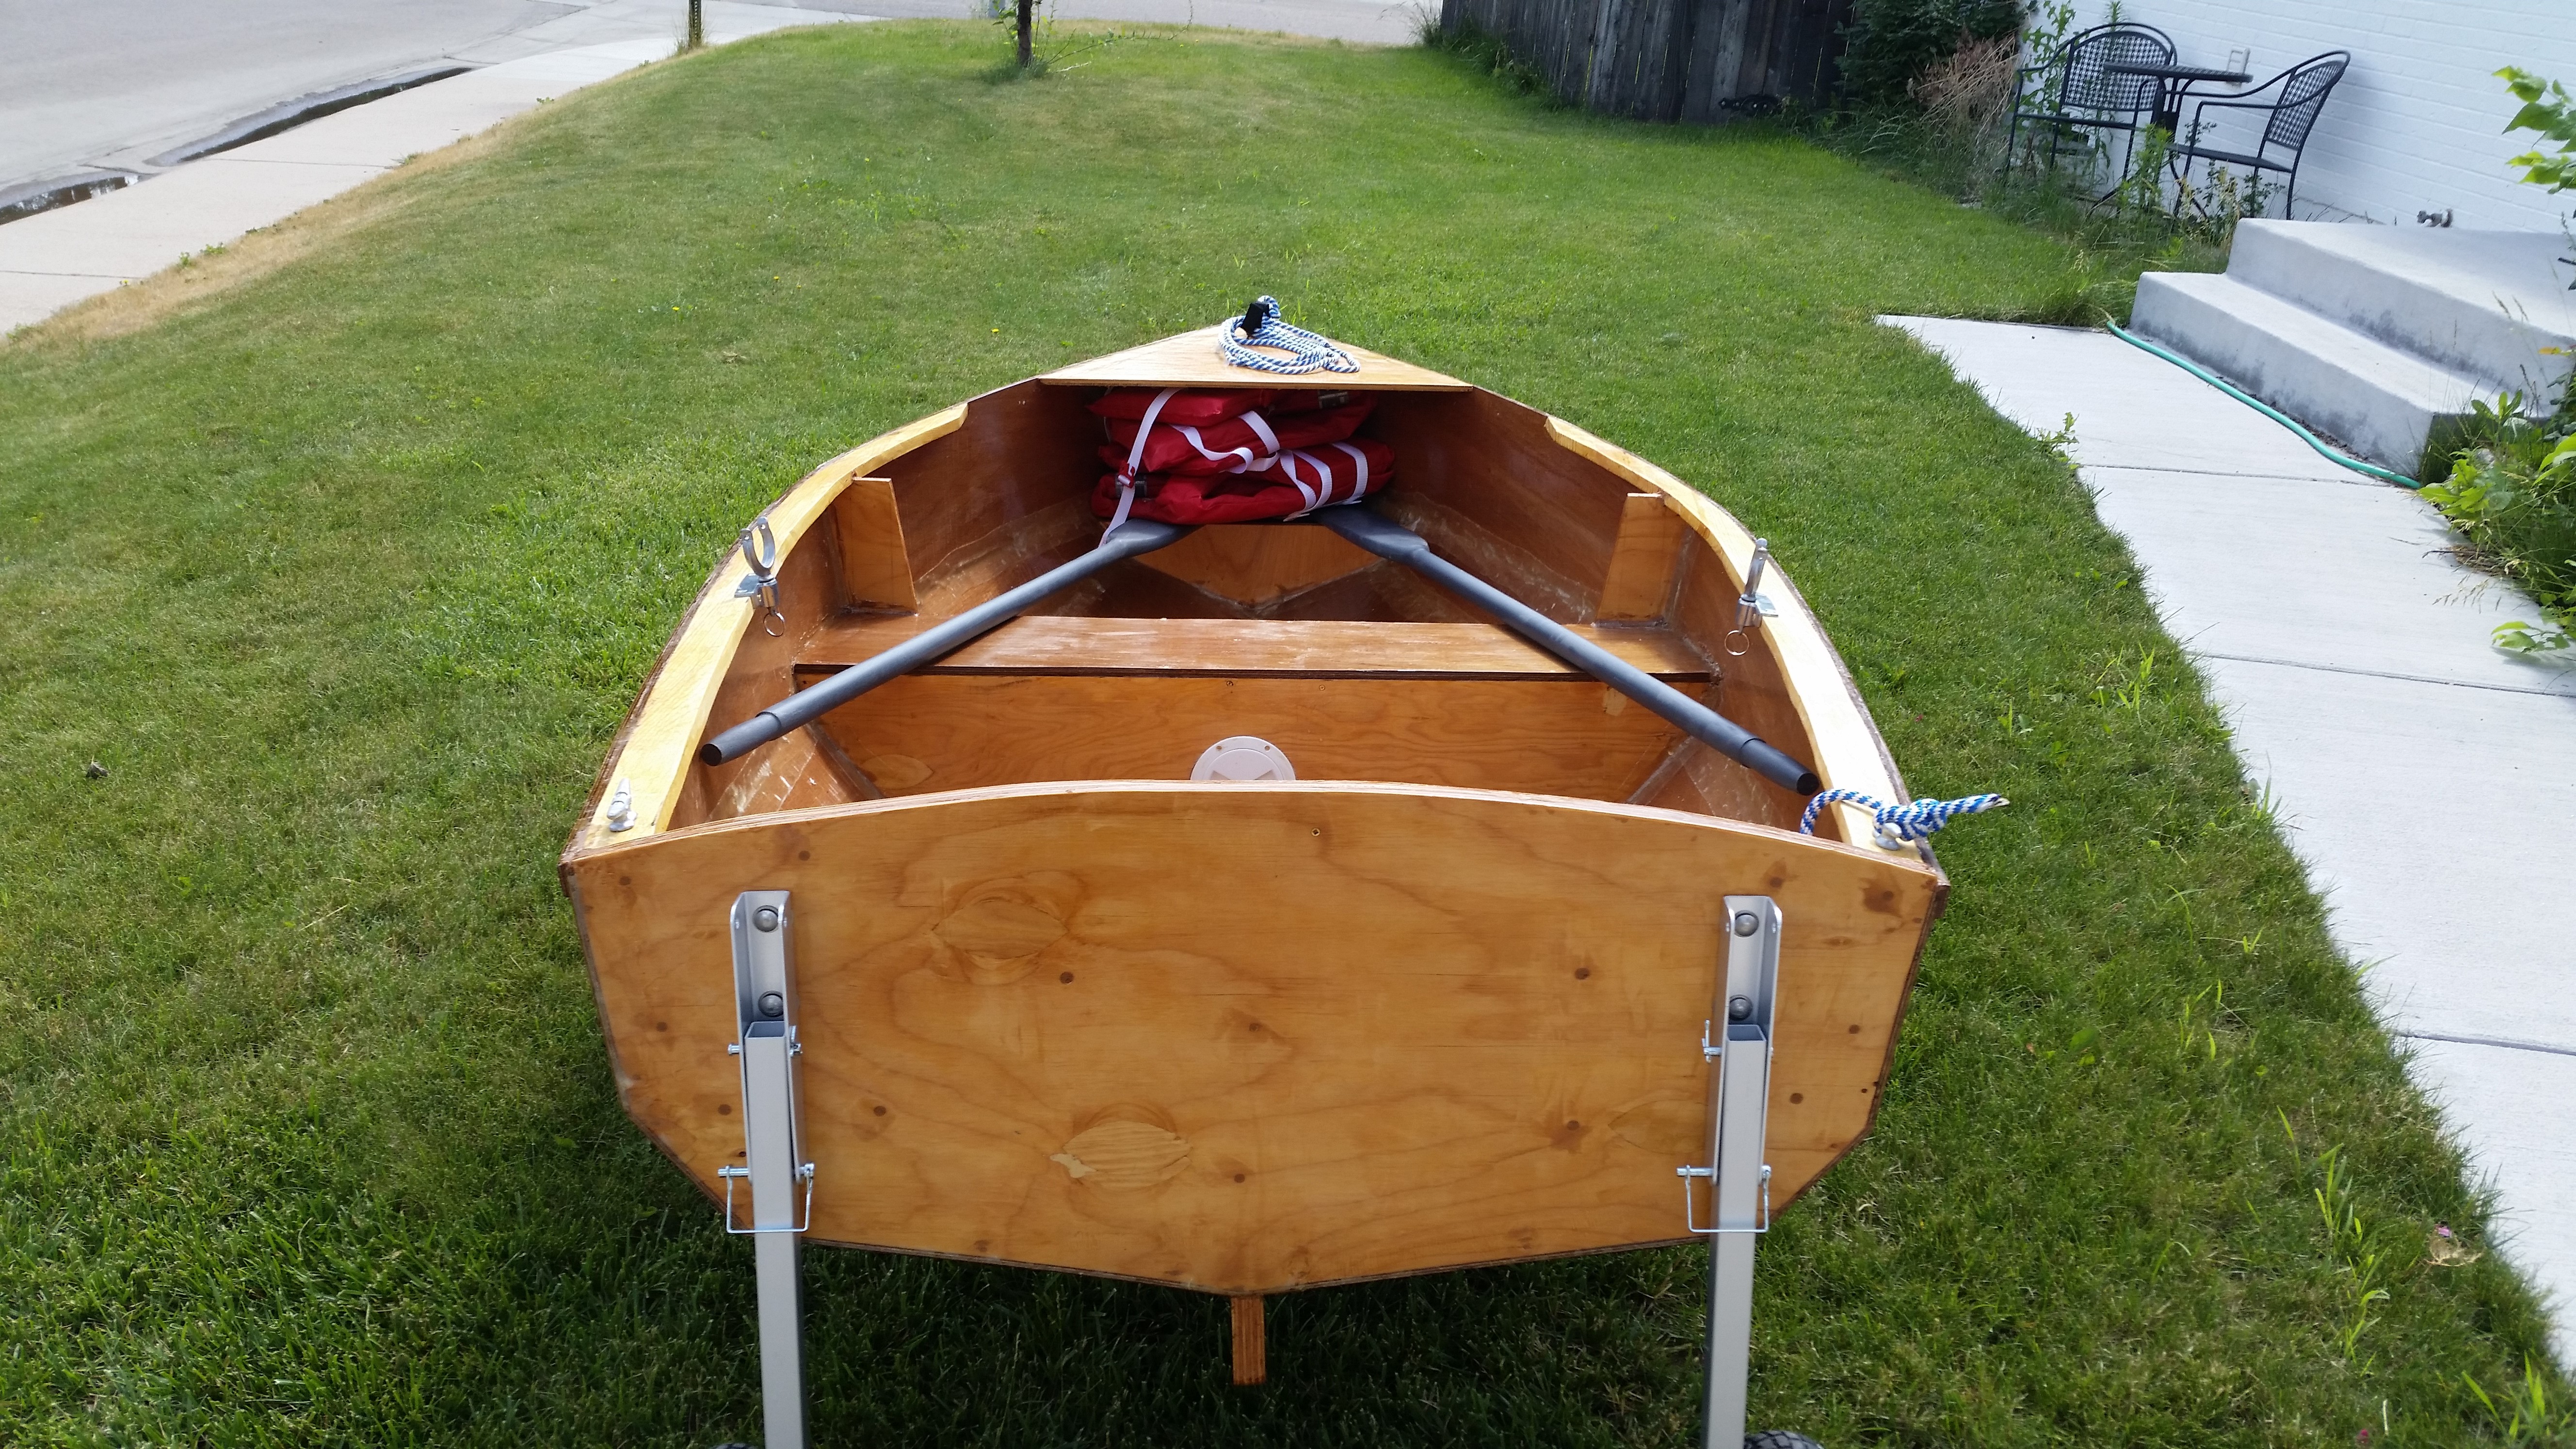
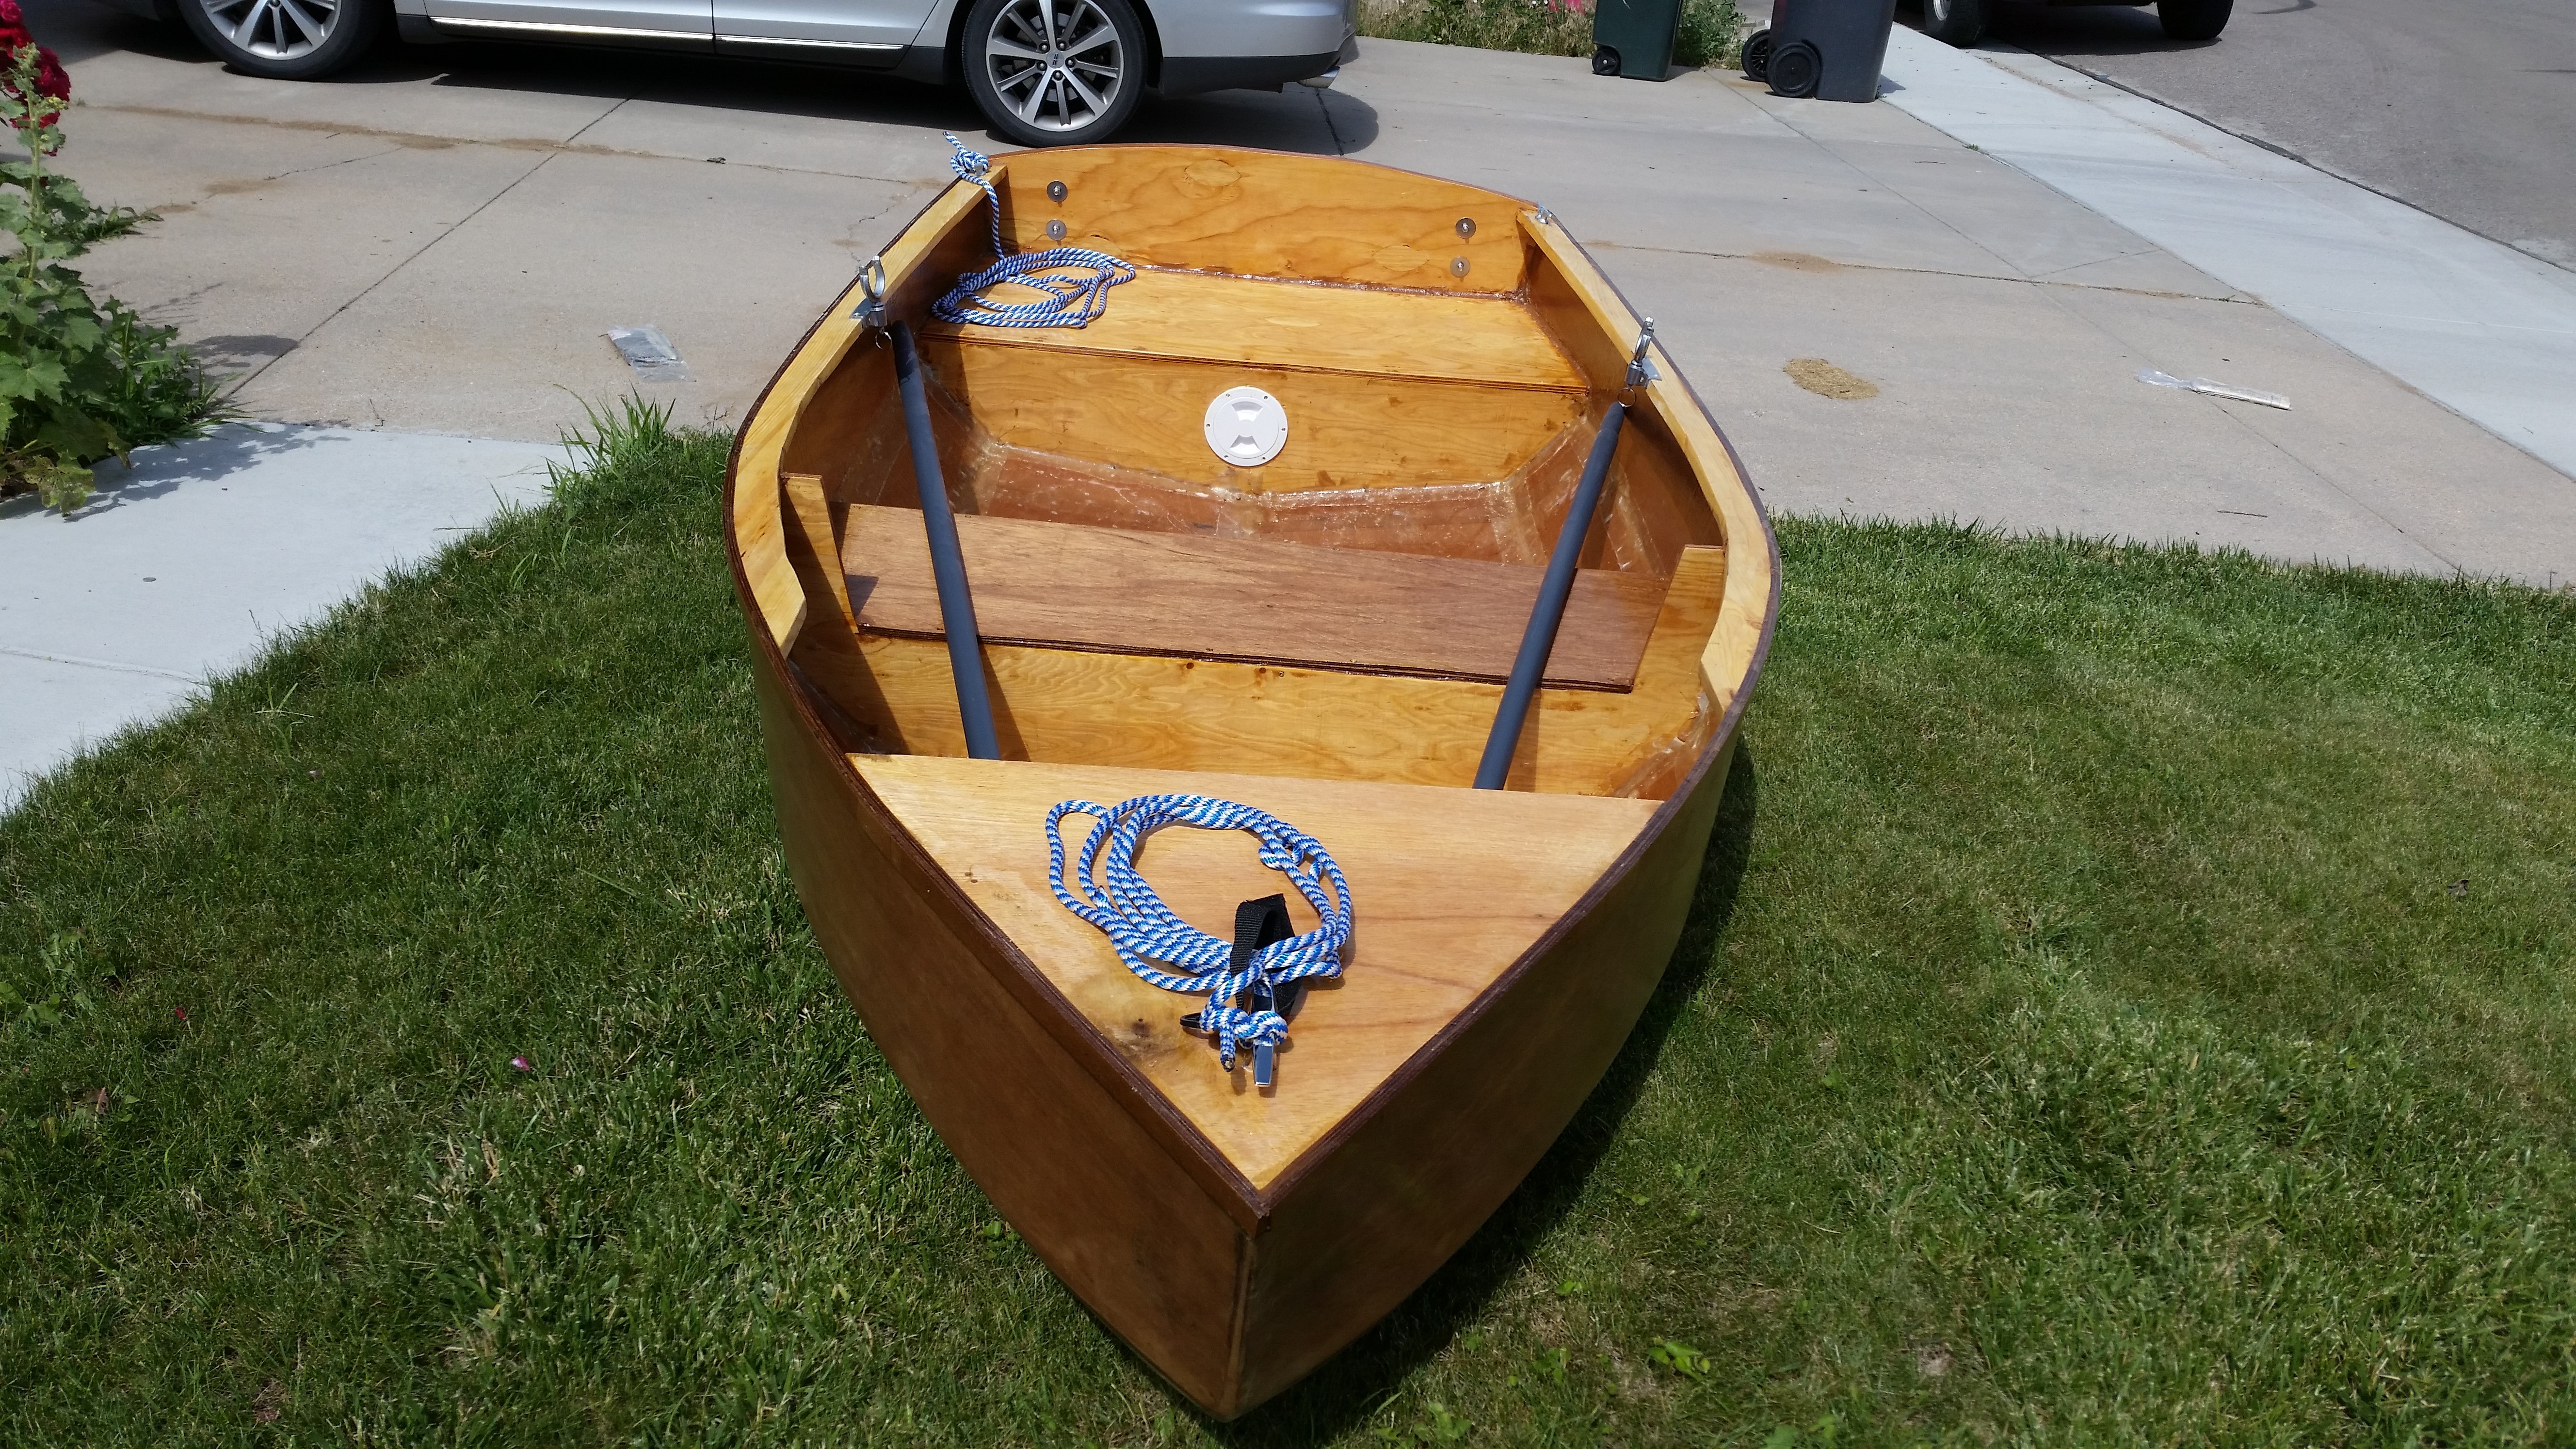
Click here for Photos of the Forcher Vyet's launching!!
| Click on thumbnail for full size image | ||
|---|---|---|
 |
 |
 |
Live Stats For Website
Introduction:
It struck me one day that rowing might be good exercise. I had seen a man at the local lake in a kayak last year, and that looked like fun. I started looking at kayaks and soon decided I was too old and stiff to climb inside of a kayak. I looked at other types of boats, and decided a row boat would be a good option. Me being me, it seemed like it would be more fun to build a boat. I discovered a boat building technique called "stitch and glue", which removed most of the difficult parts of building a boat. The individual boards are "stitched together with wire or cable ties, then the seams are glued with epoxy. The entire boat is then coated with epoxy, making it water tight.
I looked at many designs on the internet, and finally decided on one created by a man in Italy. The plans are free, but he requires a photocopy of $150 in whatever the local currency is. I really enjoyed his web page, where he finds sense in his squalid life by building a boat. Here is a link to his page. Berny's page
Berny's design is a sail boat. I am not building a sail boat by skipping all the steps involving a center board, rudder, or mast/sail. The other change I have made is to use fiberglass tape on the seams inside of the boat, and fiberglass the entire outside of the boat. In his design, he used no fiberglass inside of the boat, and only used tape on the seams outside of the boat.
Pre Day 1:
I located and purchased the marine plywood, epoxy, and fiberglass in the fall. Marine plywood is similar to exterior plywood, but does not have any voids or knot holes in the inner layers.
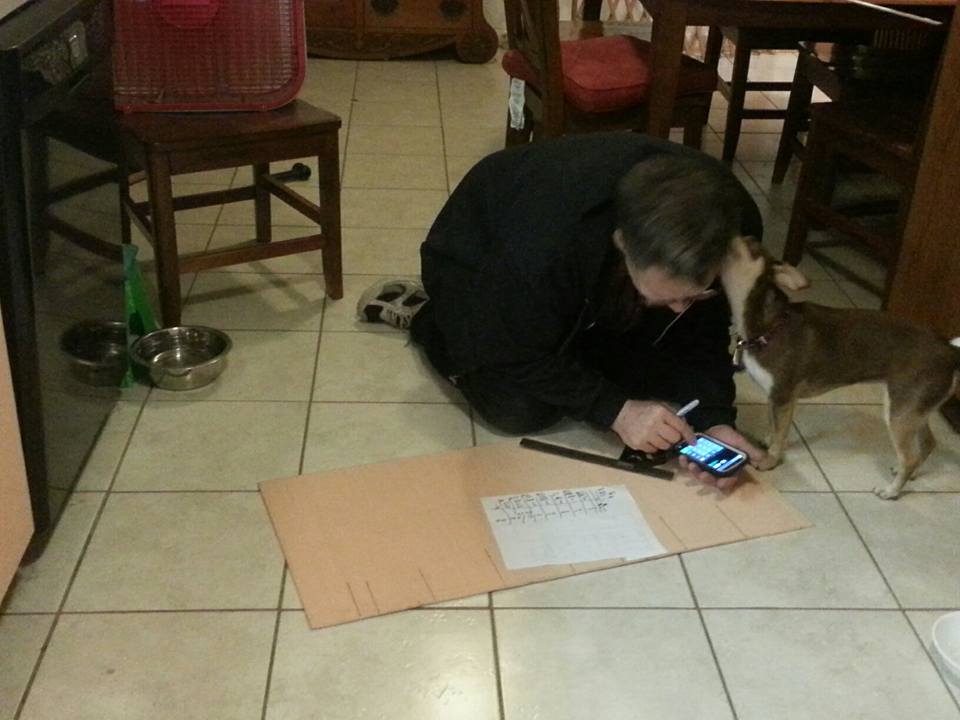
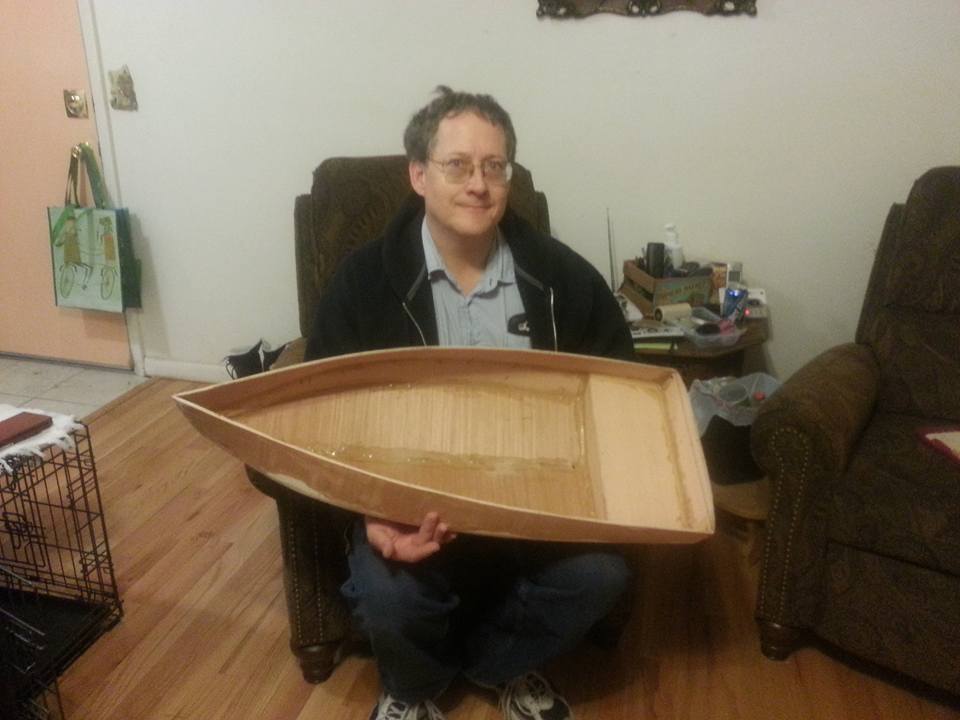
I decided it was too cold to spend weeks in the unheated garage in the cold of winter building a boat. In addition to being cold, the epoxy does not cure correctly at low temperatures. Instead I made a 1/3 scale model using interior plywood and 15 minute epoxy. Here are a few pictures of the scale model in progress.
 |
 |
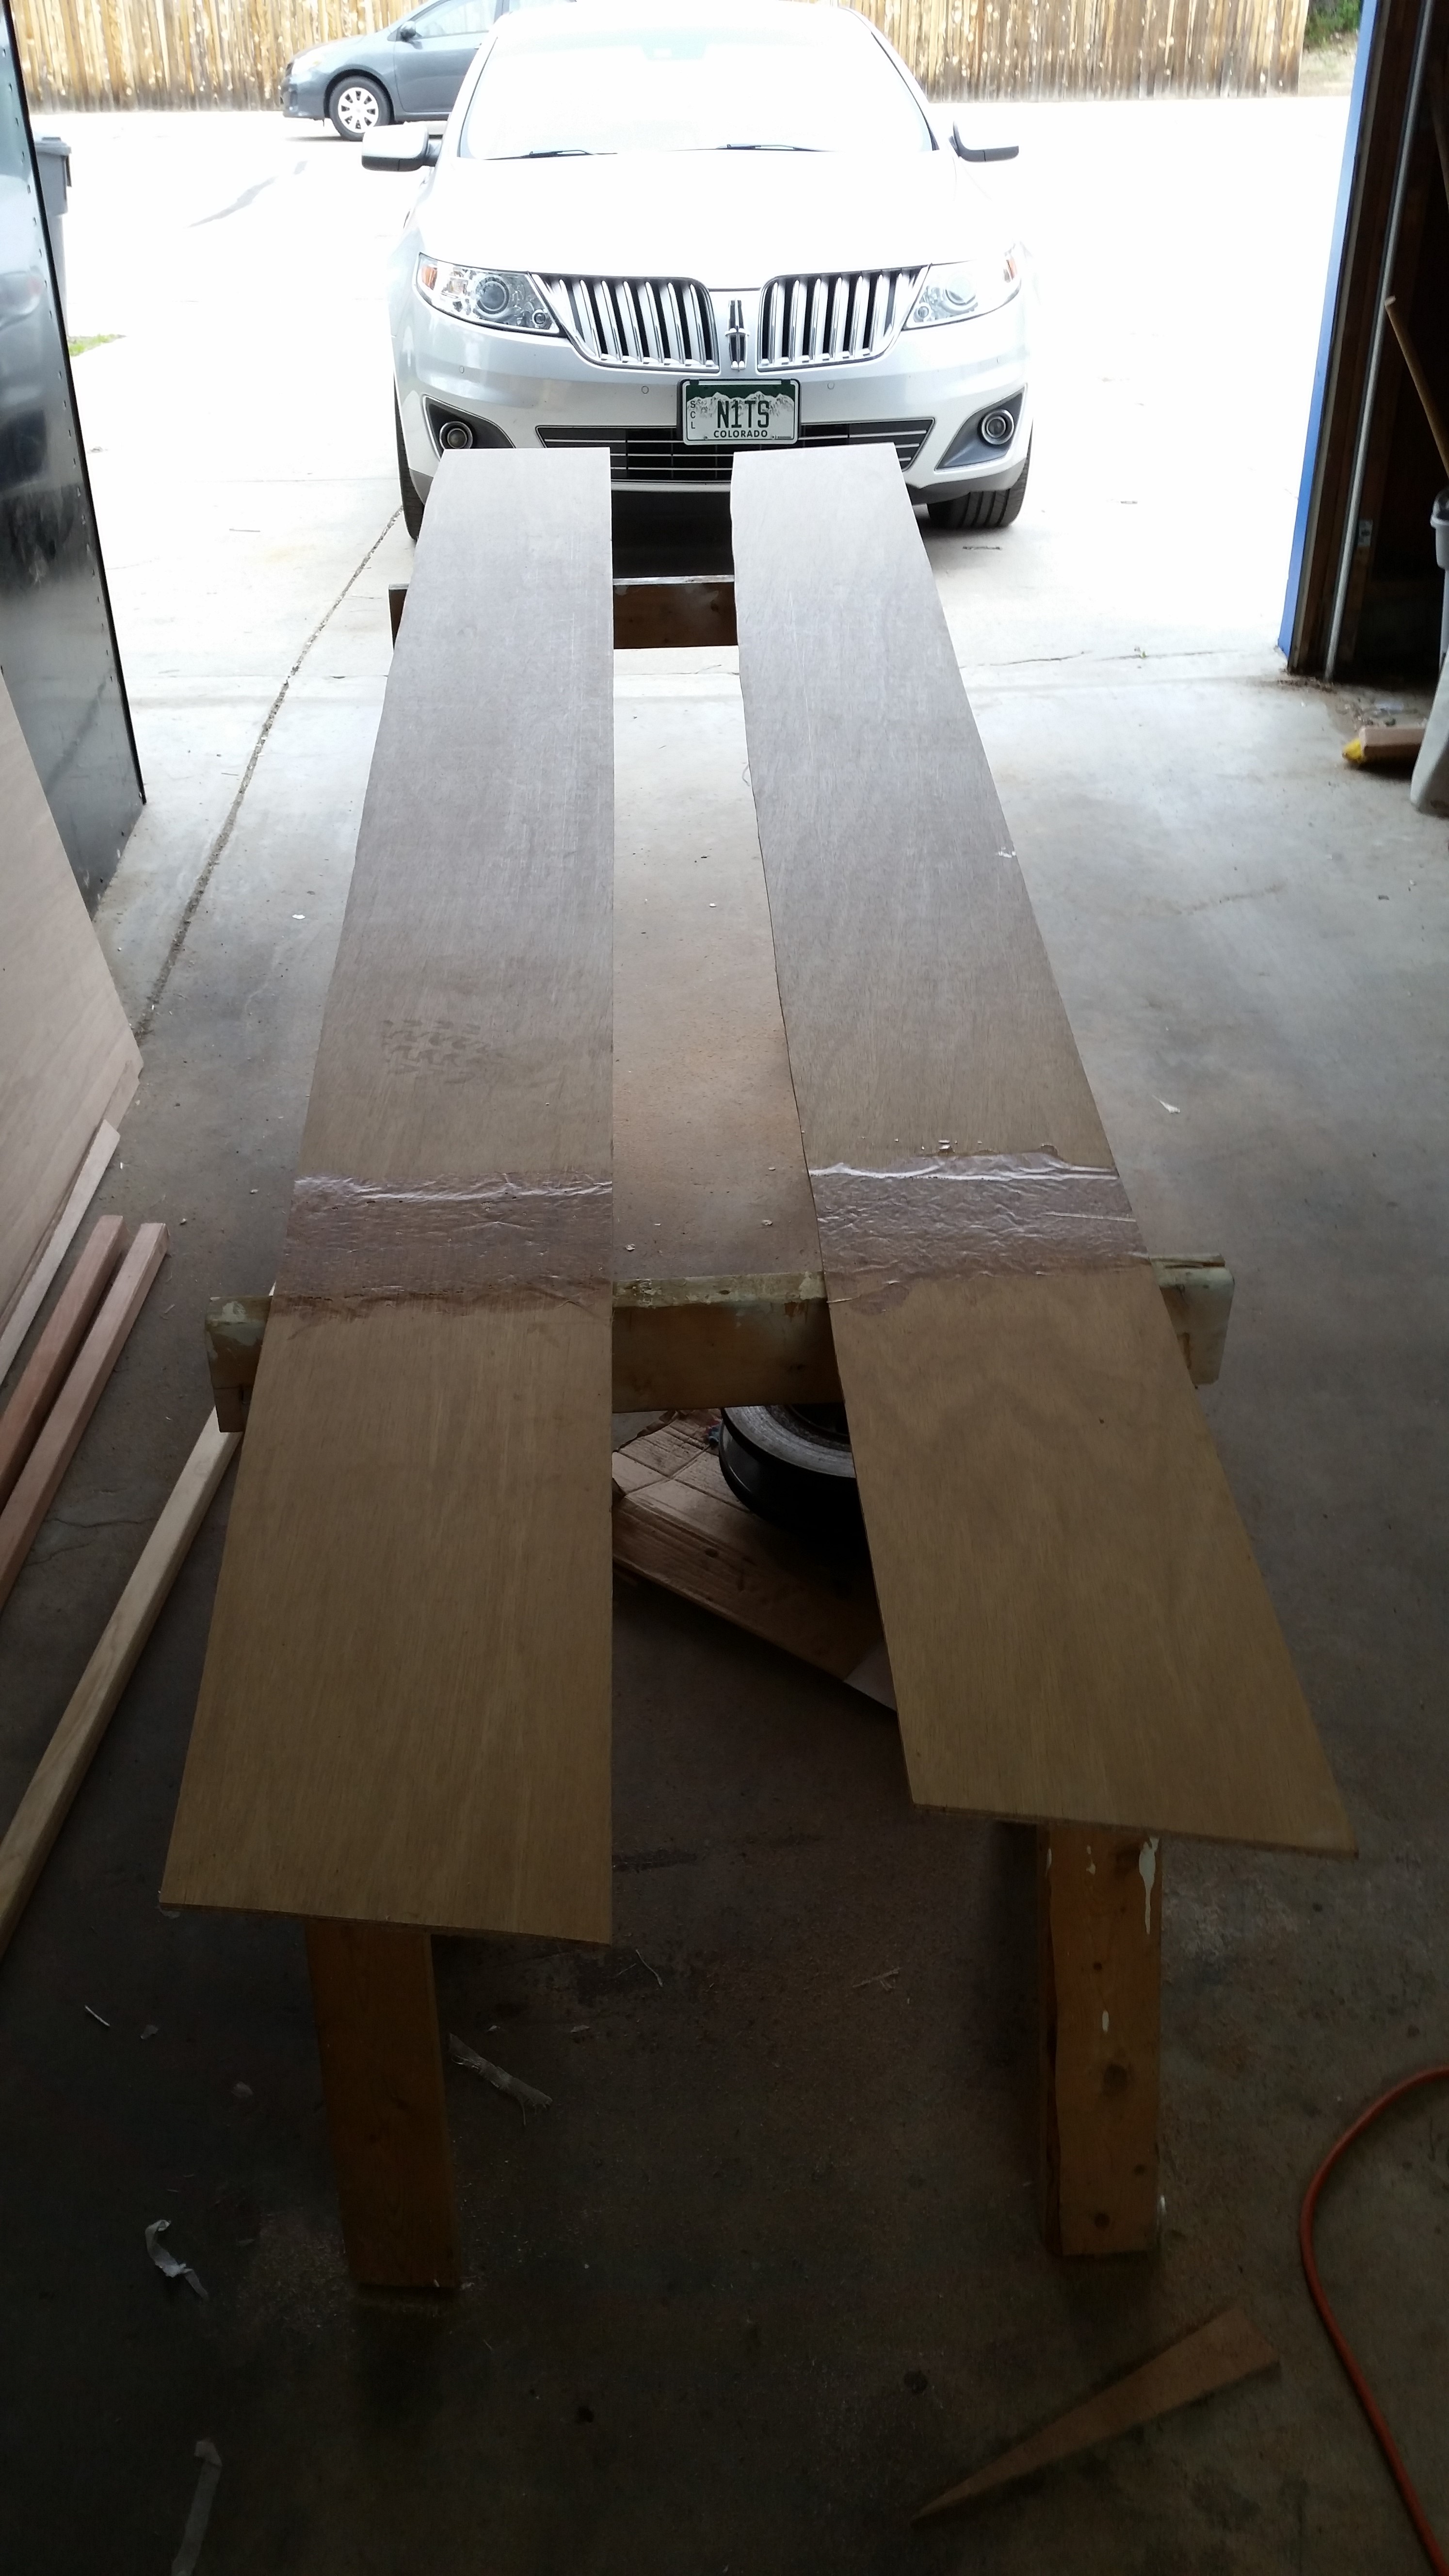
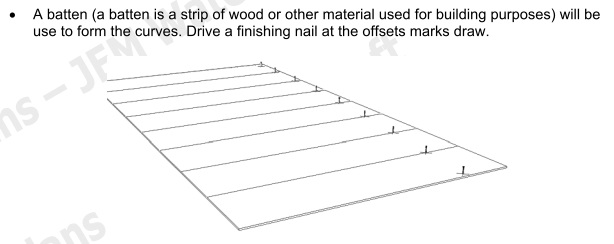
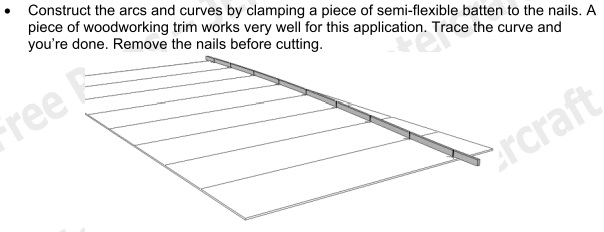
Day 1:
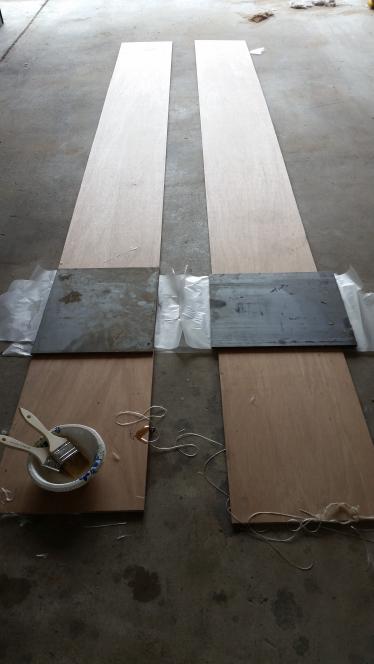
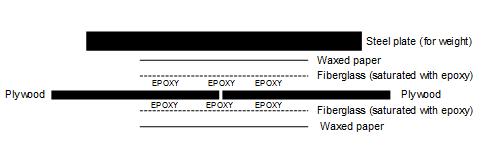
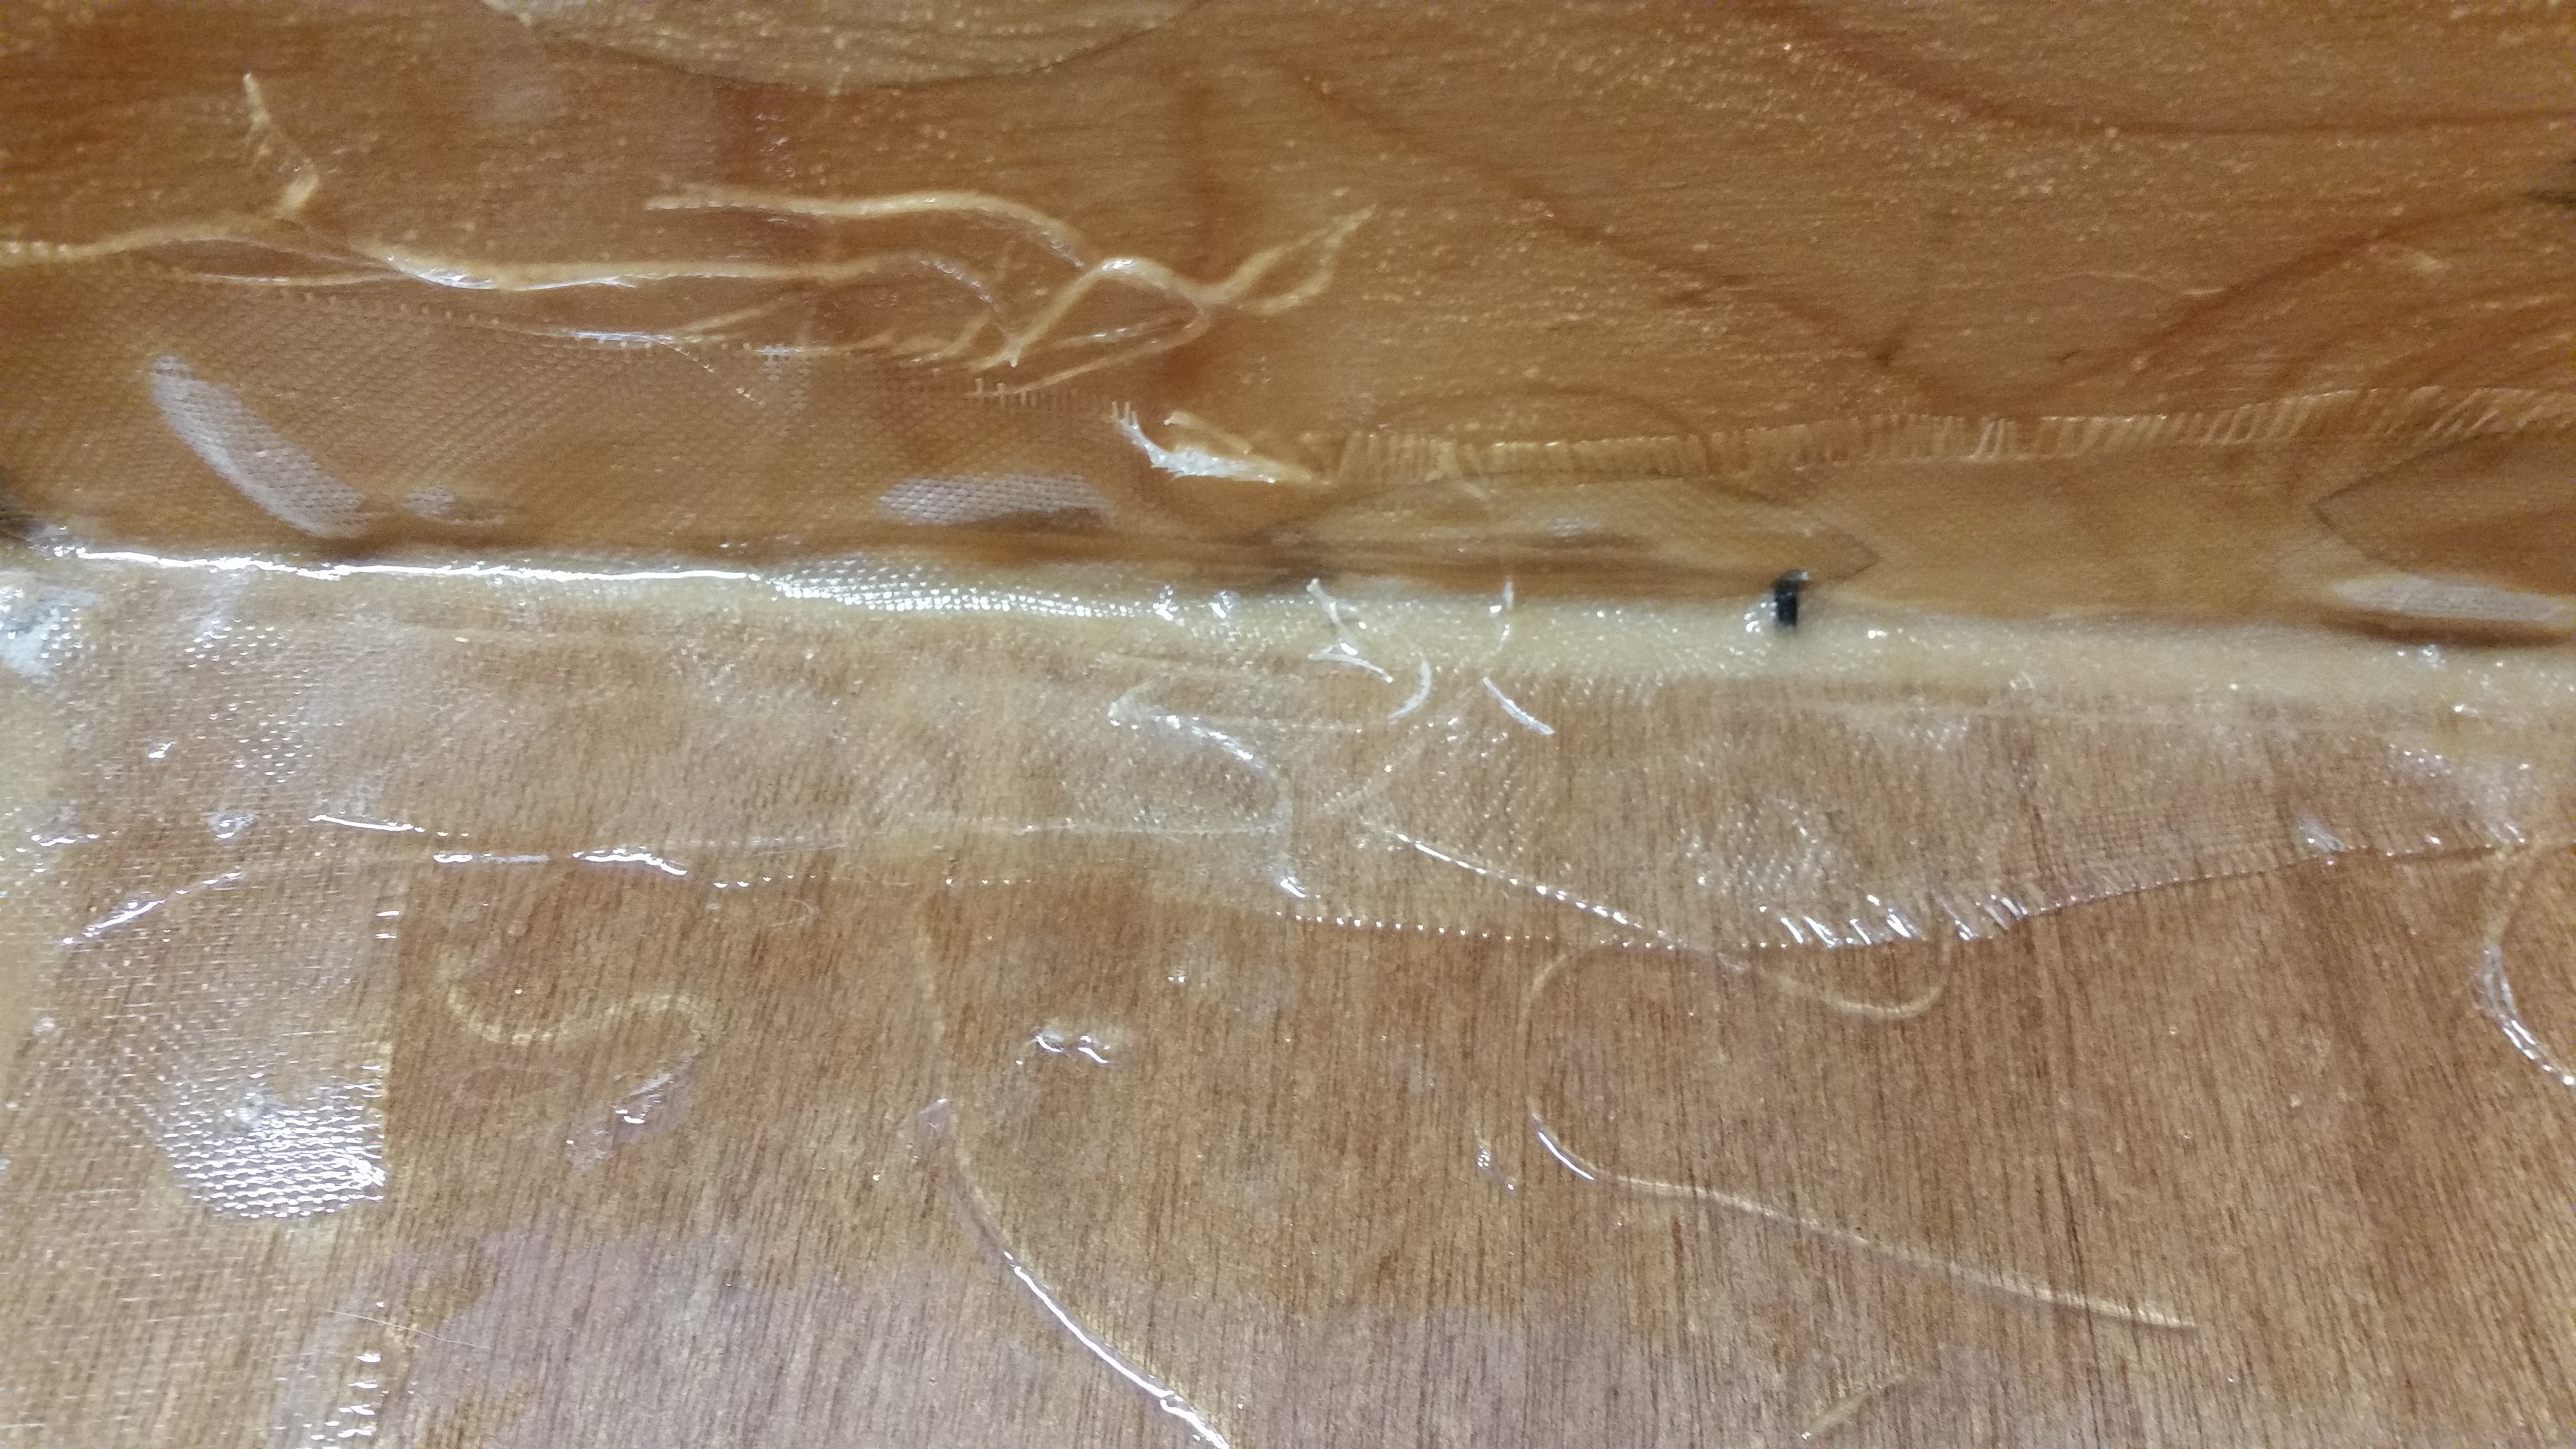
The original plans were created in Italy, where a standard plywood sheet is 10 feet instead of the 8 foot sheets available in the United States. As such, I needed to glue my sheets of plywood to make 10 foot sheets. I actually did 1x10 and 3x10 foot sheets. On the first day, I created the 1x10 foot sheets. I placed wax paper on the floor, then placed a 4 inch wide strip of fiberglass cloth on the waxed paper. Covered the fiberglass with mixed epoxy. Painted the bottom side of the plywood with mixed epoxy. Placed the plywood on the wet fiberglass. Applied more epoxy and fiberglass to the top of the plywood. Covered this with another sheet of waxed paper. Placed a steel plate on top of the entire sandwich, and let it dry for 2 days.
These are 1/4" marine plywood.
 |
 |
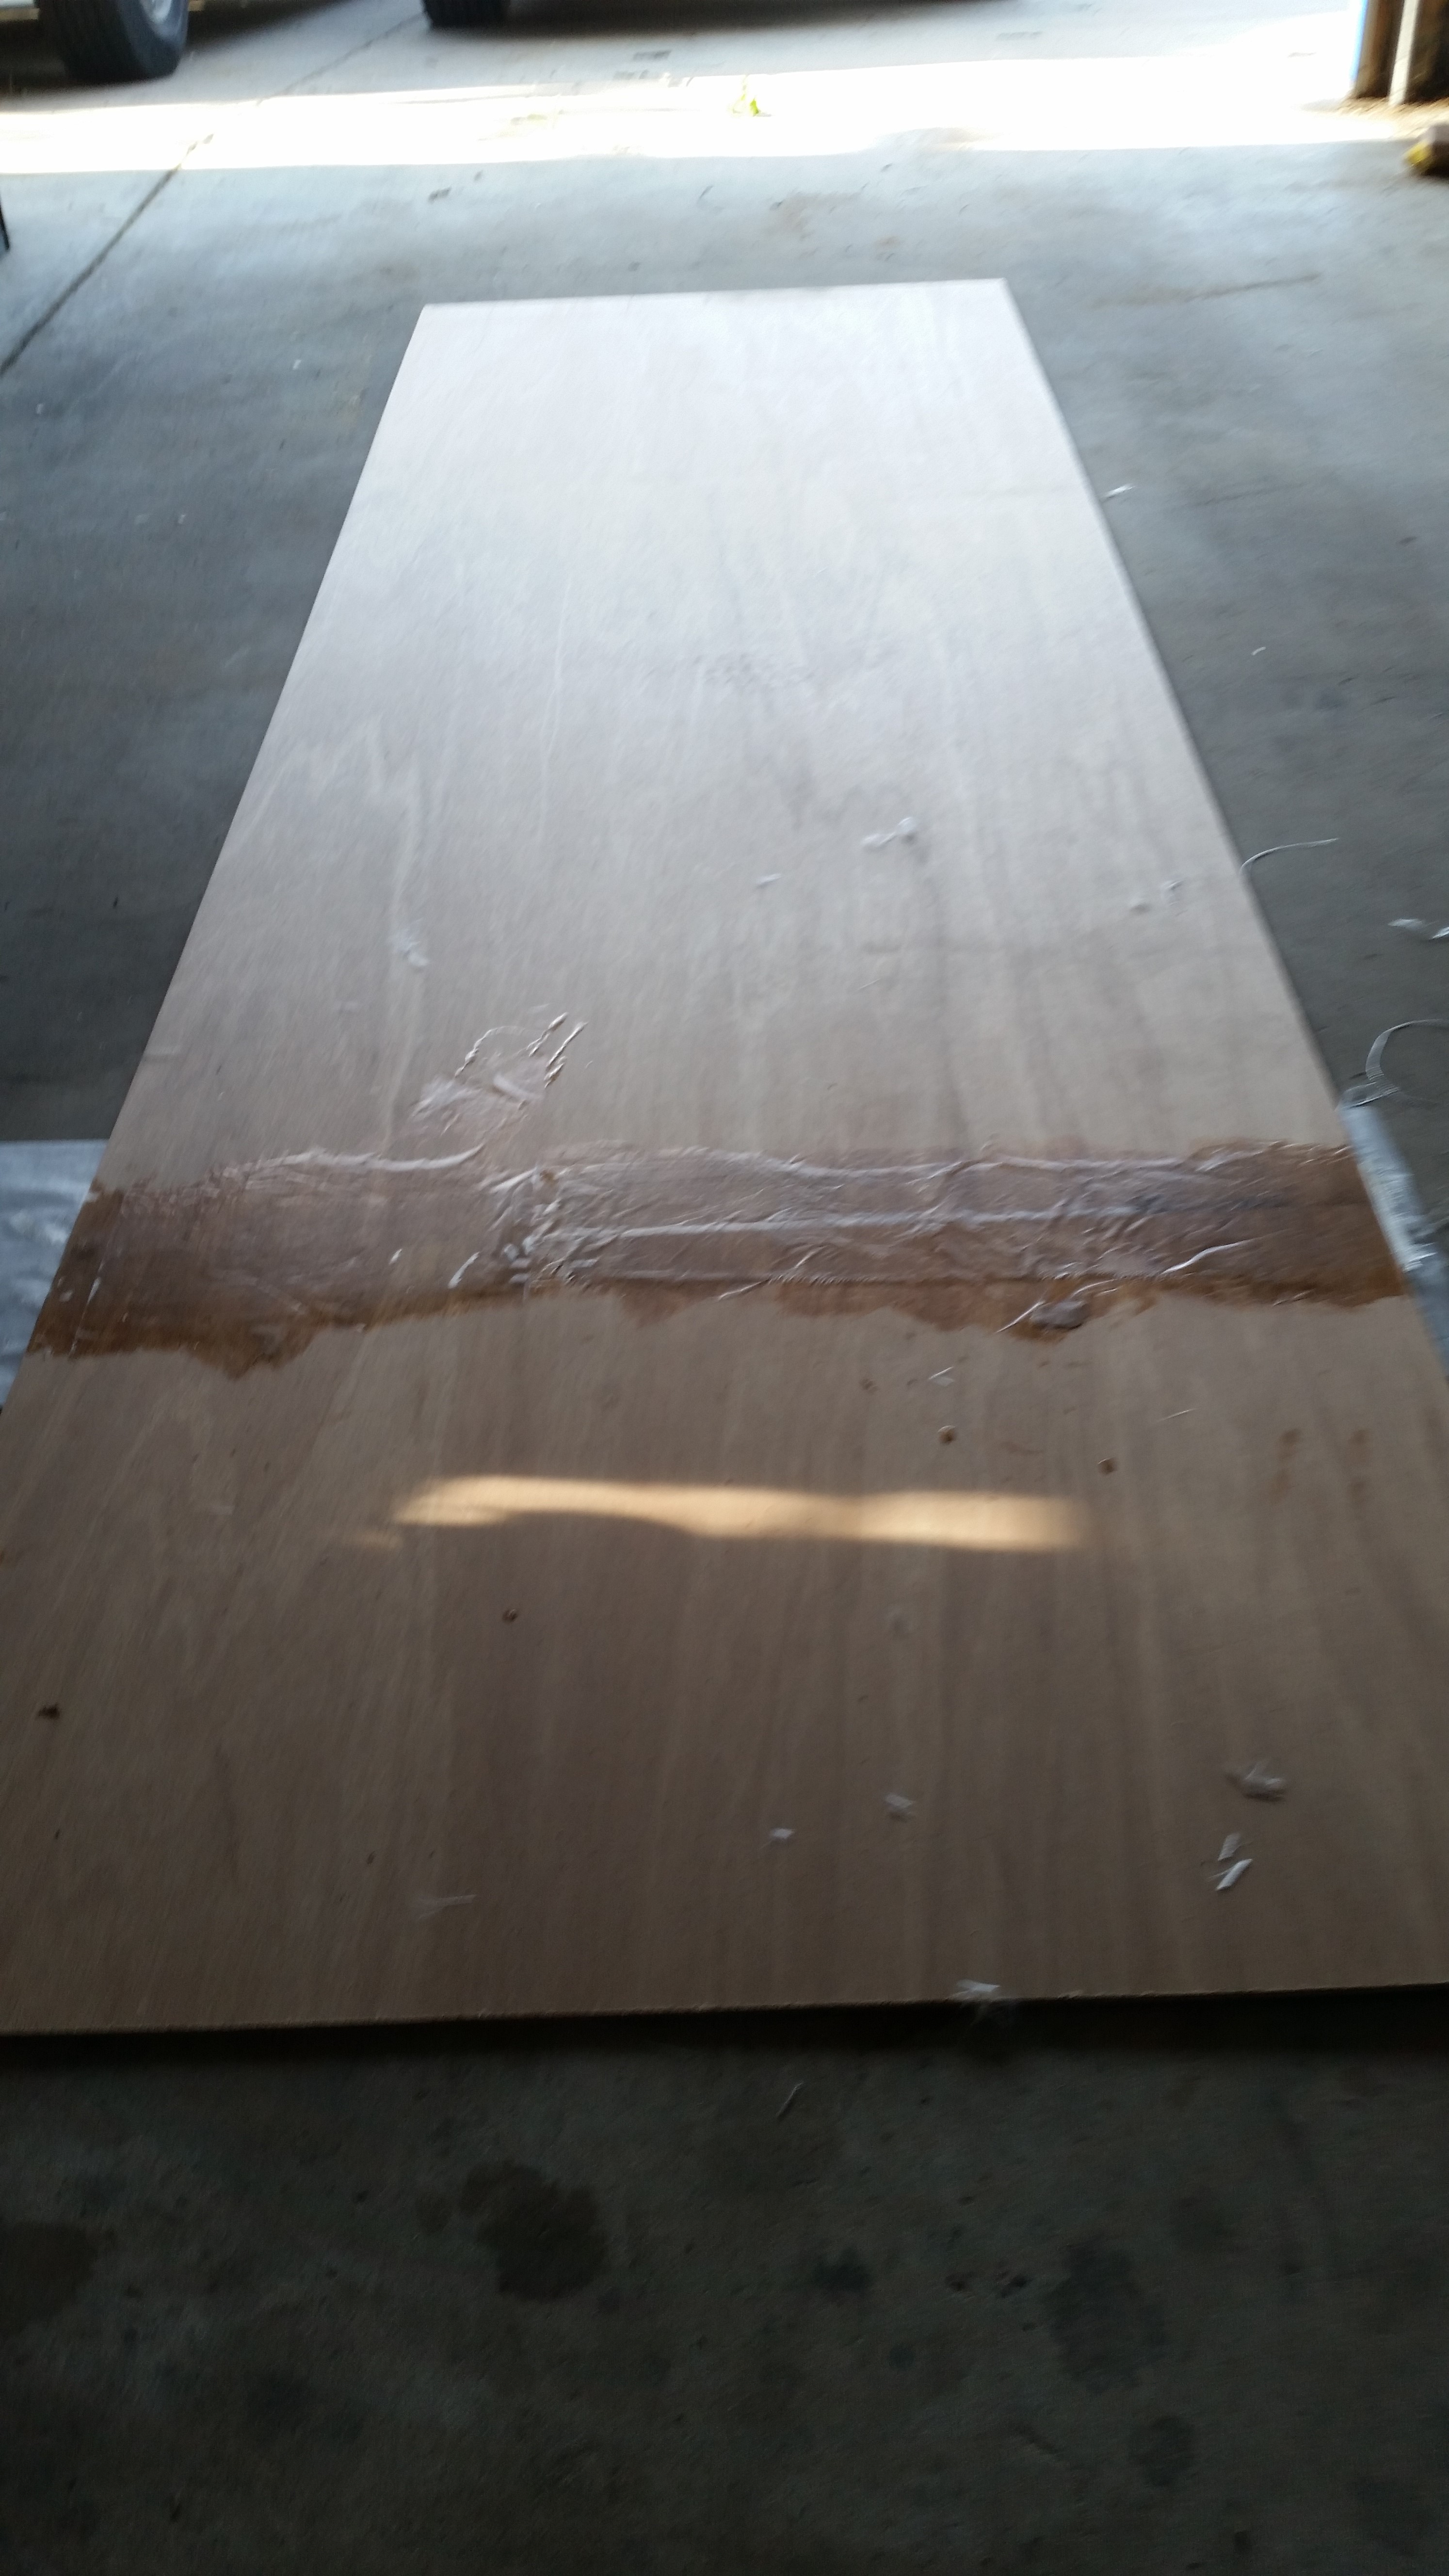
And after they have dried.
Day 2:
Repeated the plywood splicing for the first of the wider 3x10 foot sheets.
Day 3:
Repeated the plywood splicing for the second of the wider 3x10 foot sheets.
Day 4-7
I cut the spliced plywood sheets to the dimensions called out in the plans. I used a 4 inch circular saw which made cutting the curved lines much easier than using a jig saw.
All of the cut hull sections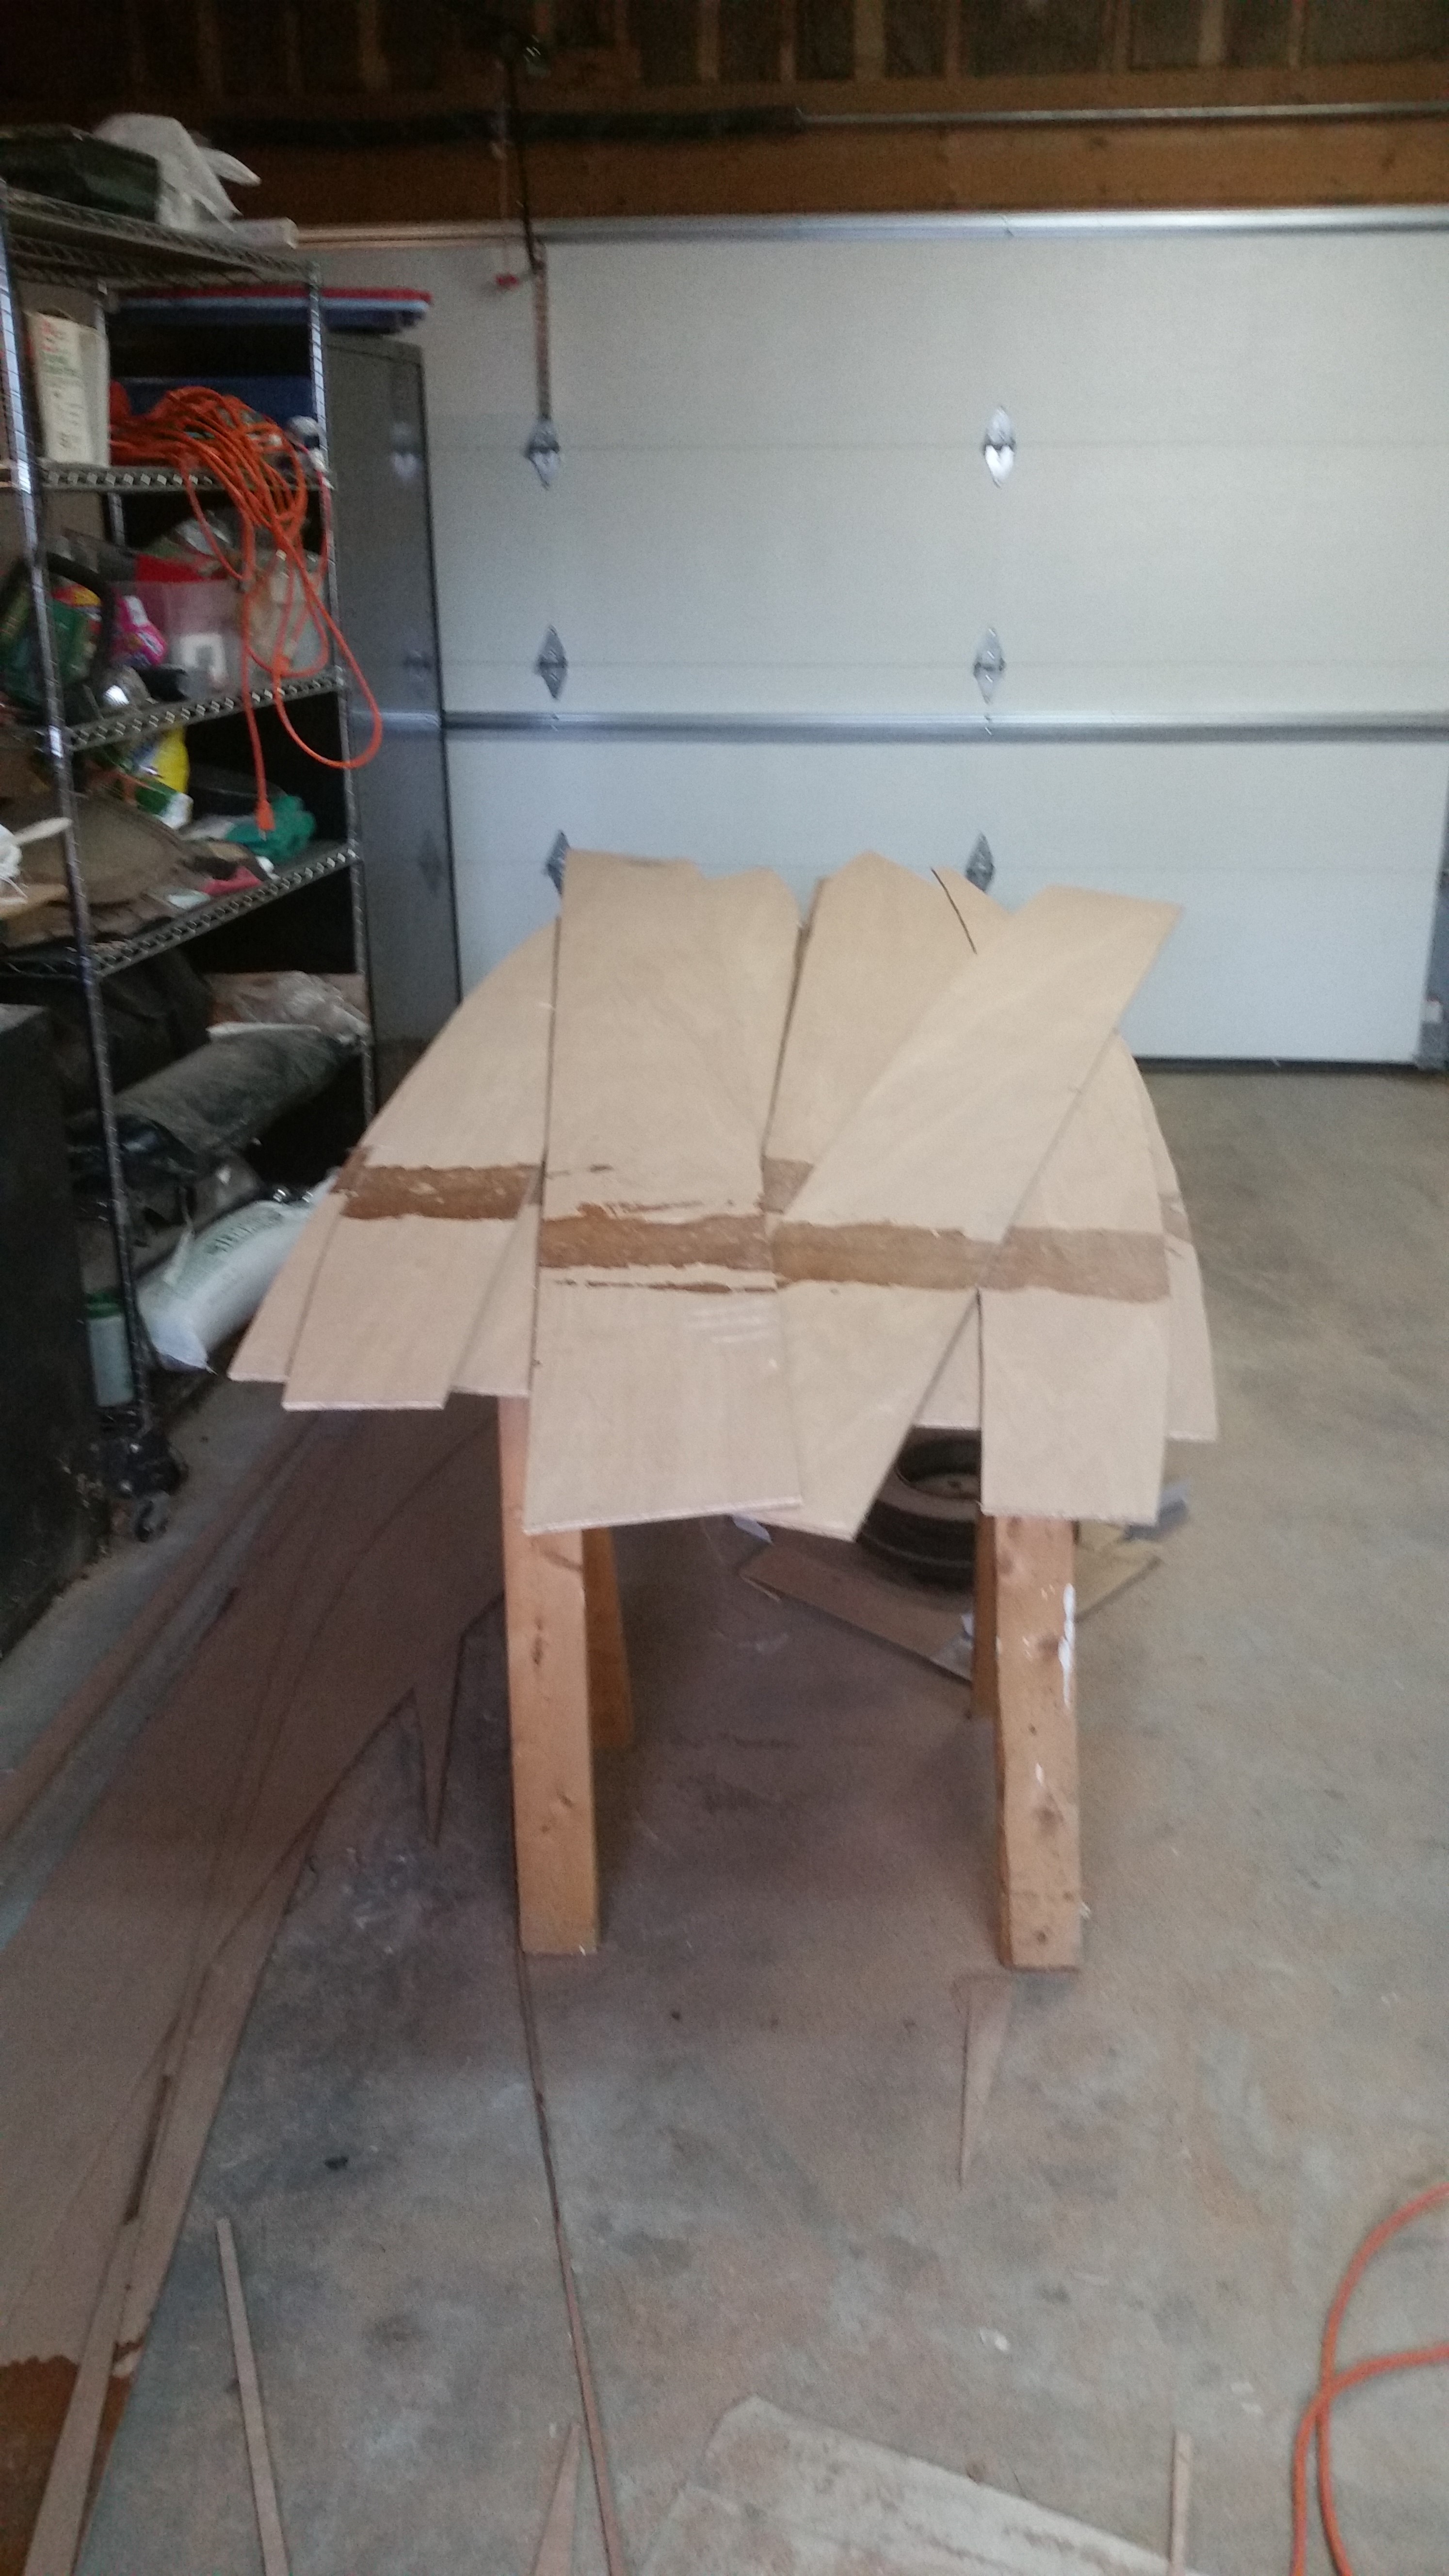 |
 |
 |
|
 |
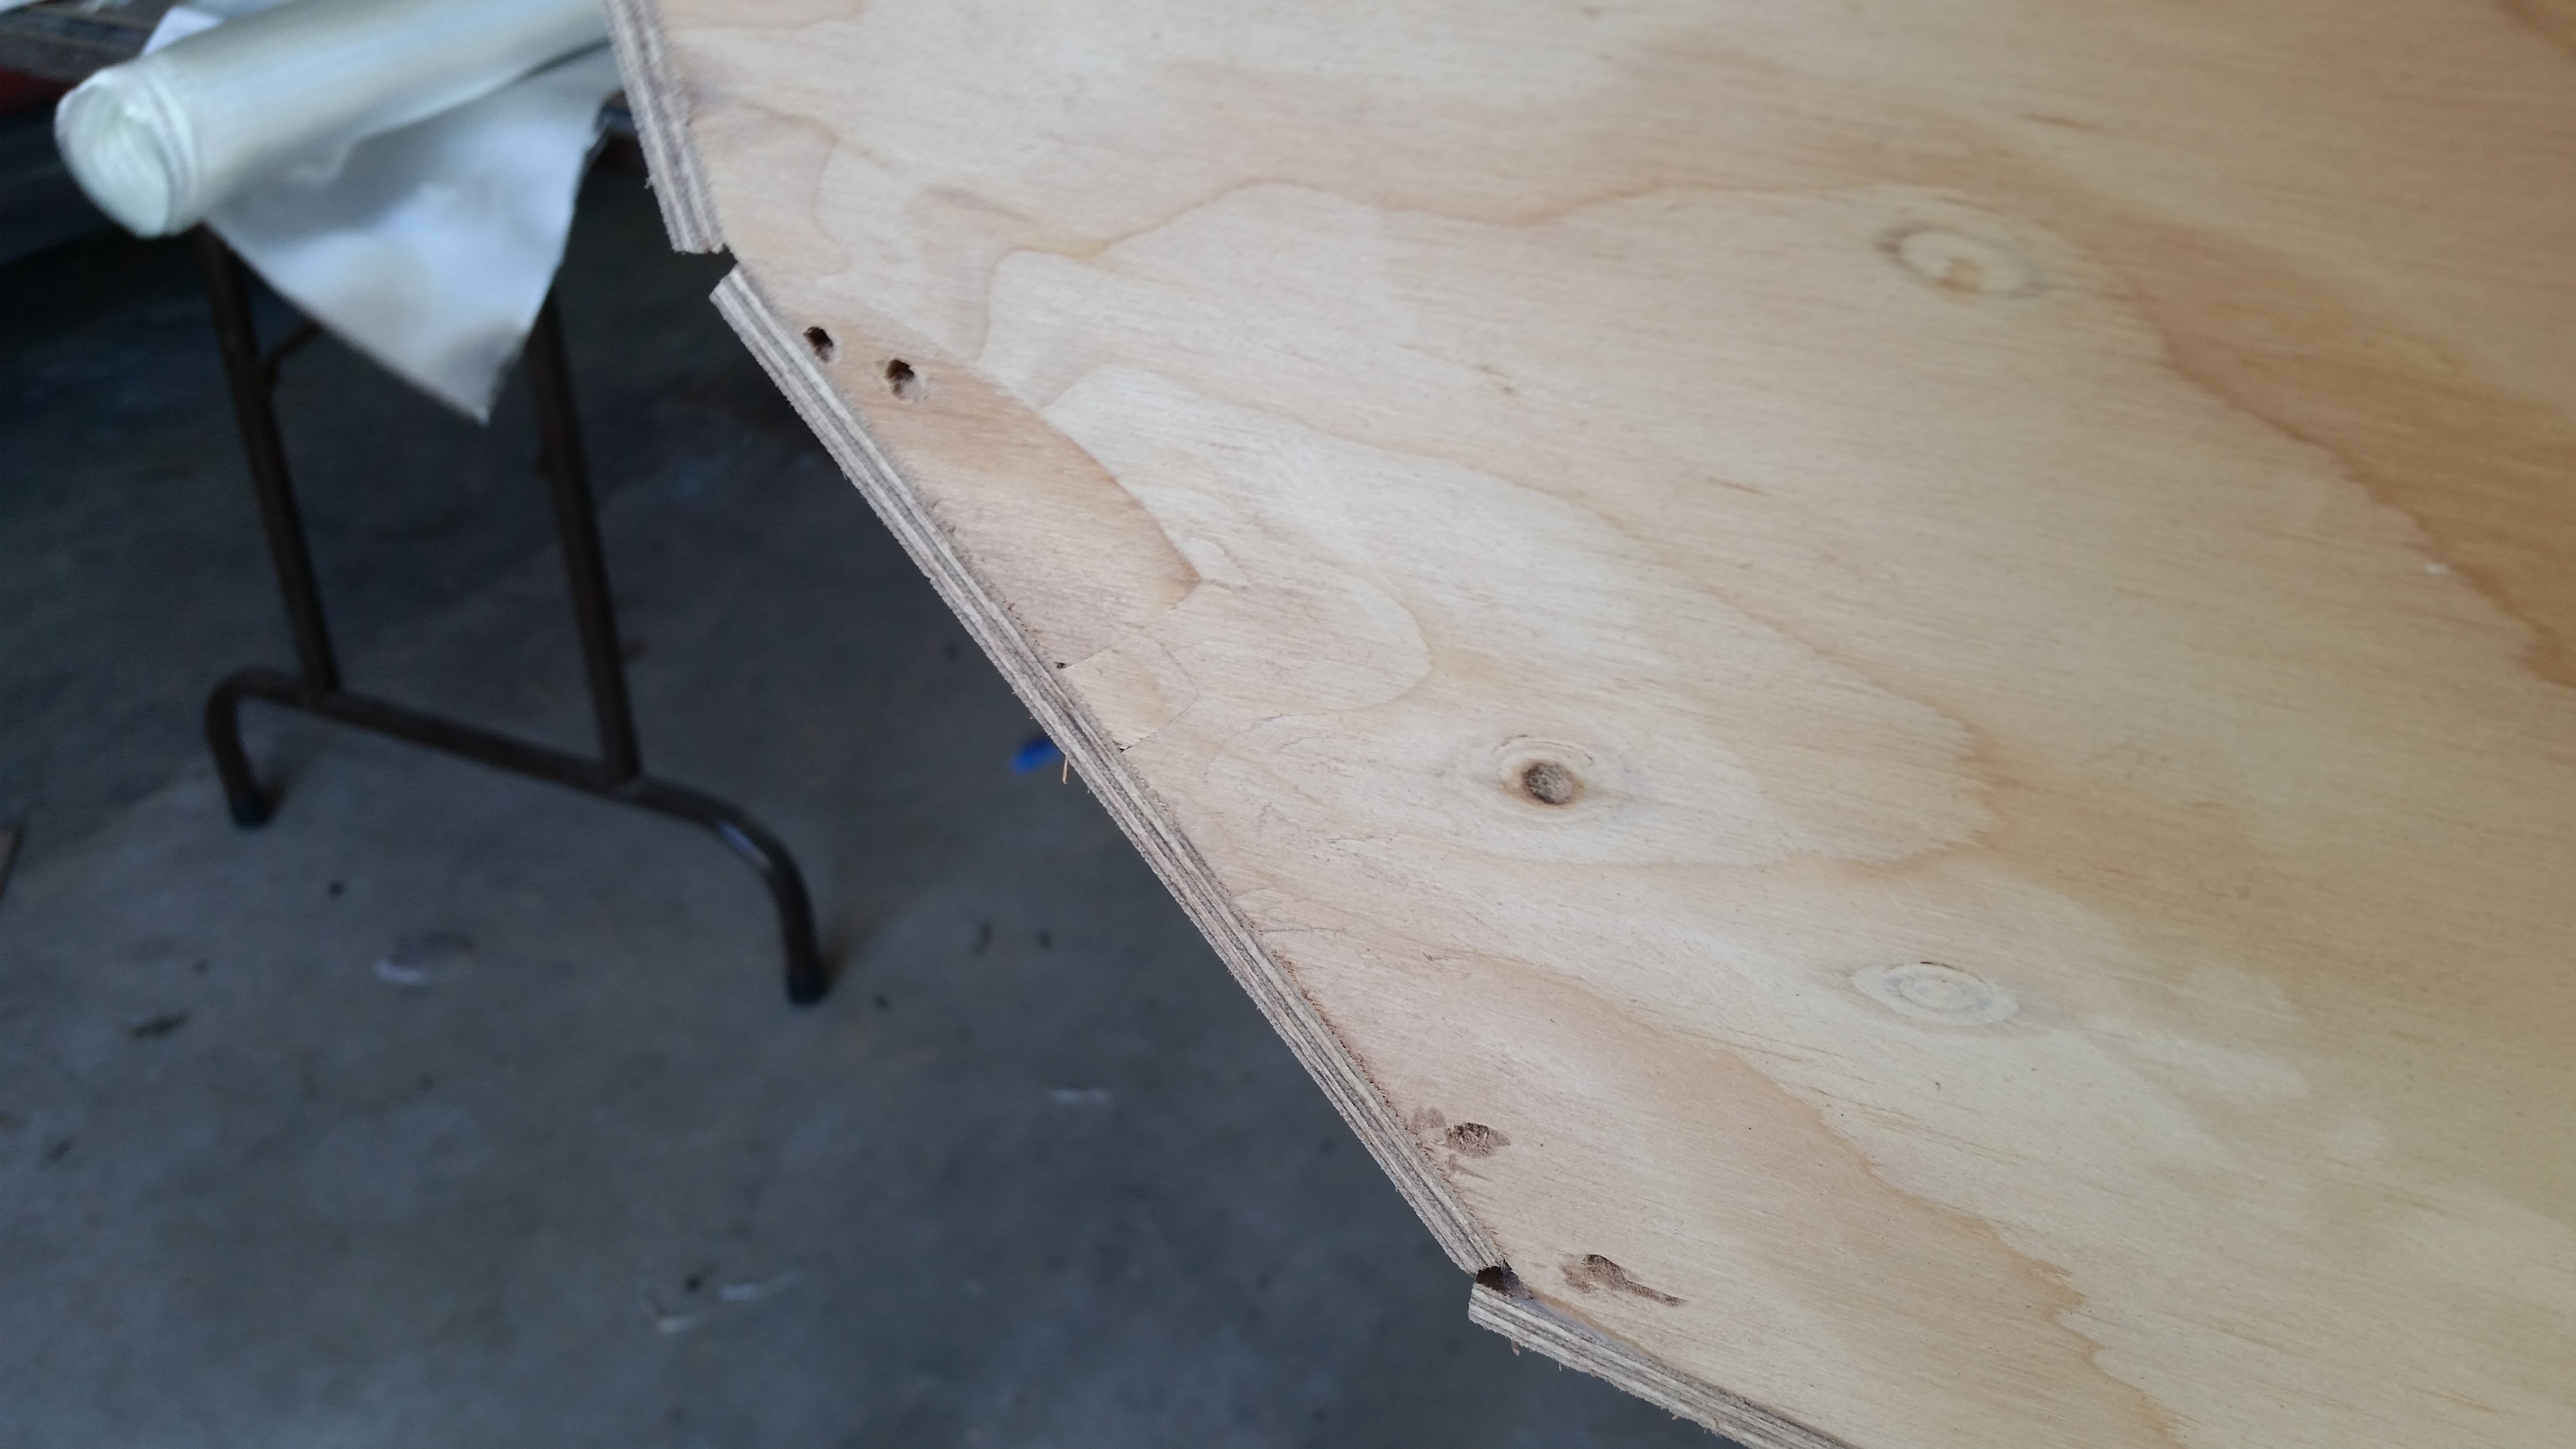
Day 8:
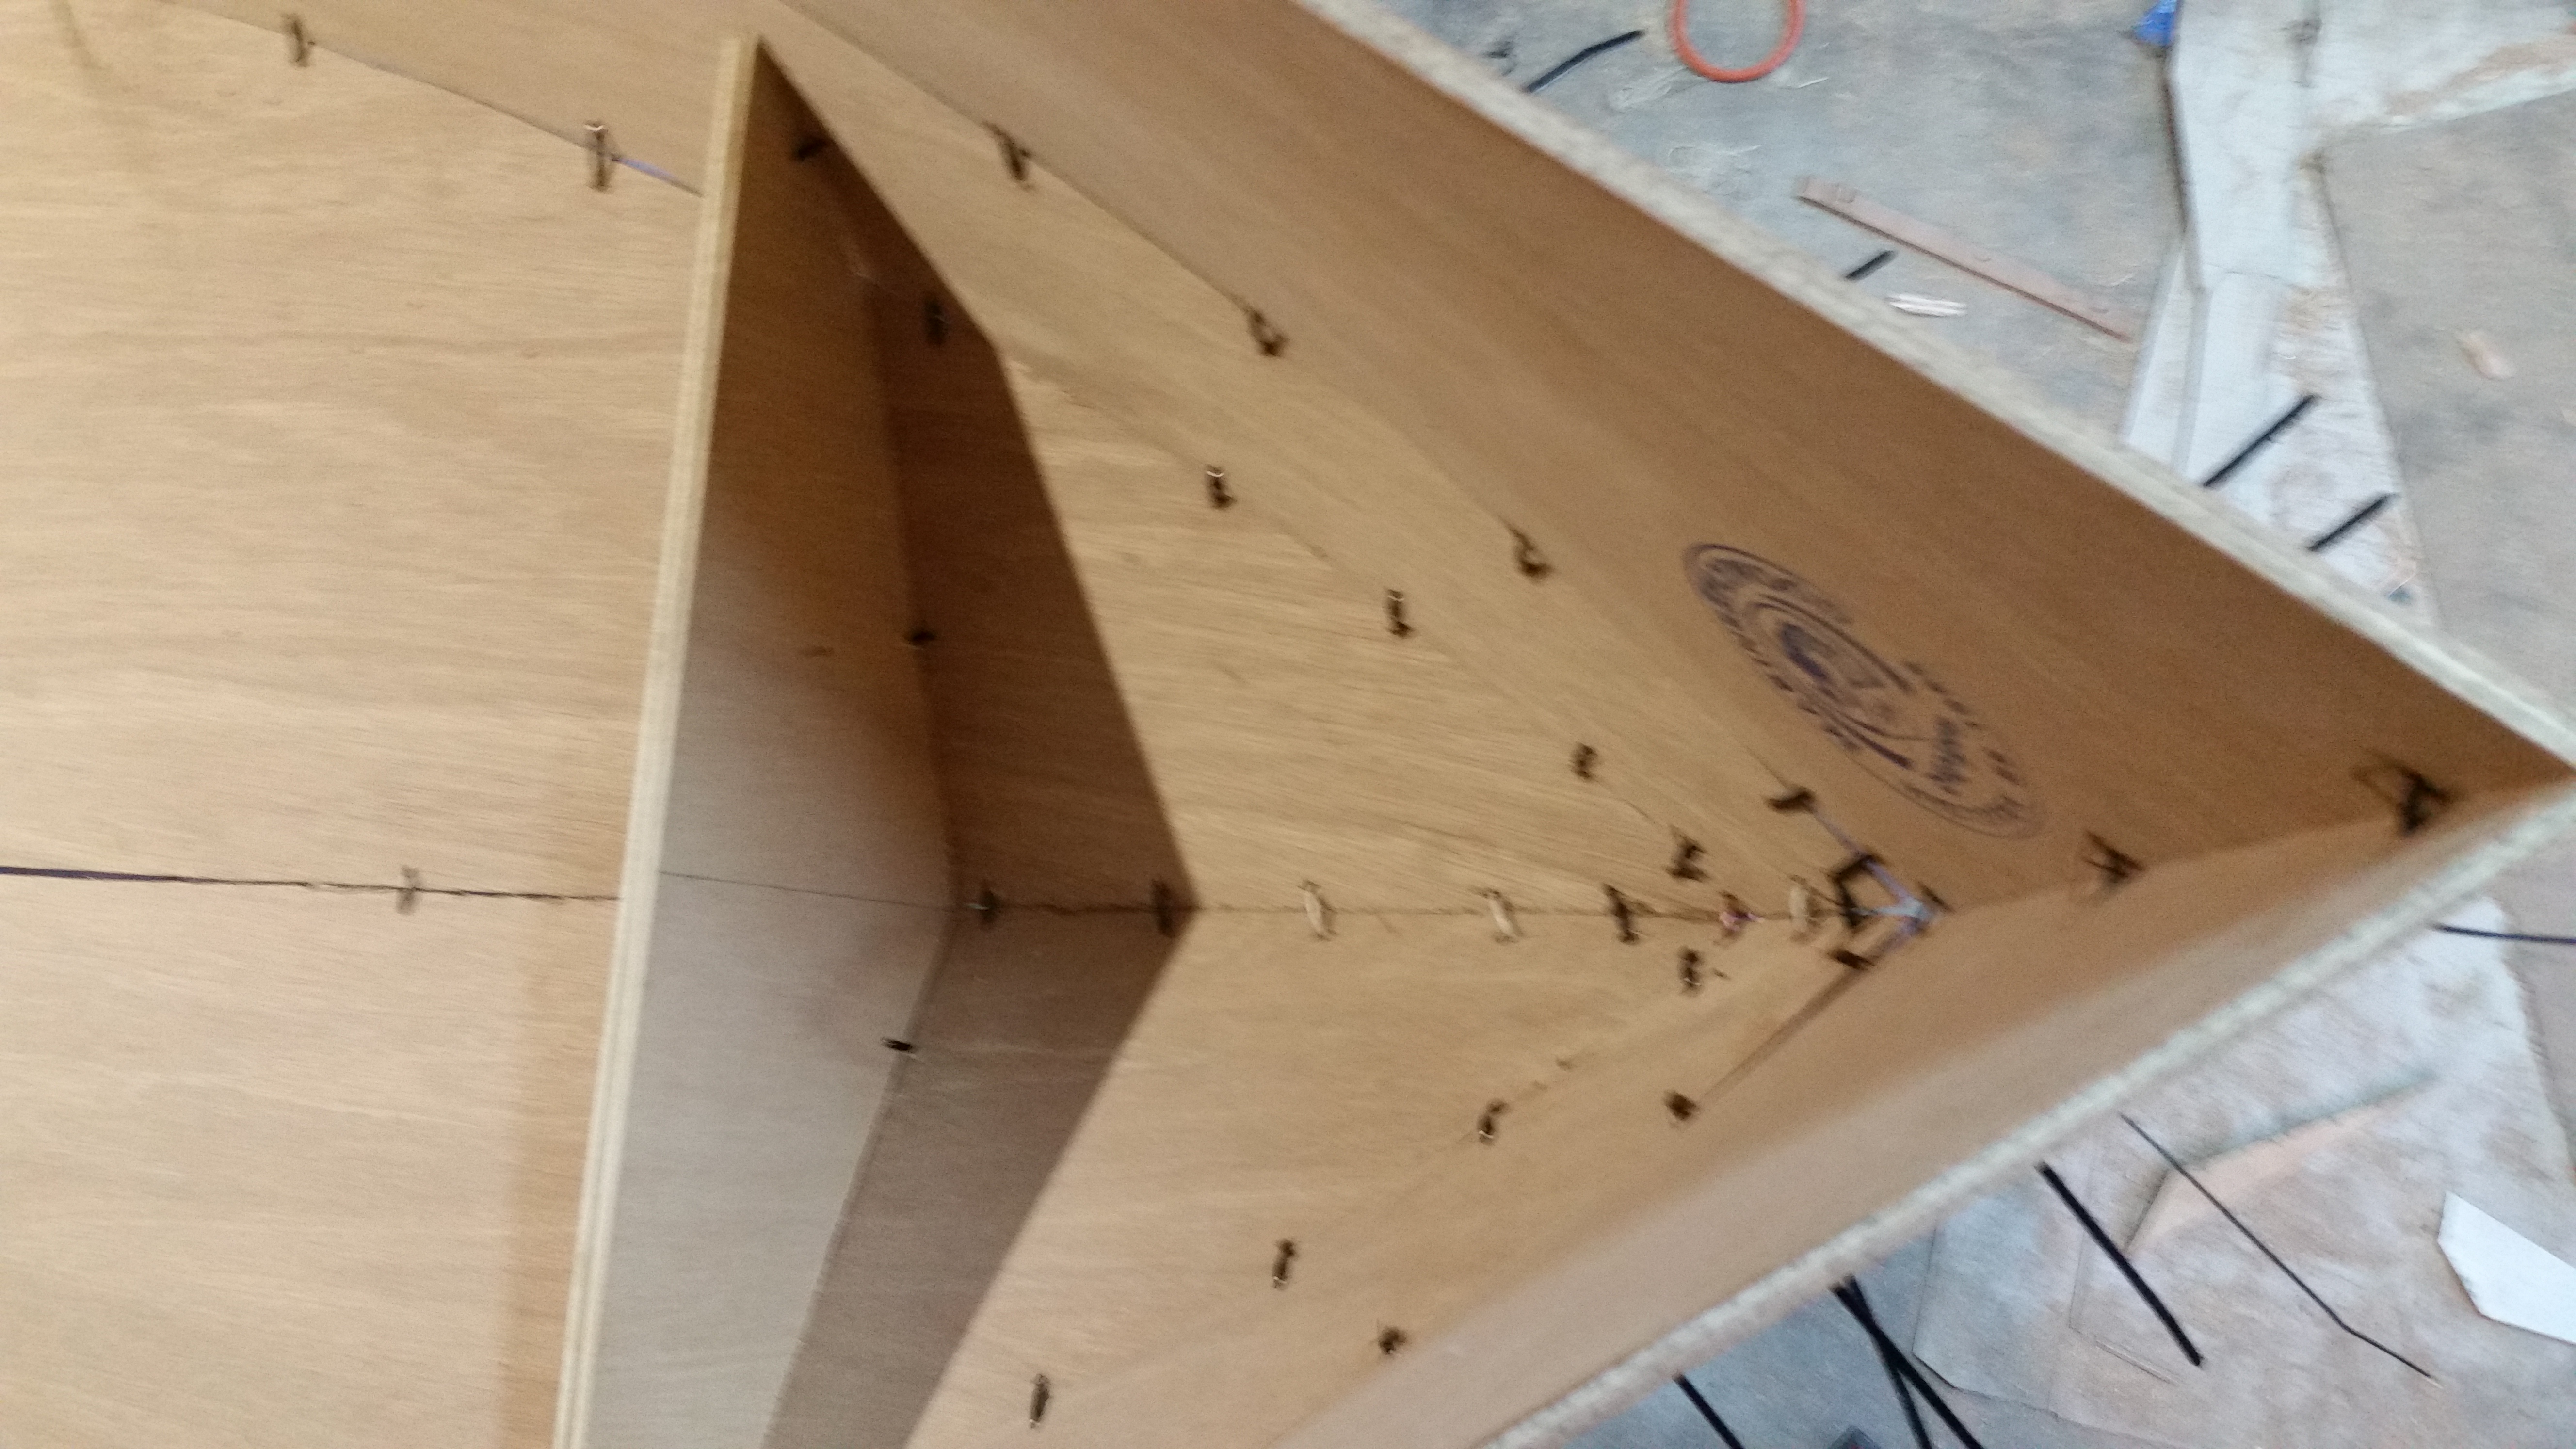
Connected all of the side pieces of the hull together with plastic cable ties. The holes will all be filled with epoxy later.
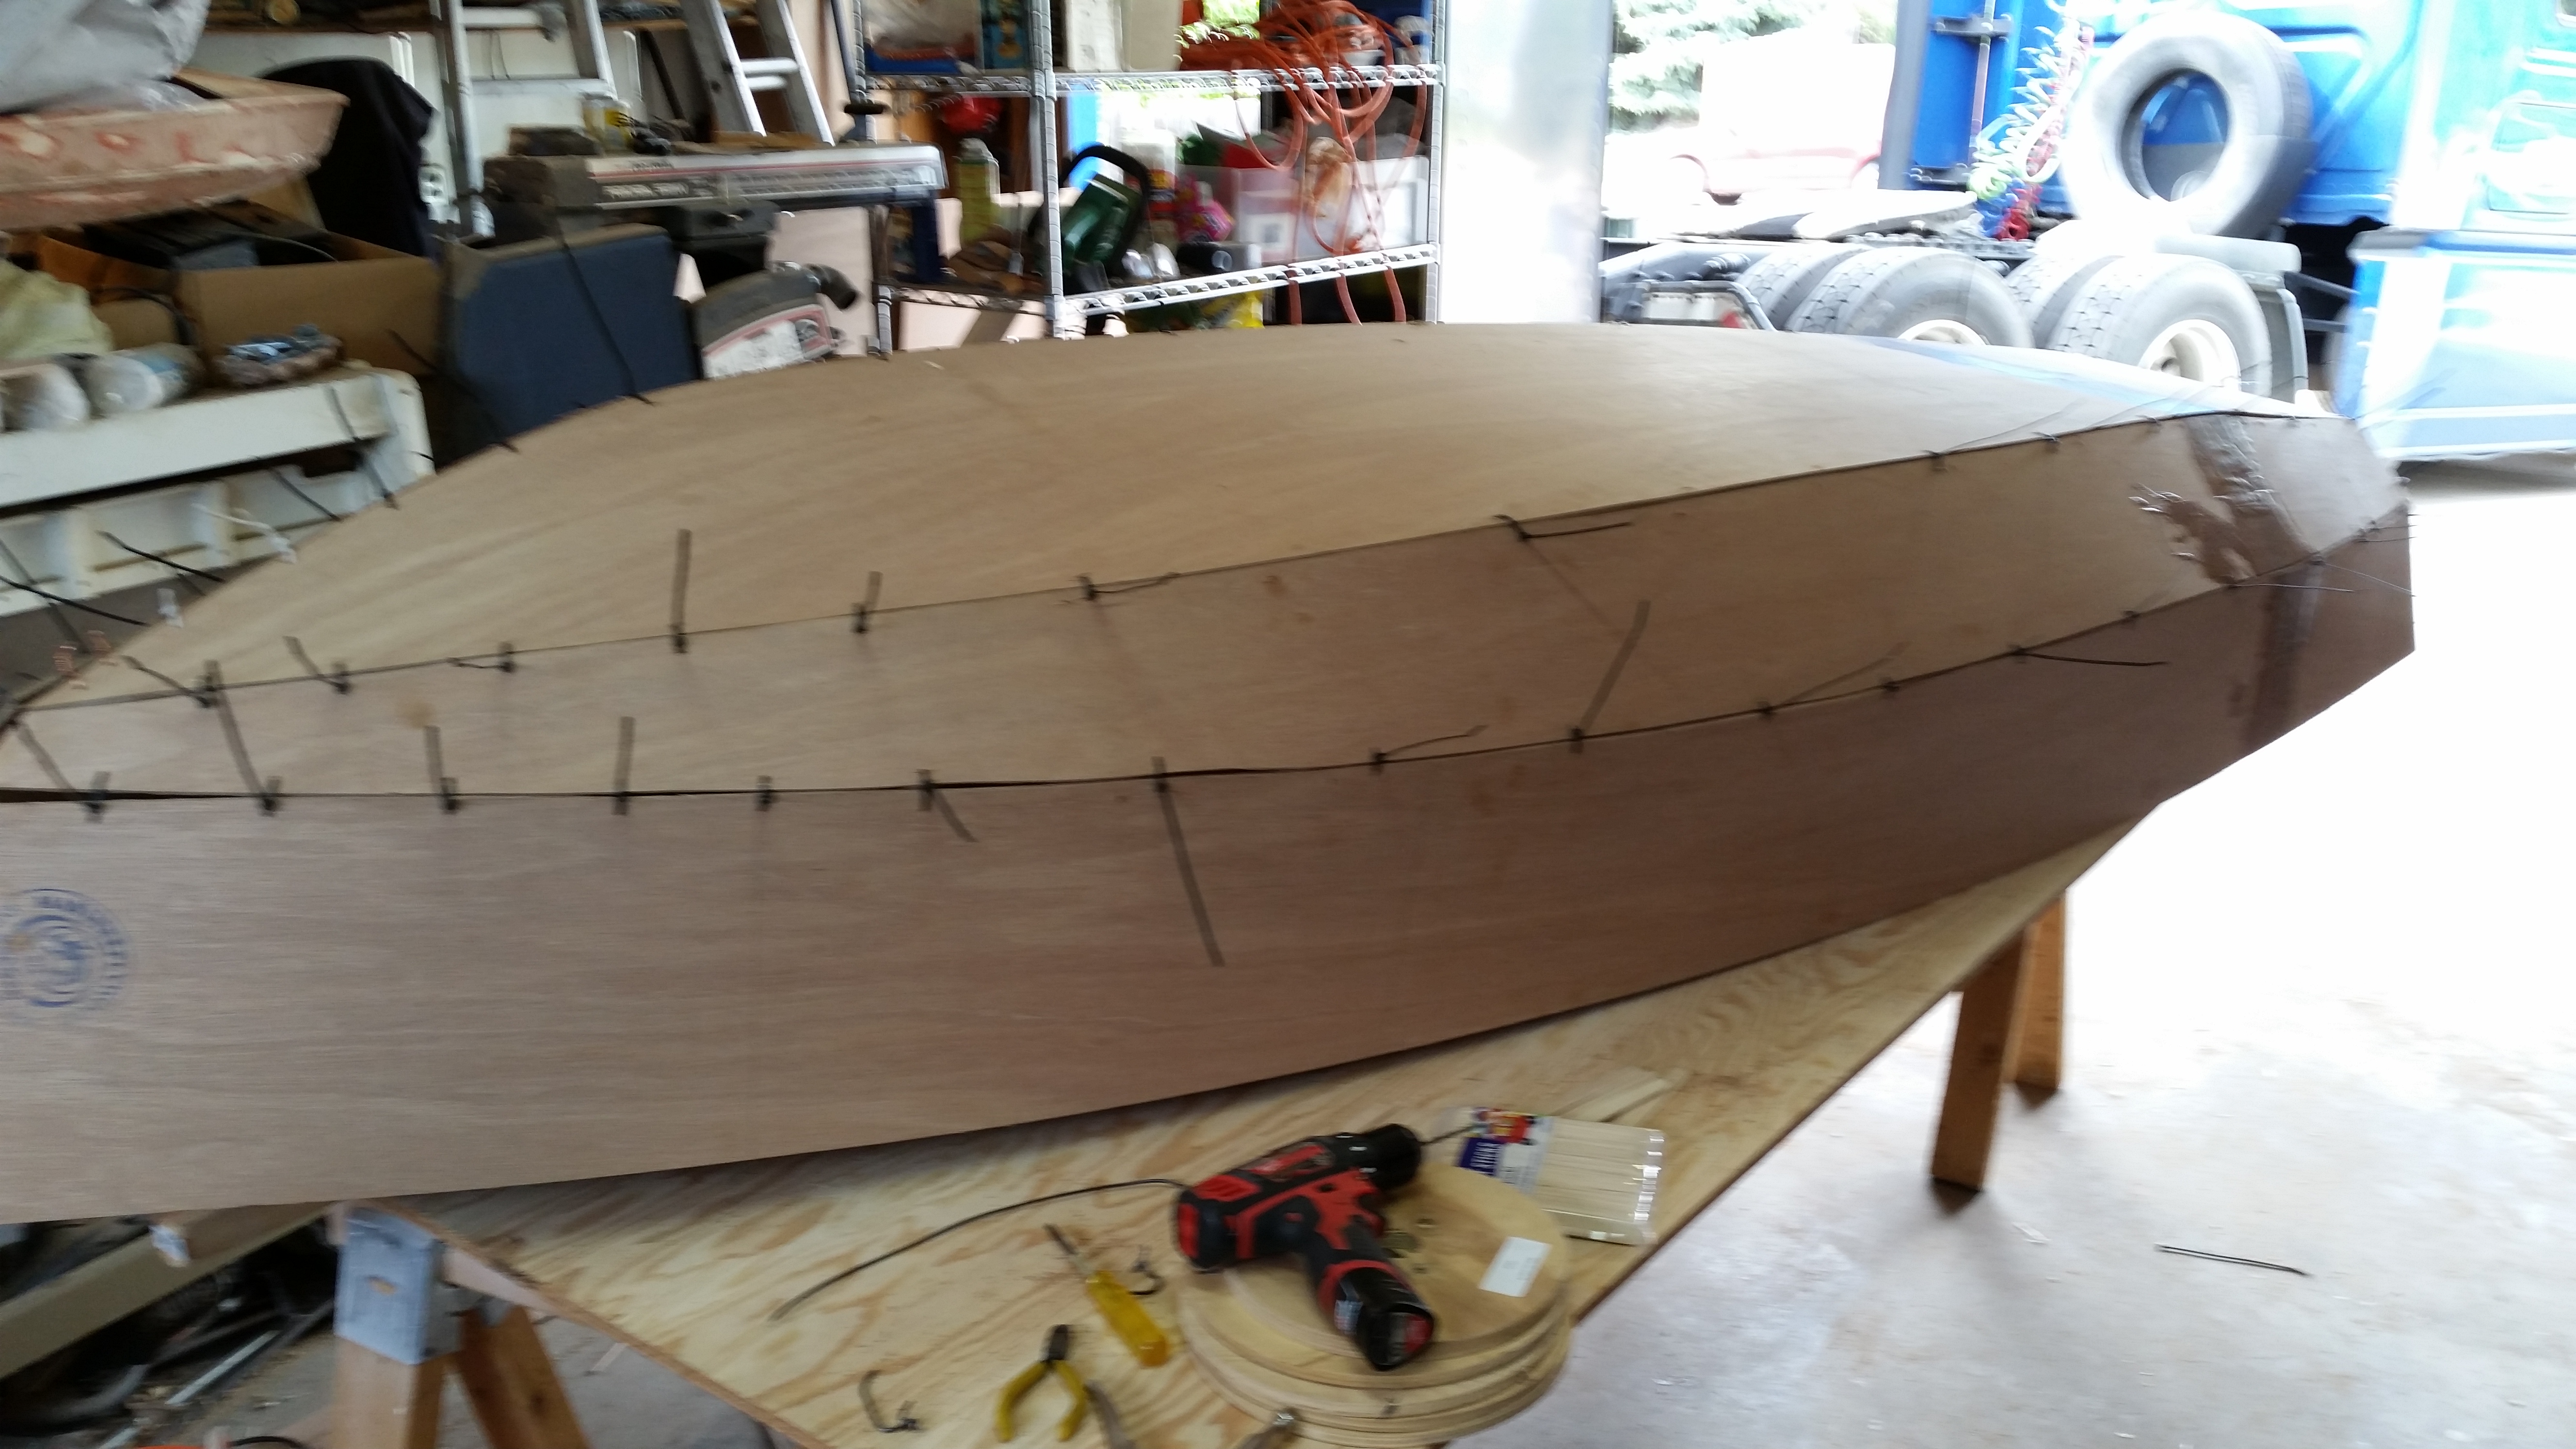

Day 9:
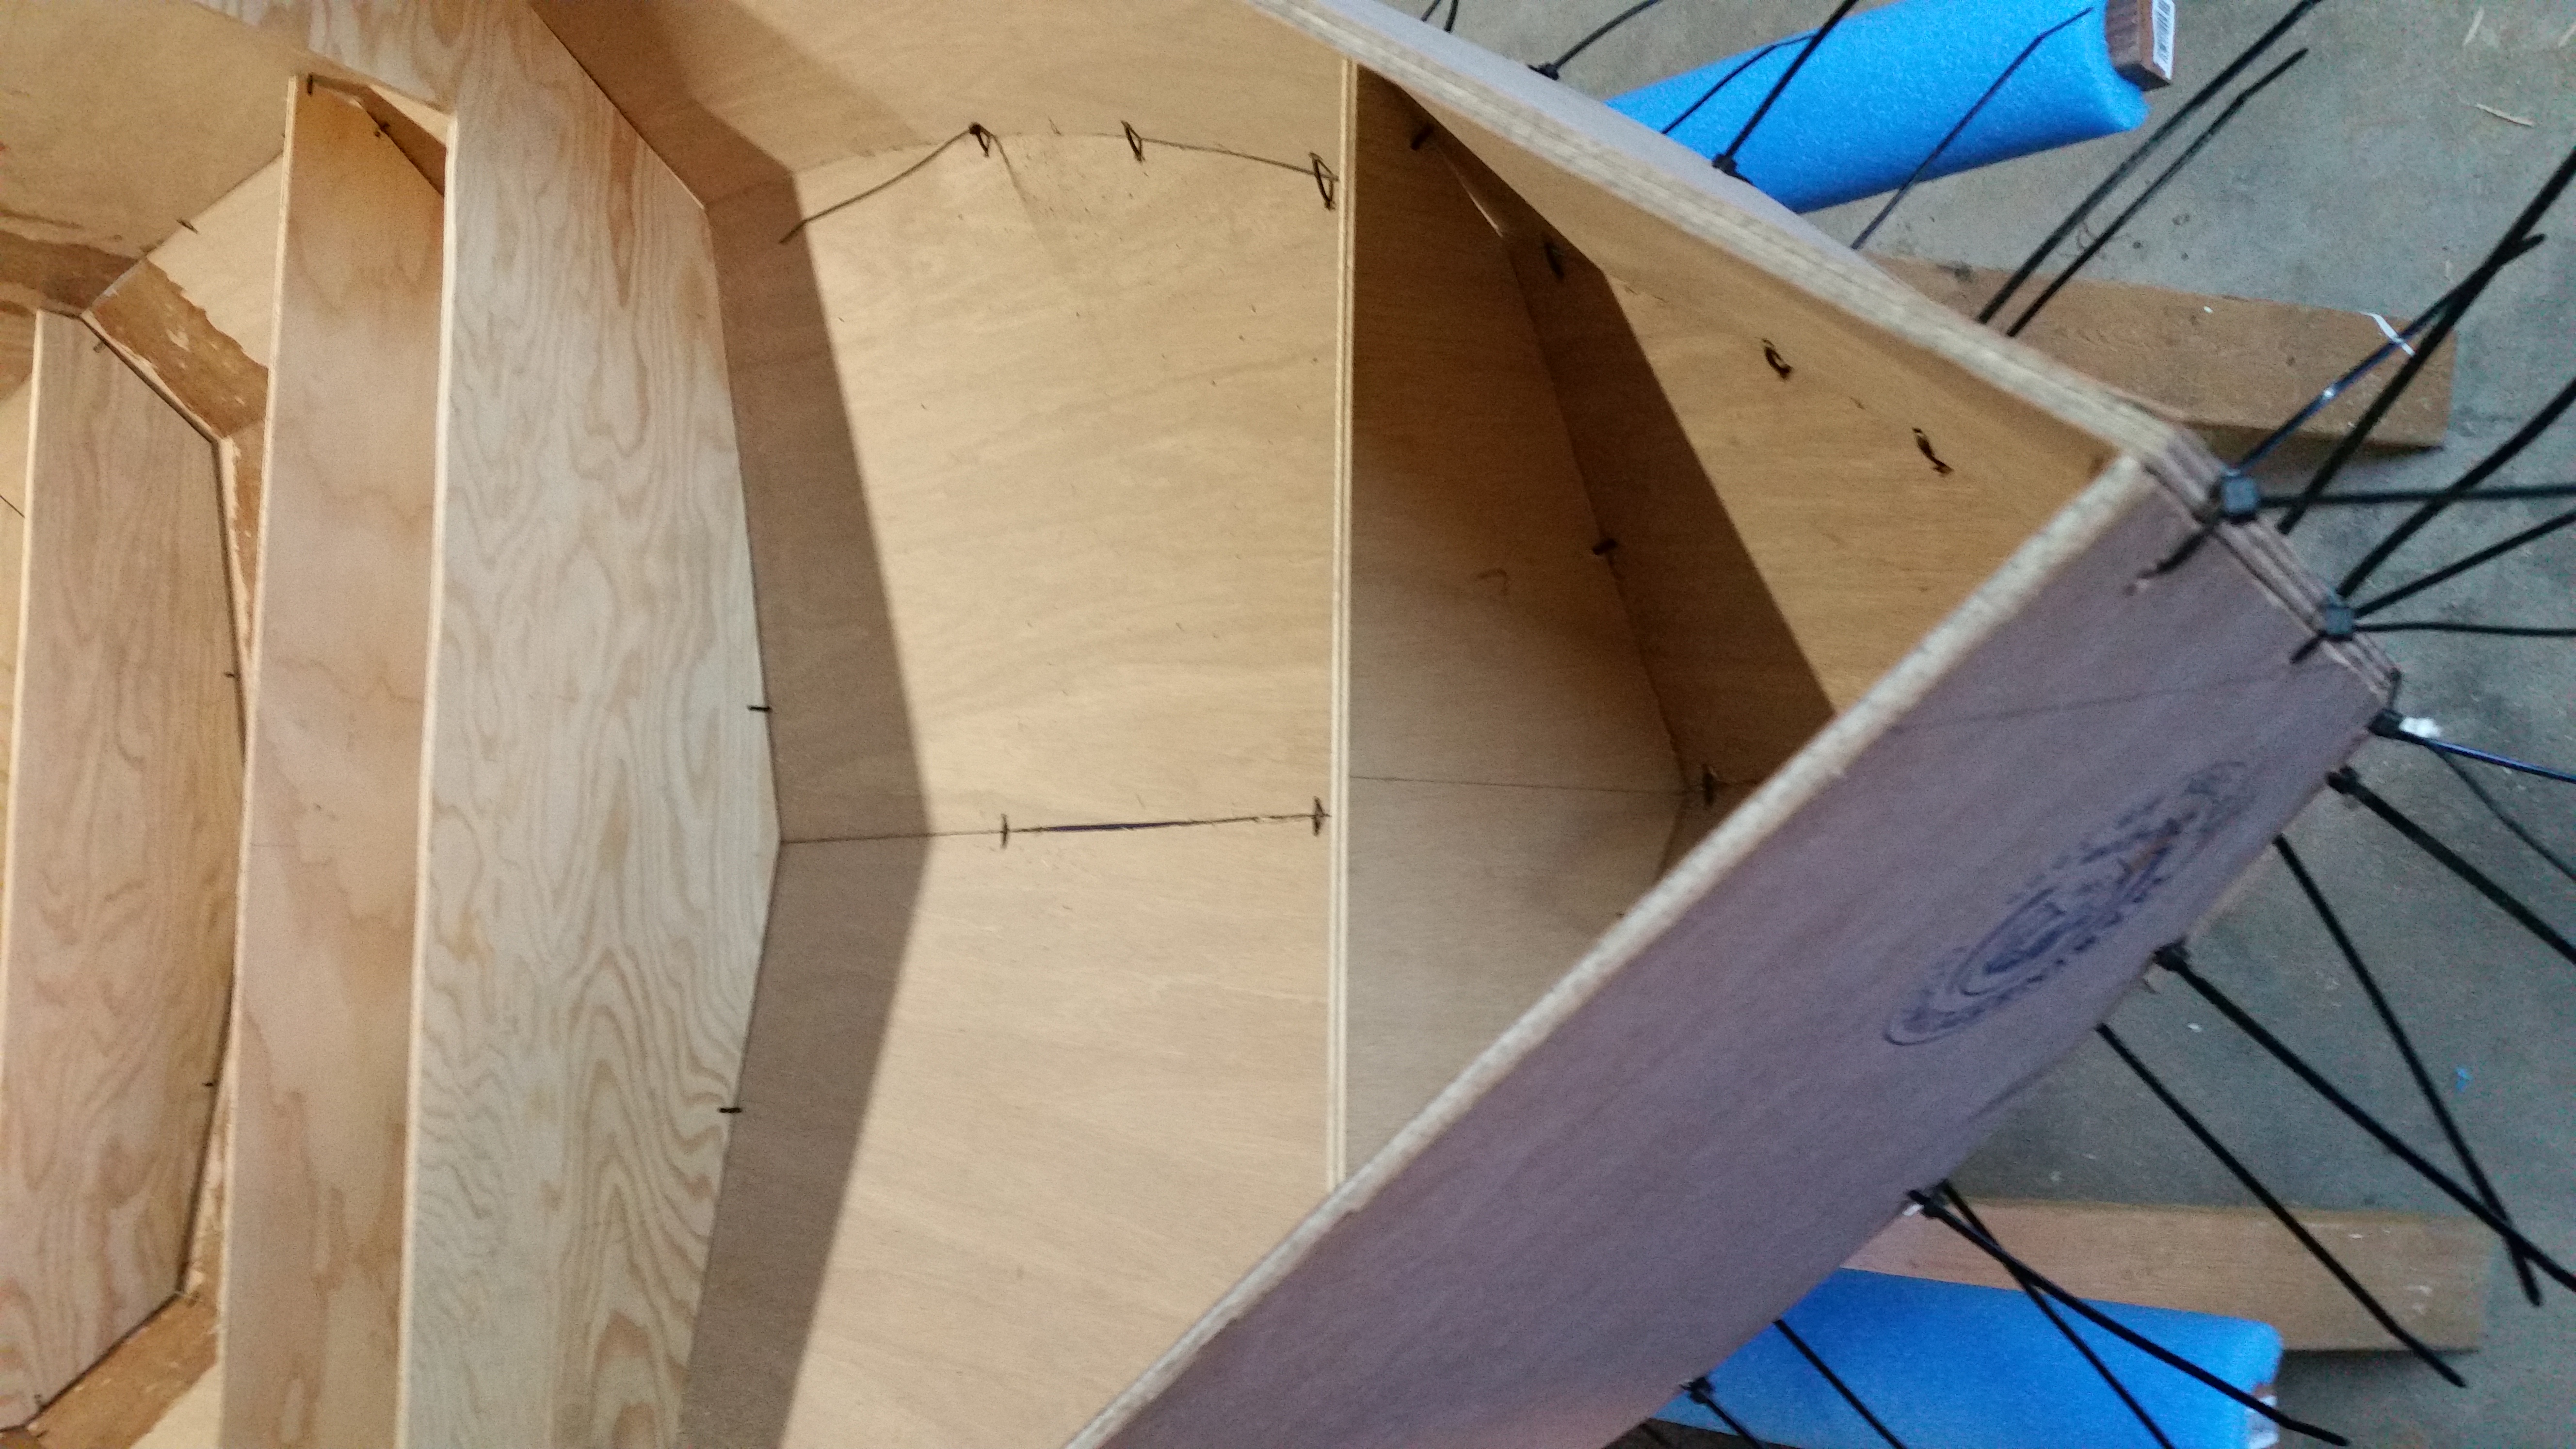
Cut out the transom and 3rd bulkhead from 1/2" marine plywood. Connected these parts to the hull.

Day 10:
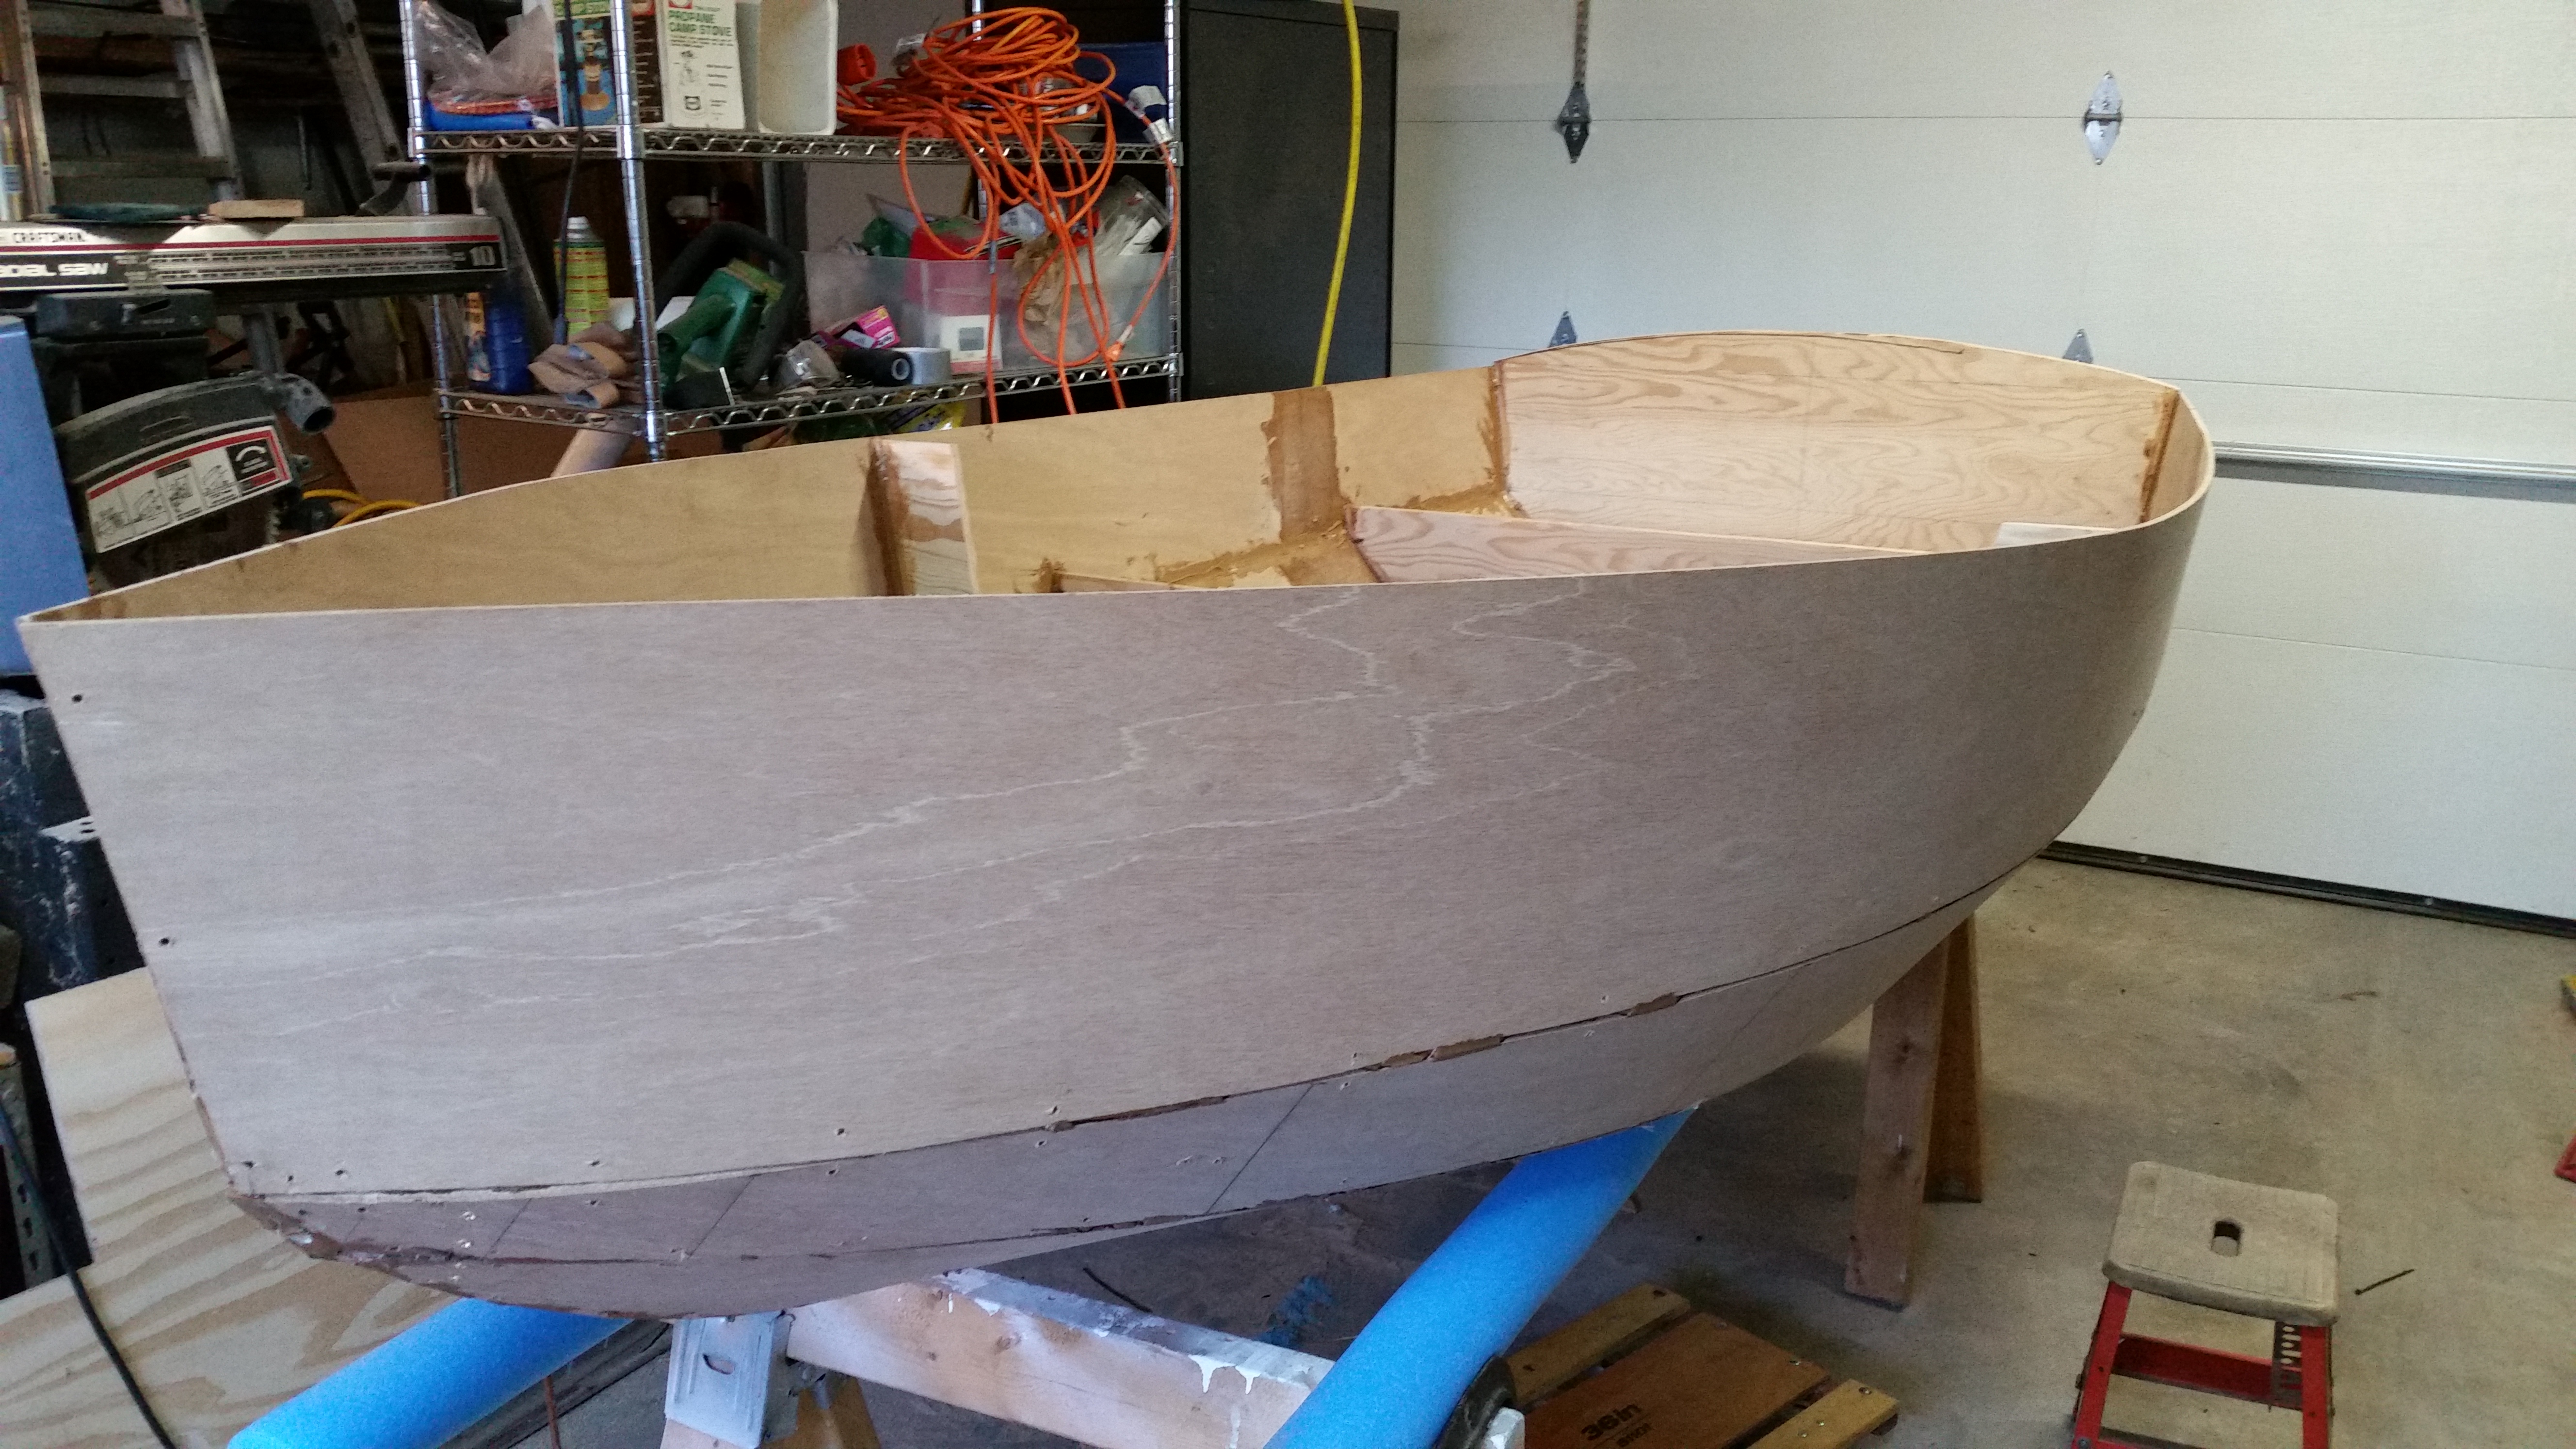
Cut and added 2 more bulkheads. Built a padded stand to set the boat on from saw horses, 2x2s and pool noodles.
With Cyndee's help, removed the transom and trimmed it for a much better fit.
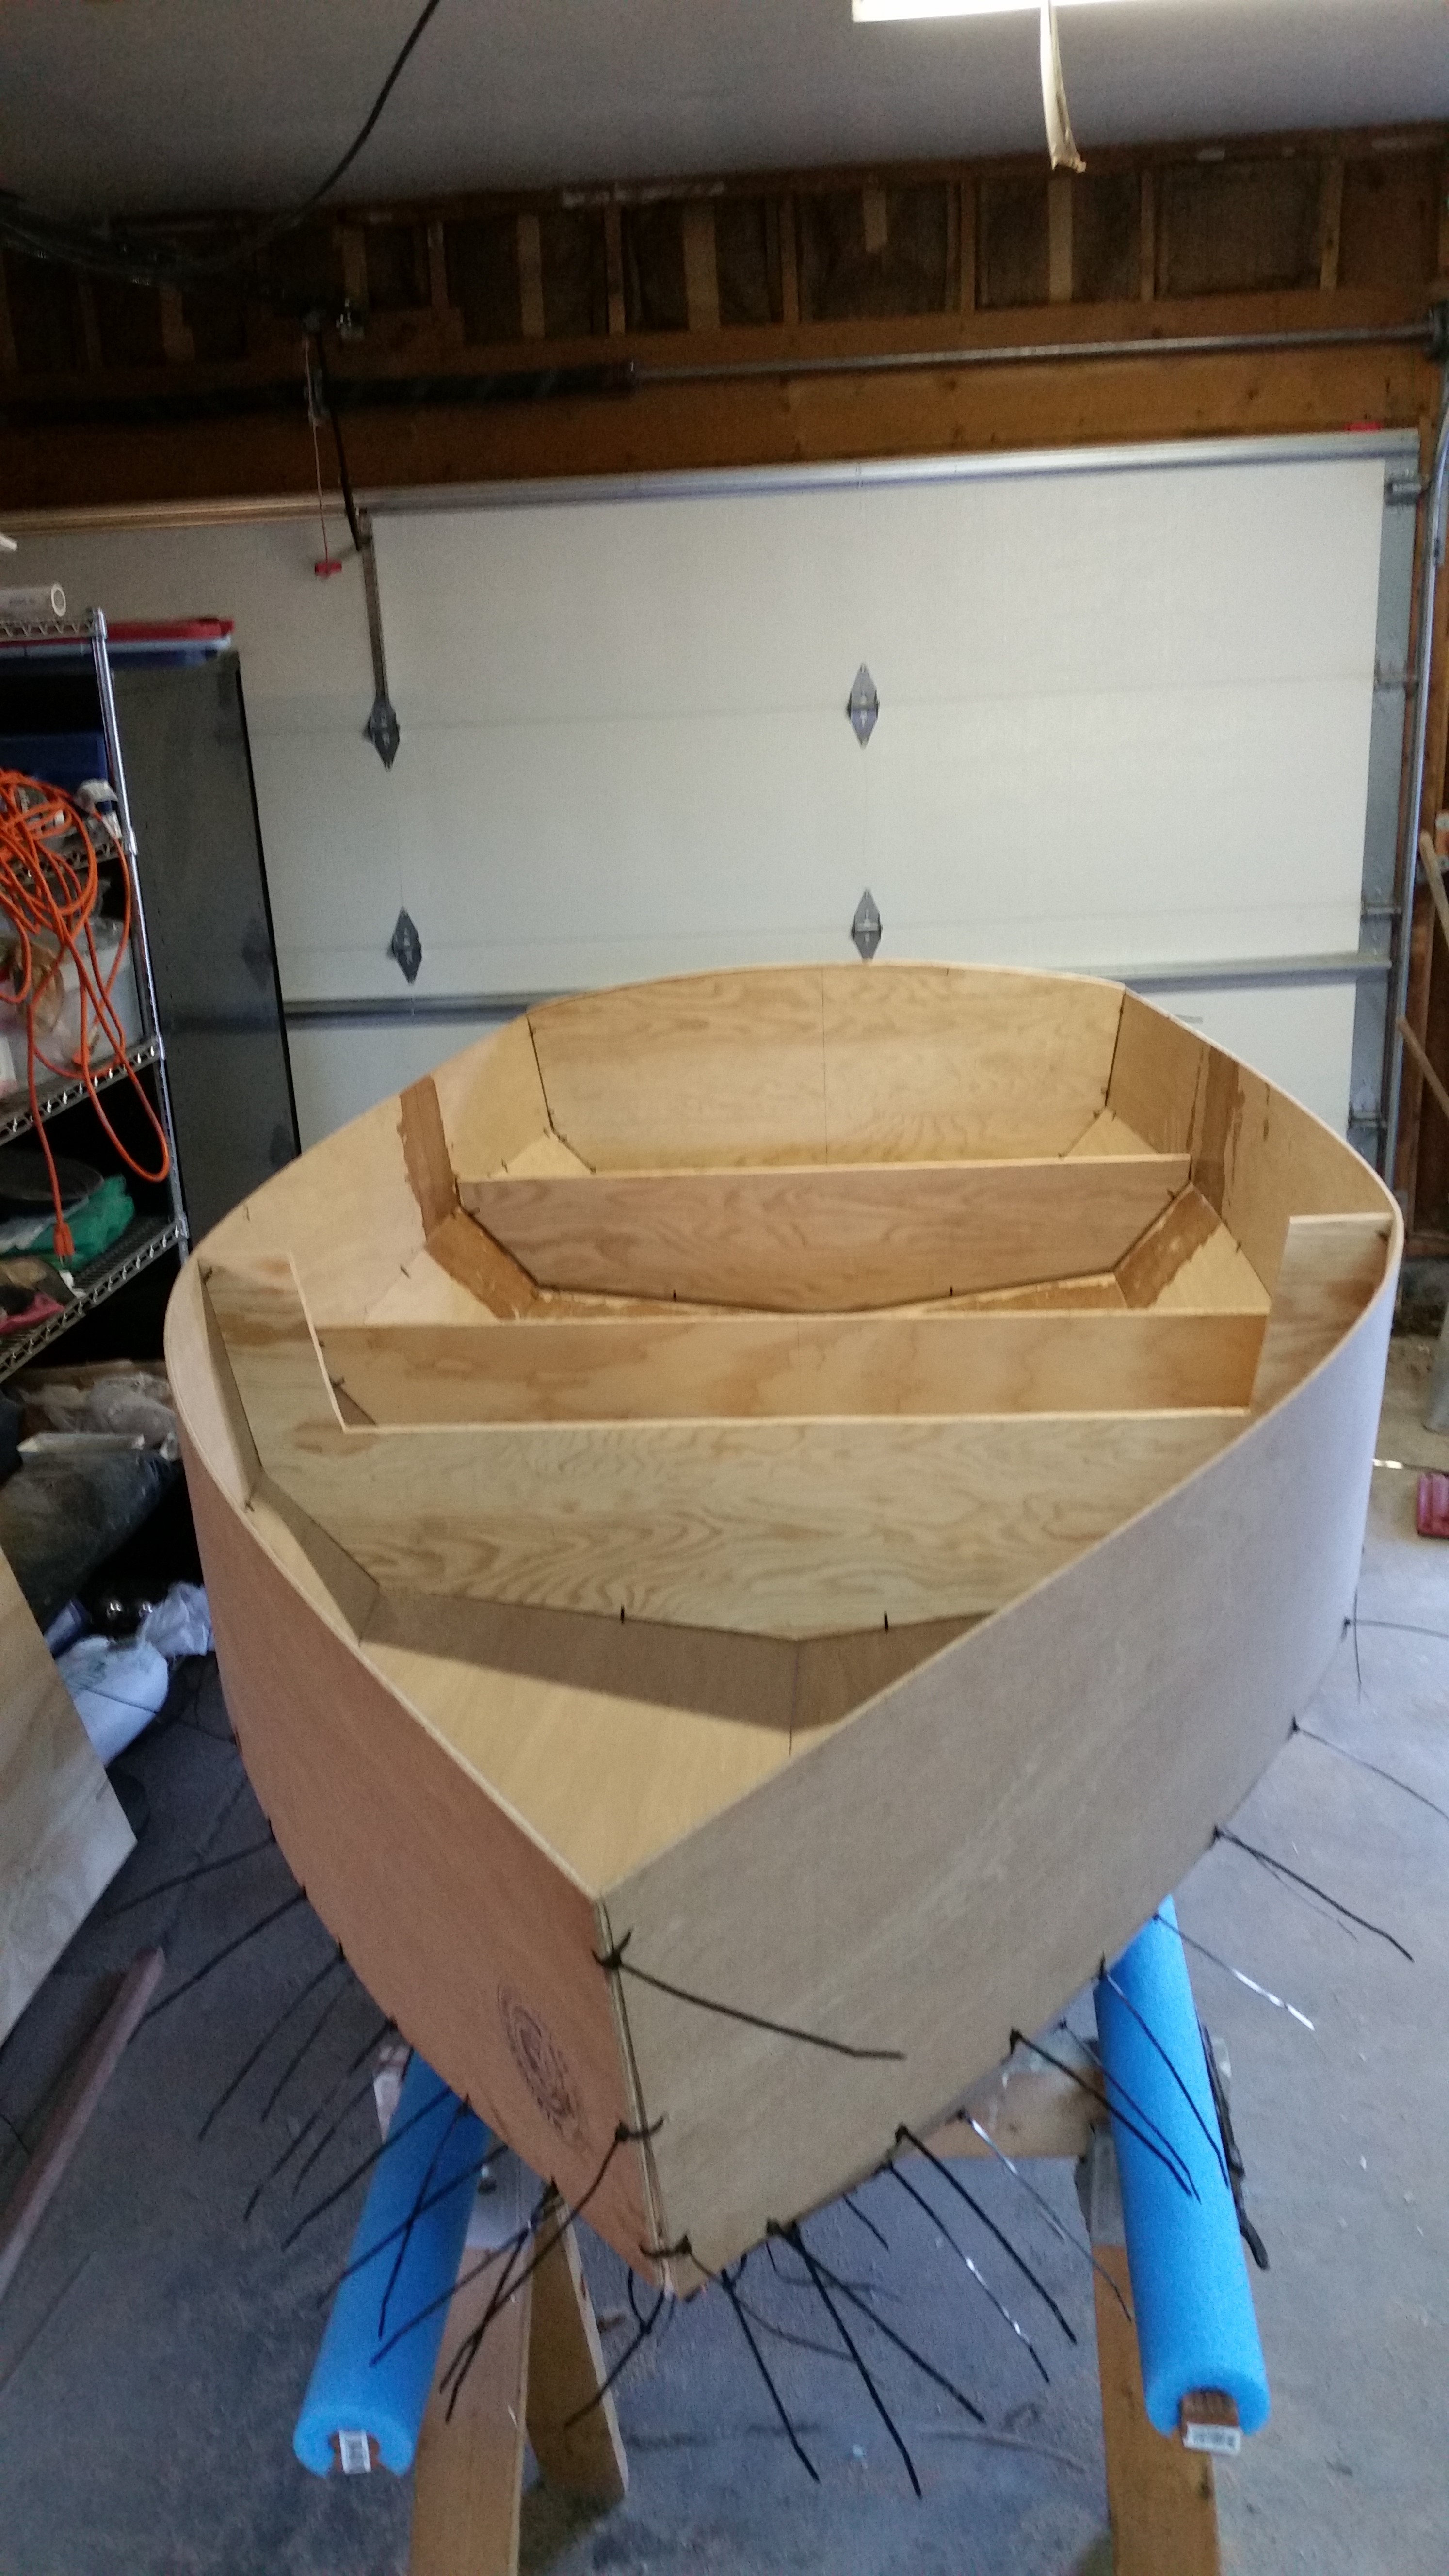
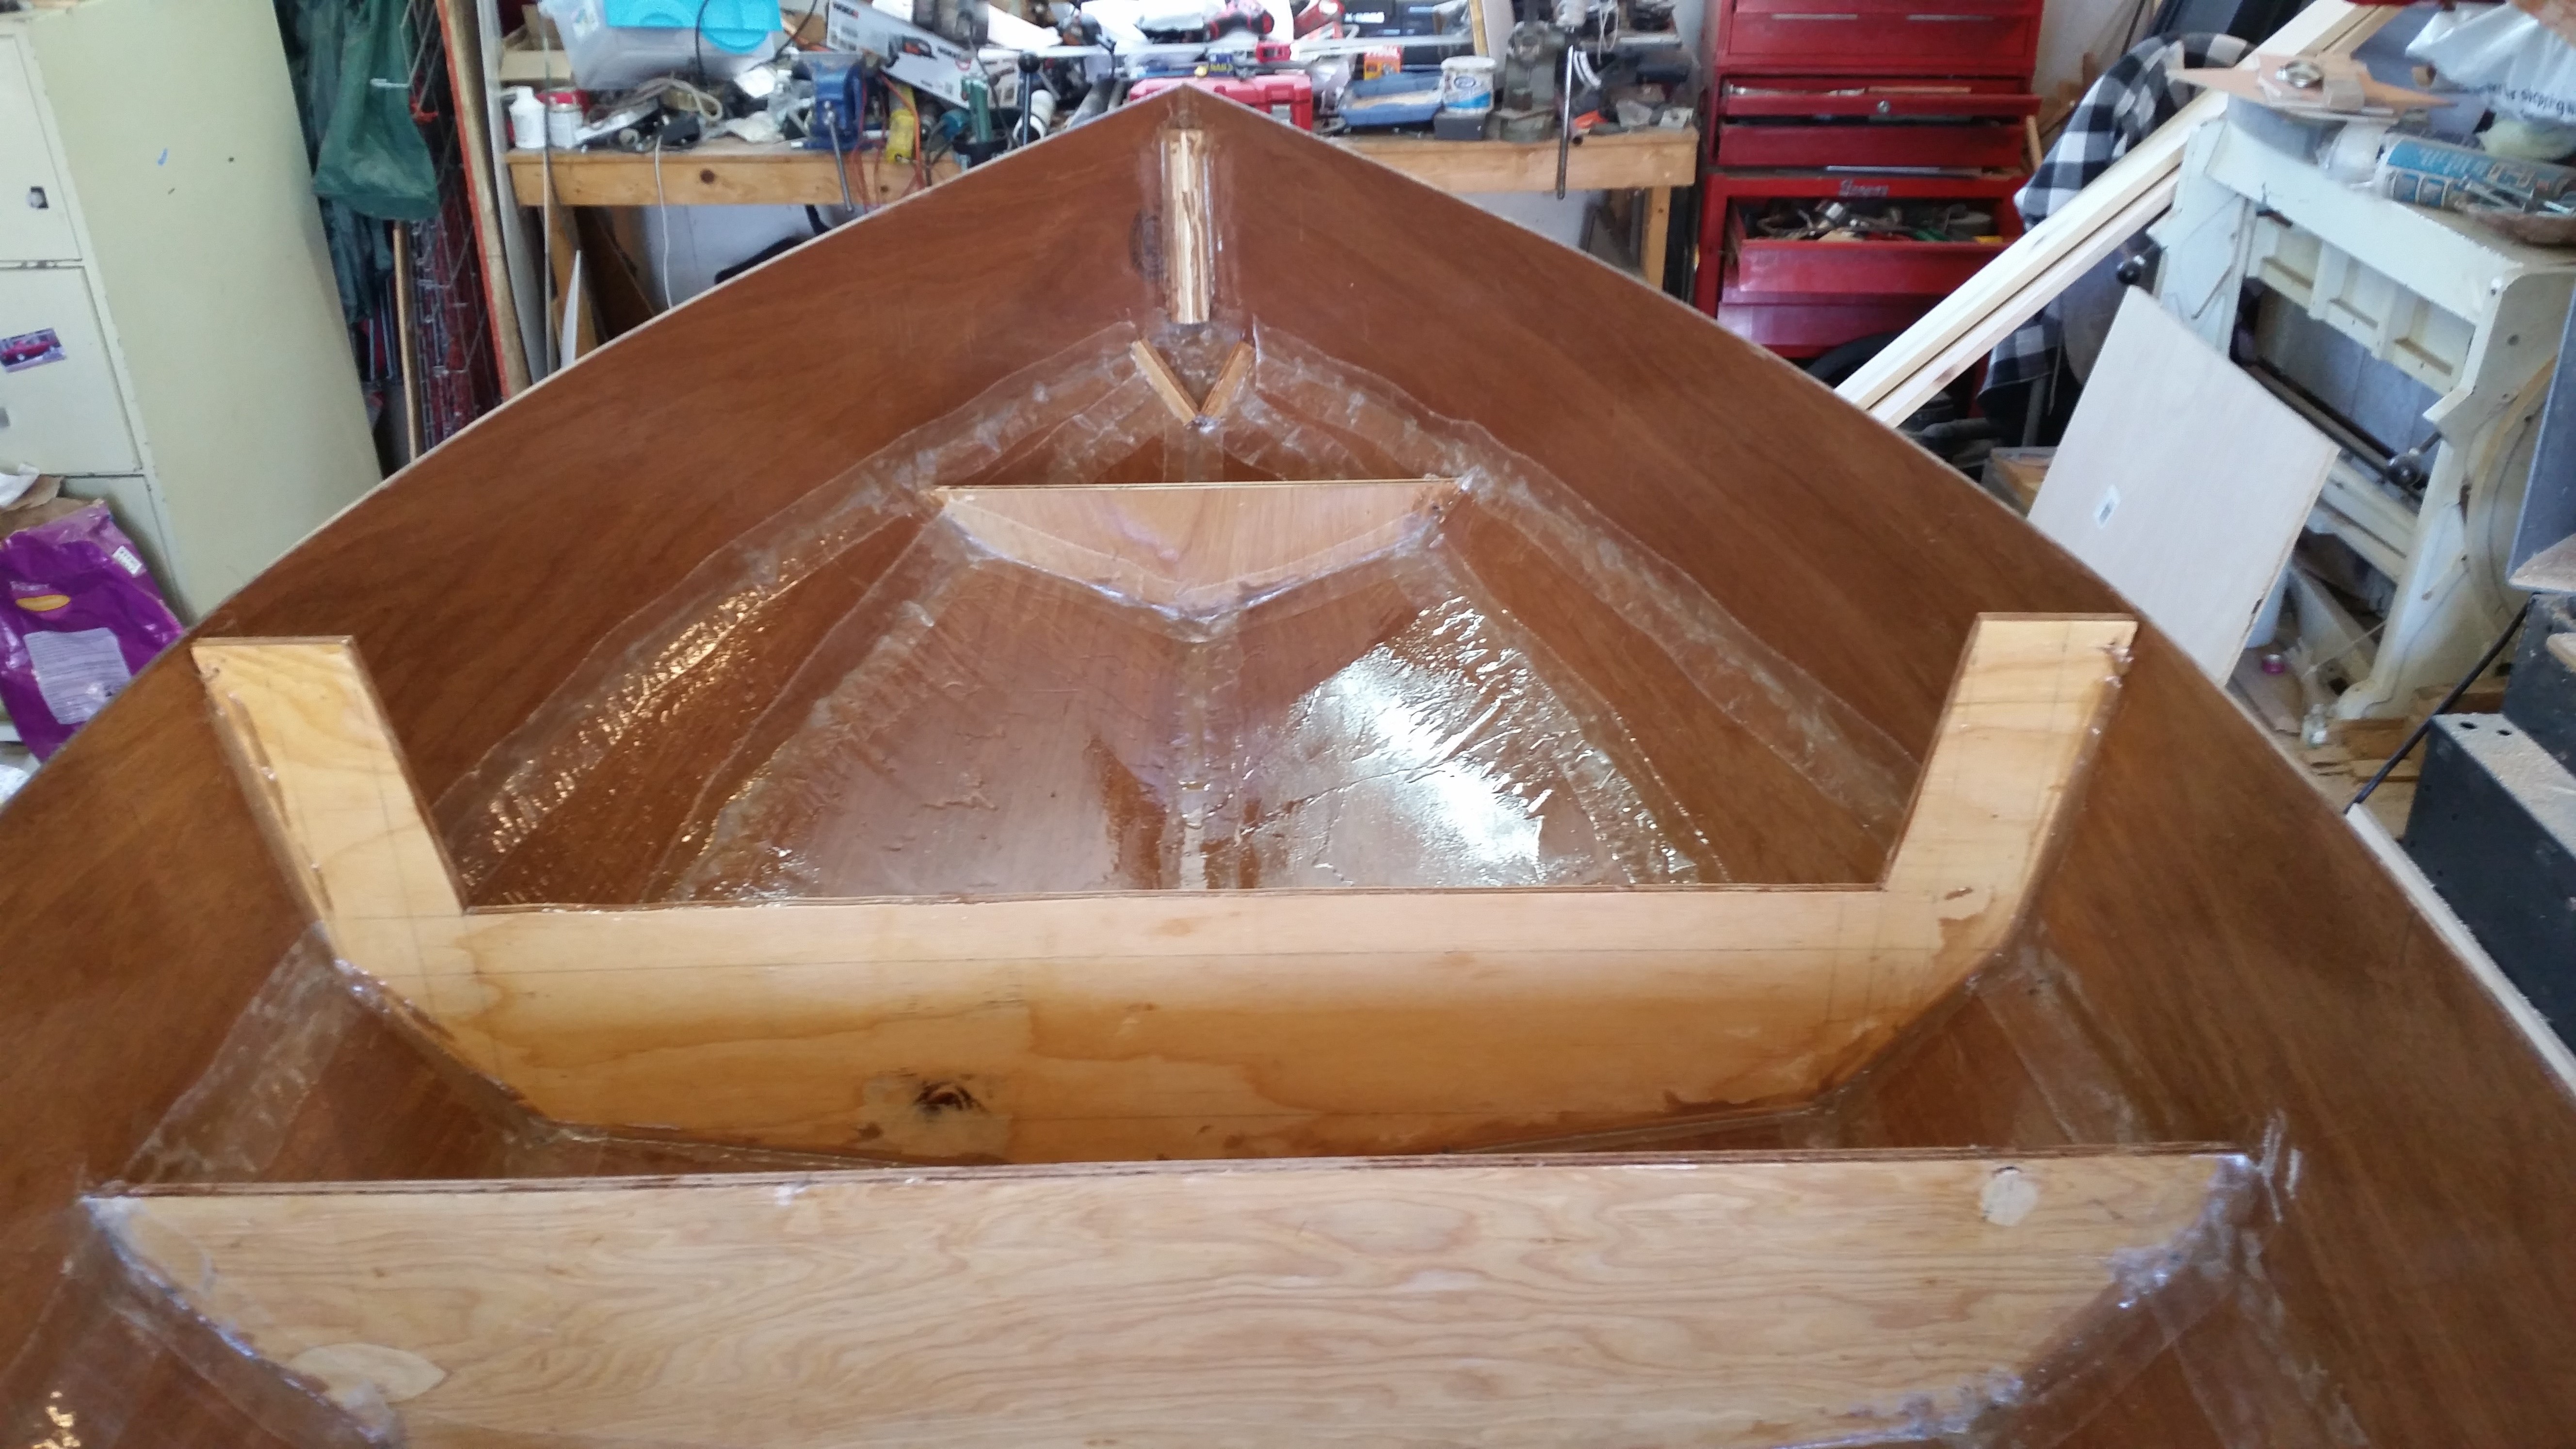
Day 11:
Added the final / front bulkhead. It takes a lot of cable ties and copper wires to pull all of the boards together in the bow.
Day 12:
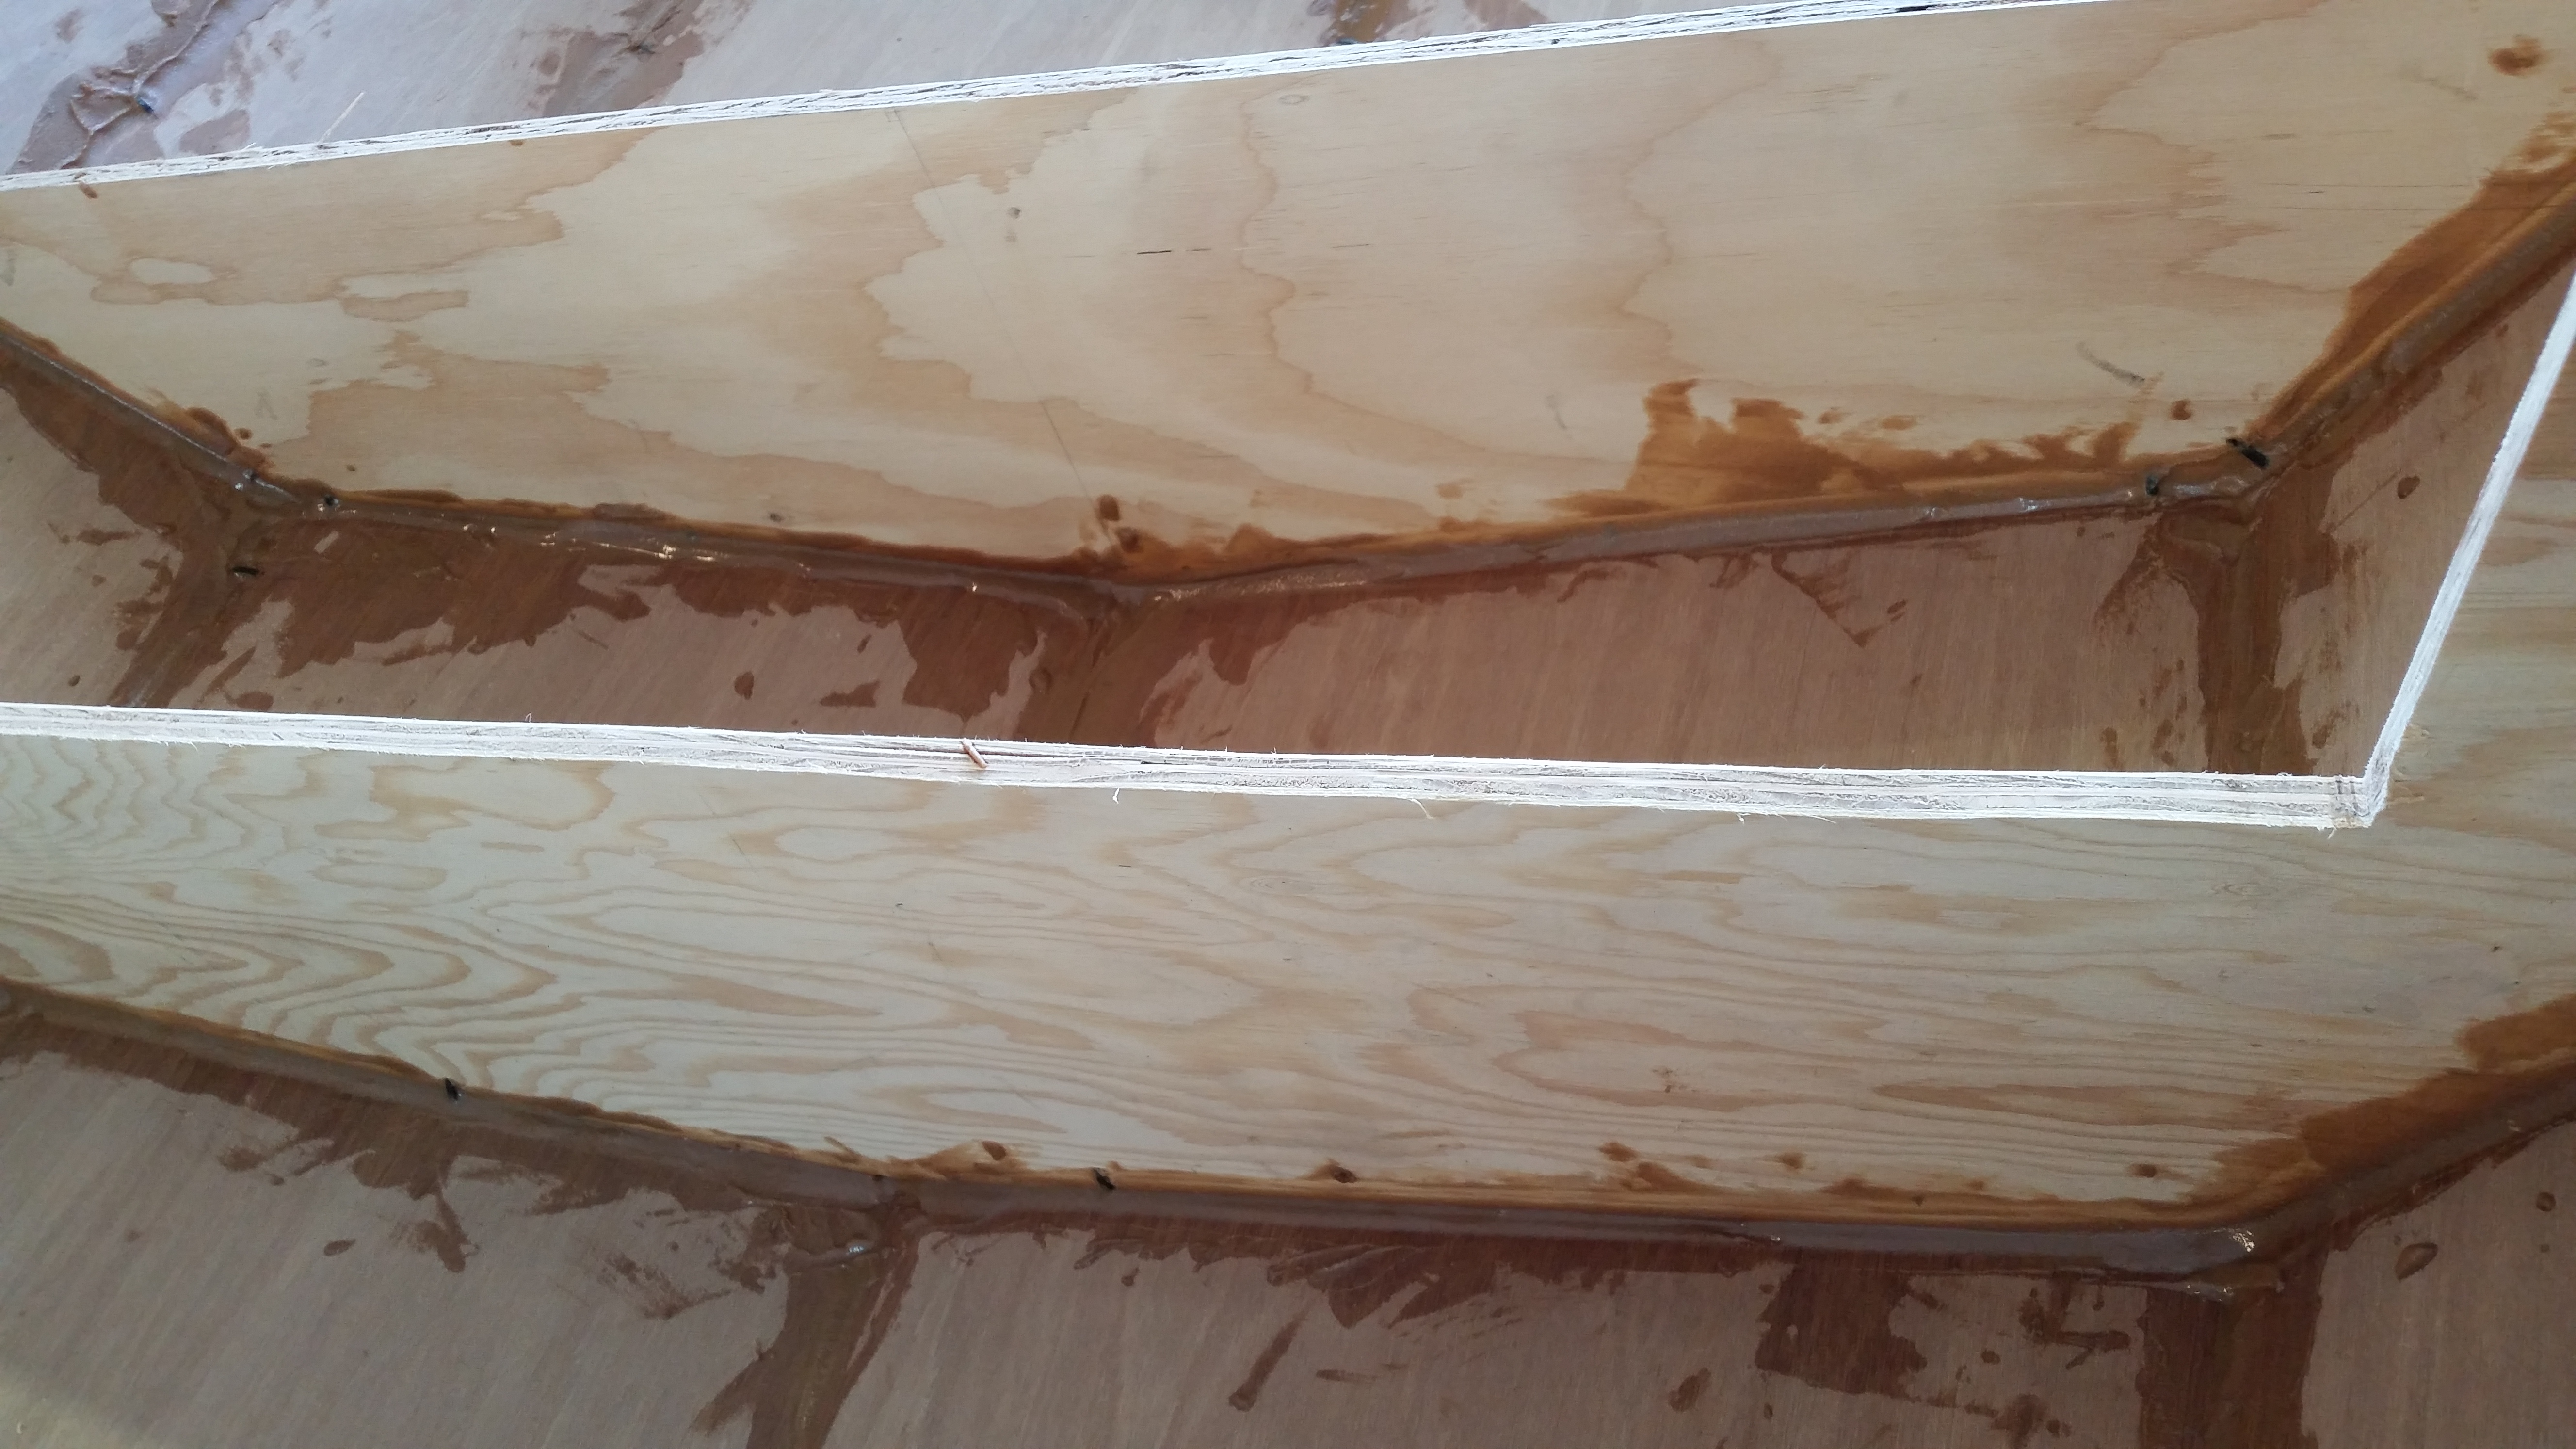
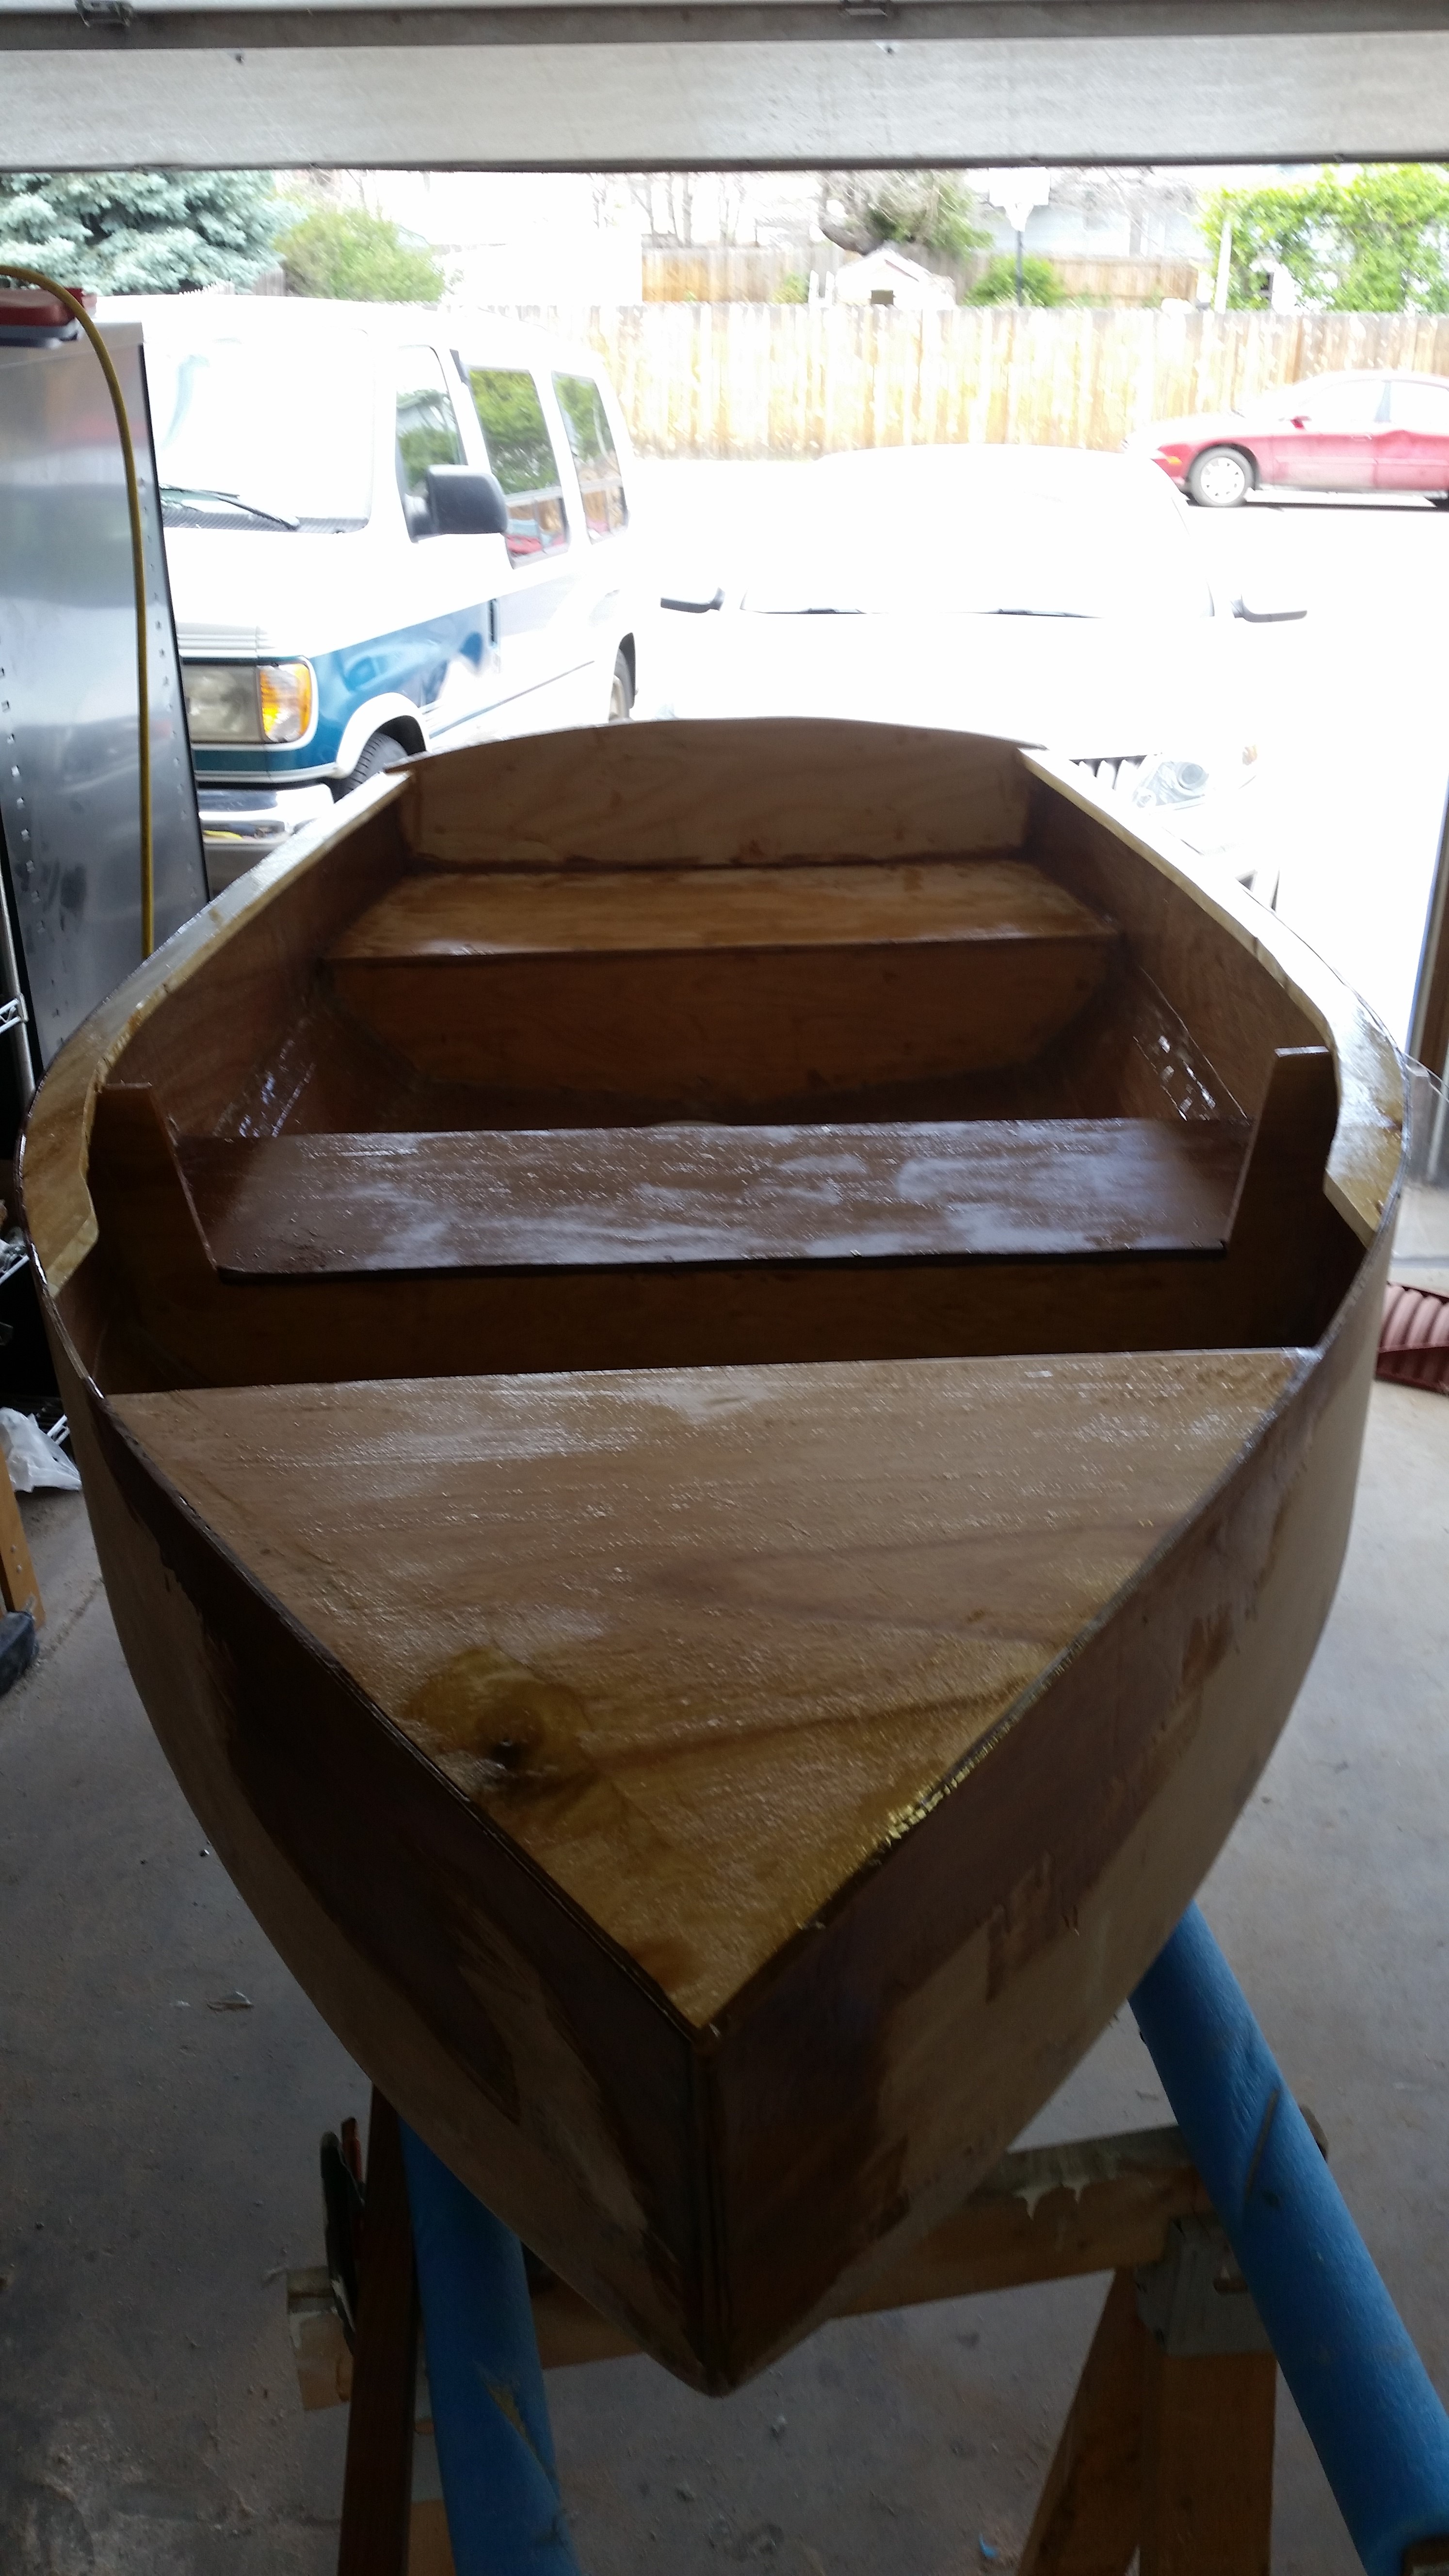
Used epoxy thickened with "wood flour" (fine sawdust) to glue all of the seams inside the boat.
Removed the cable ties.
Day 13:
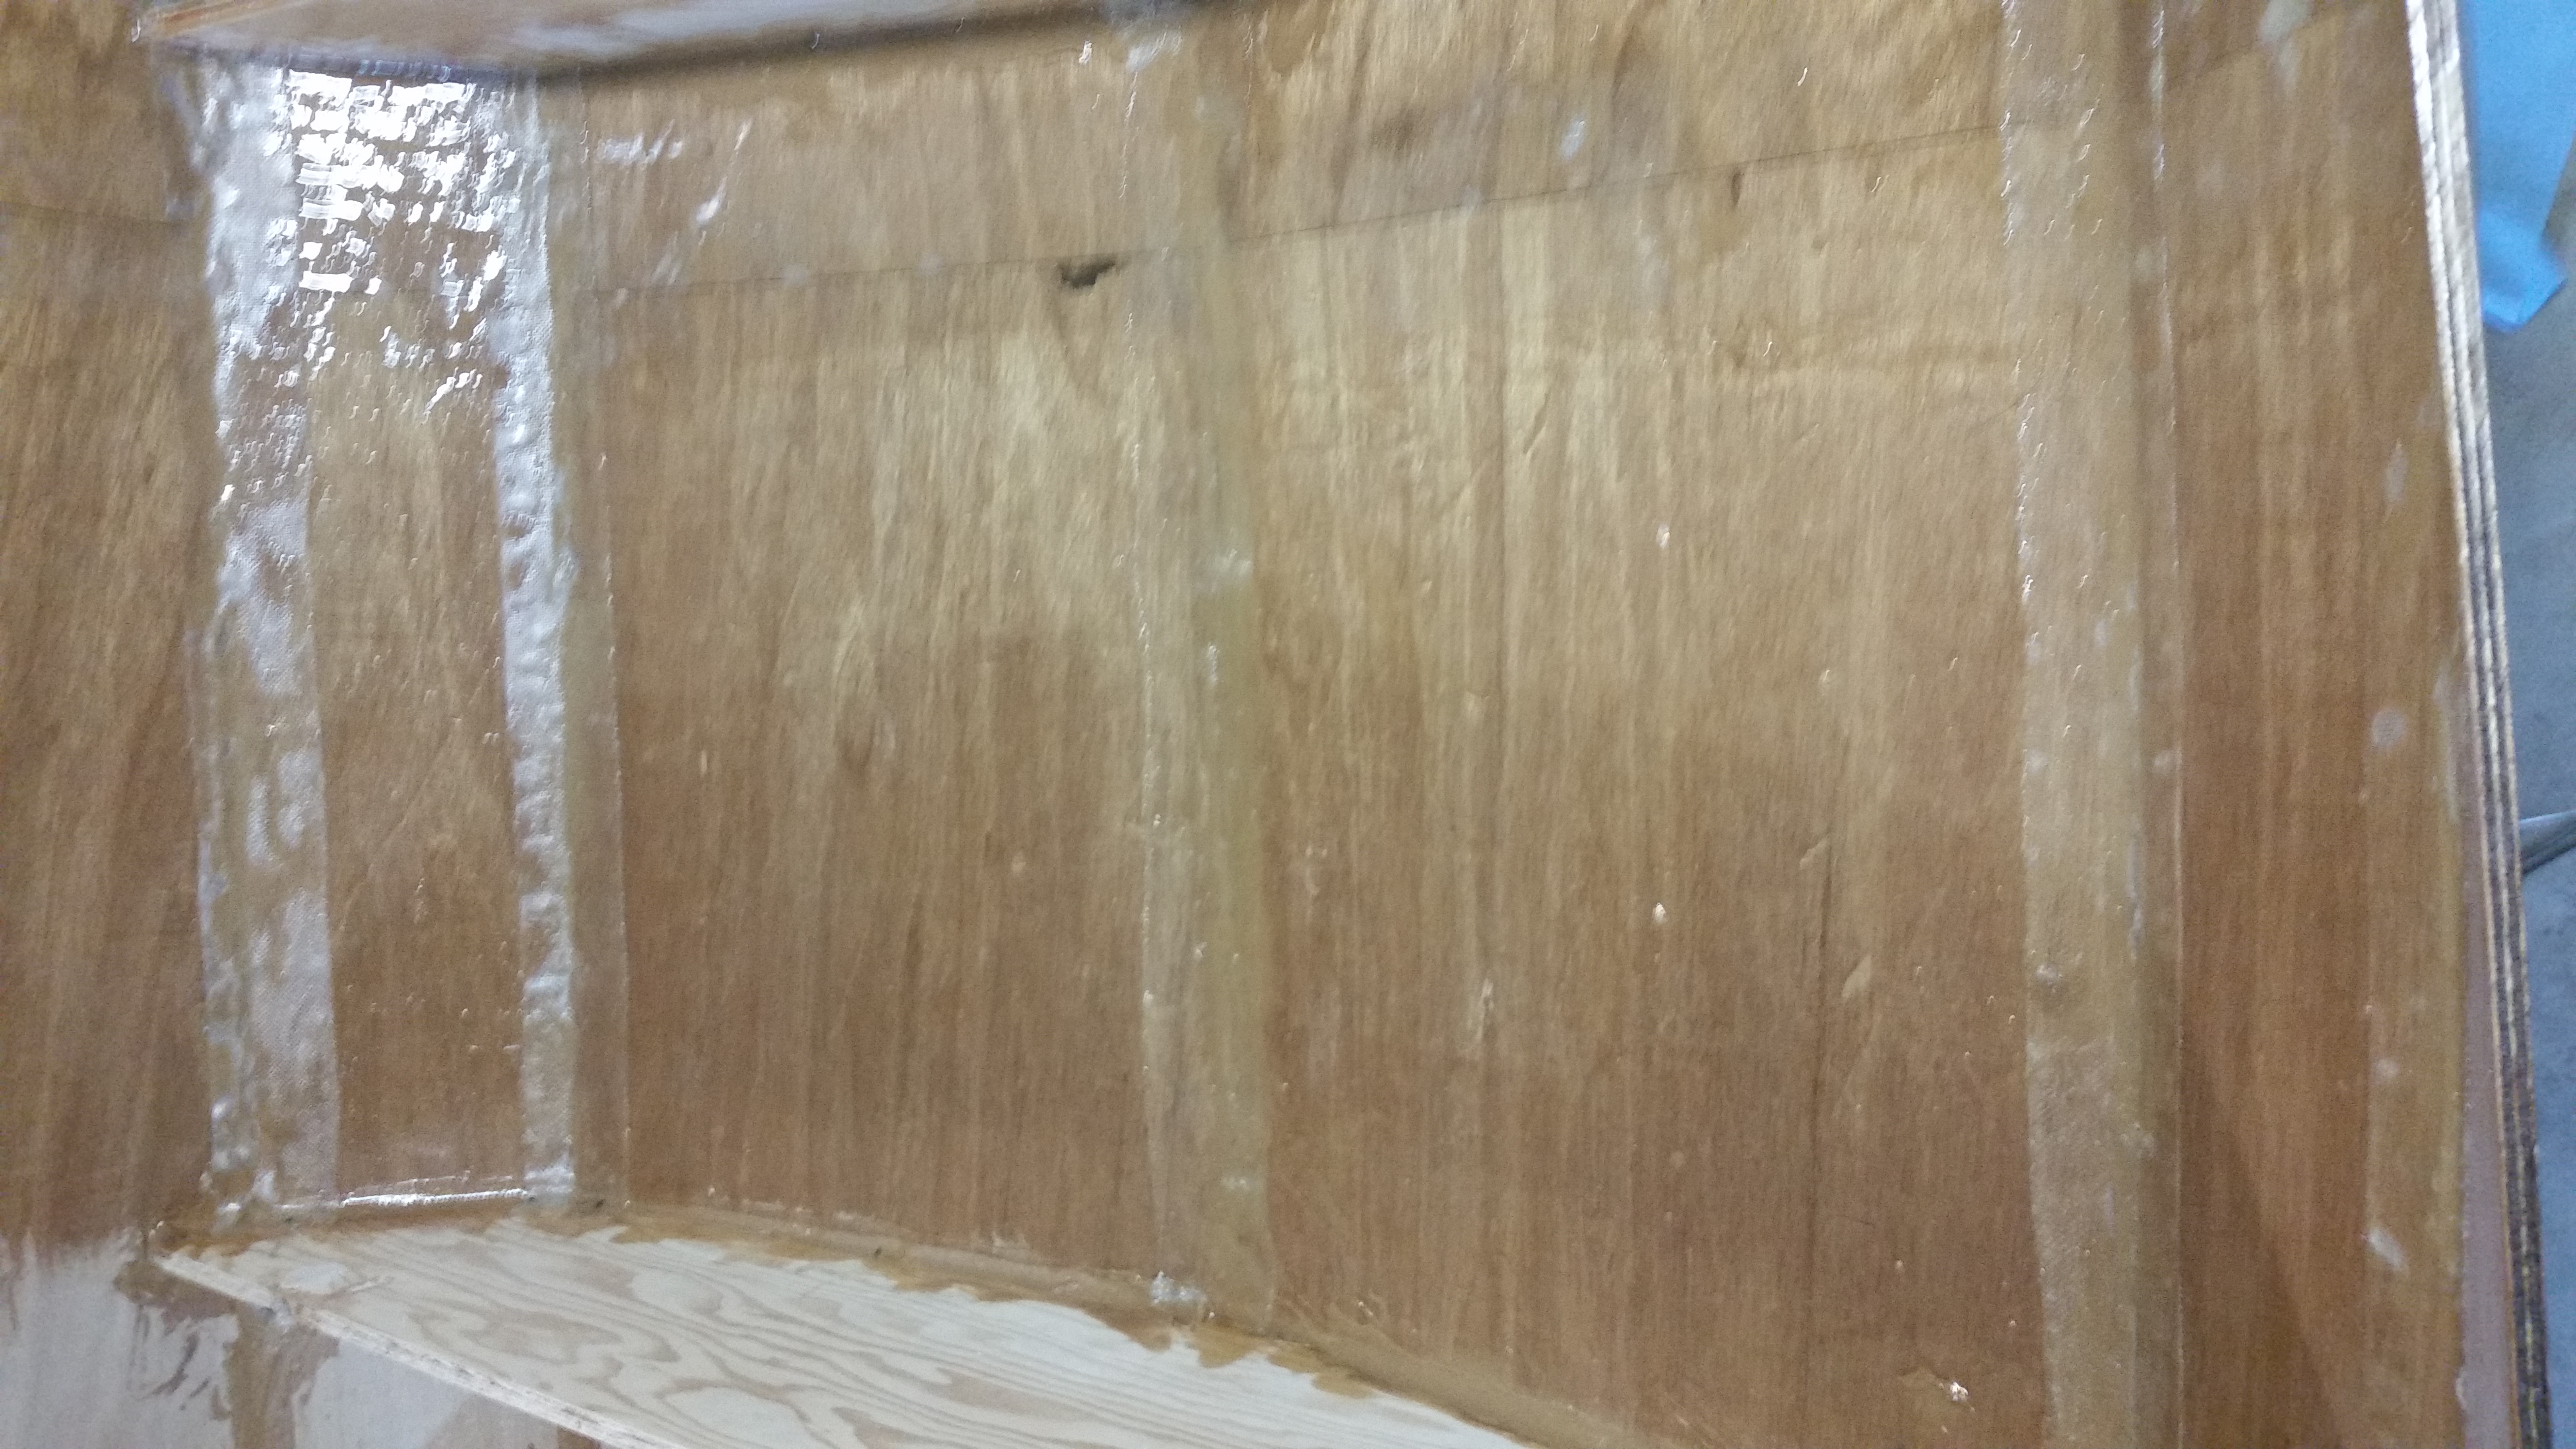
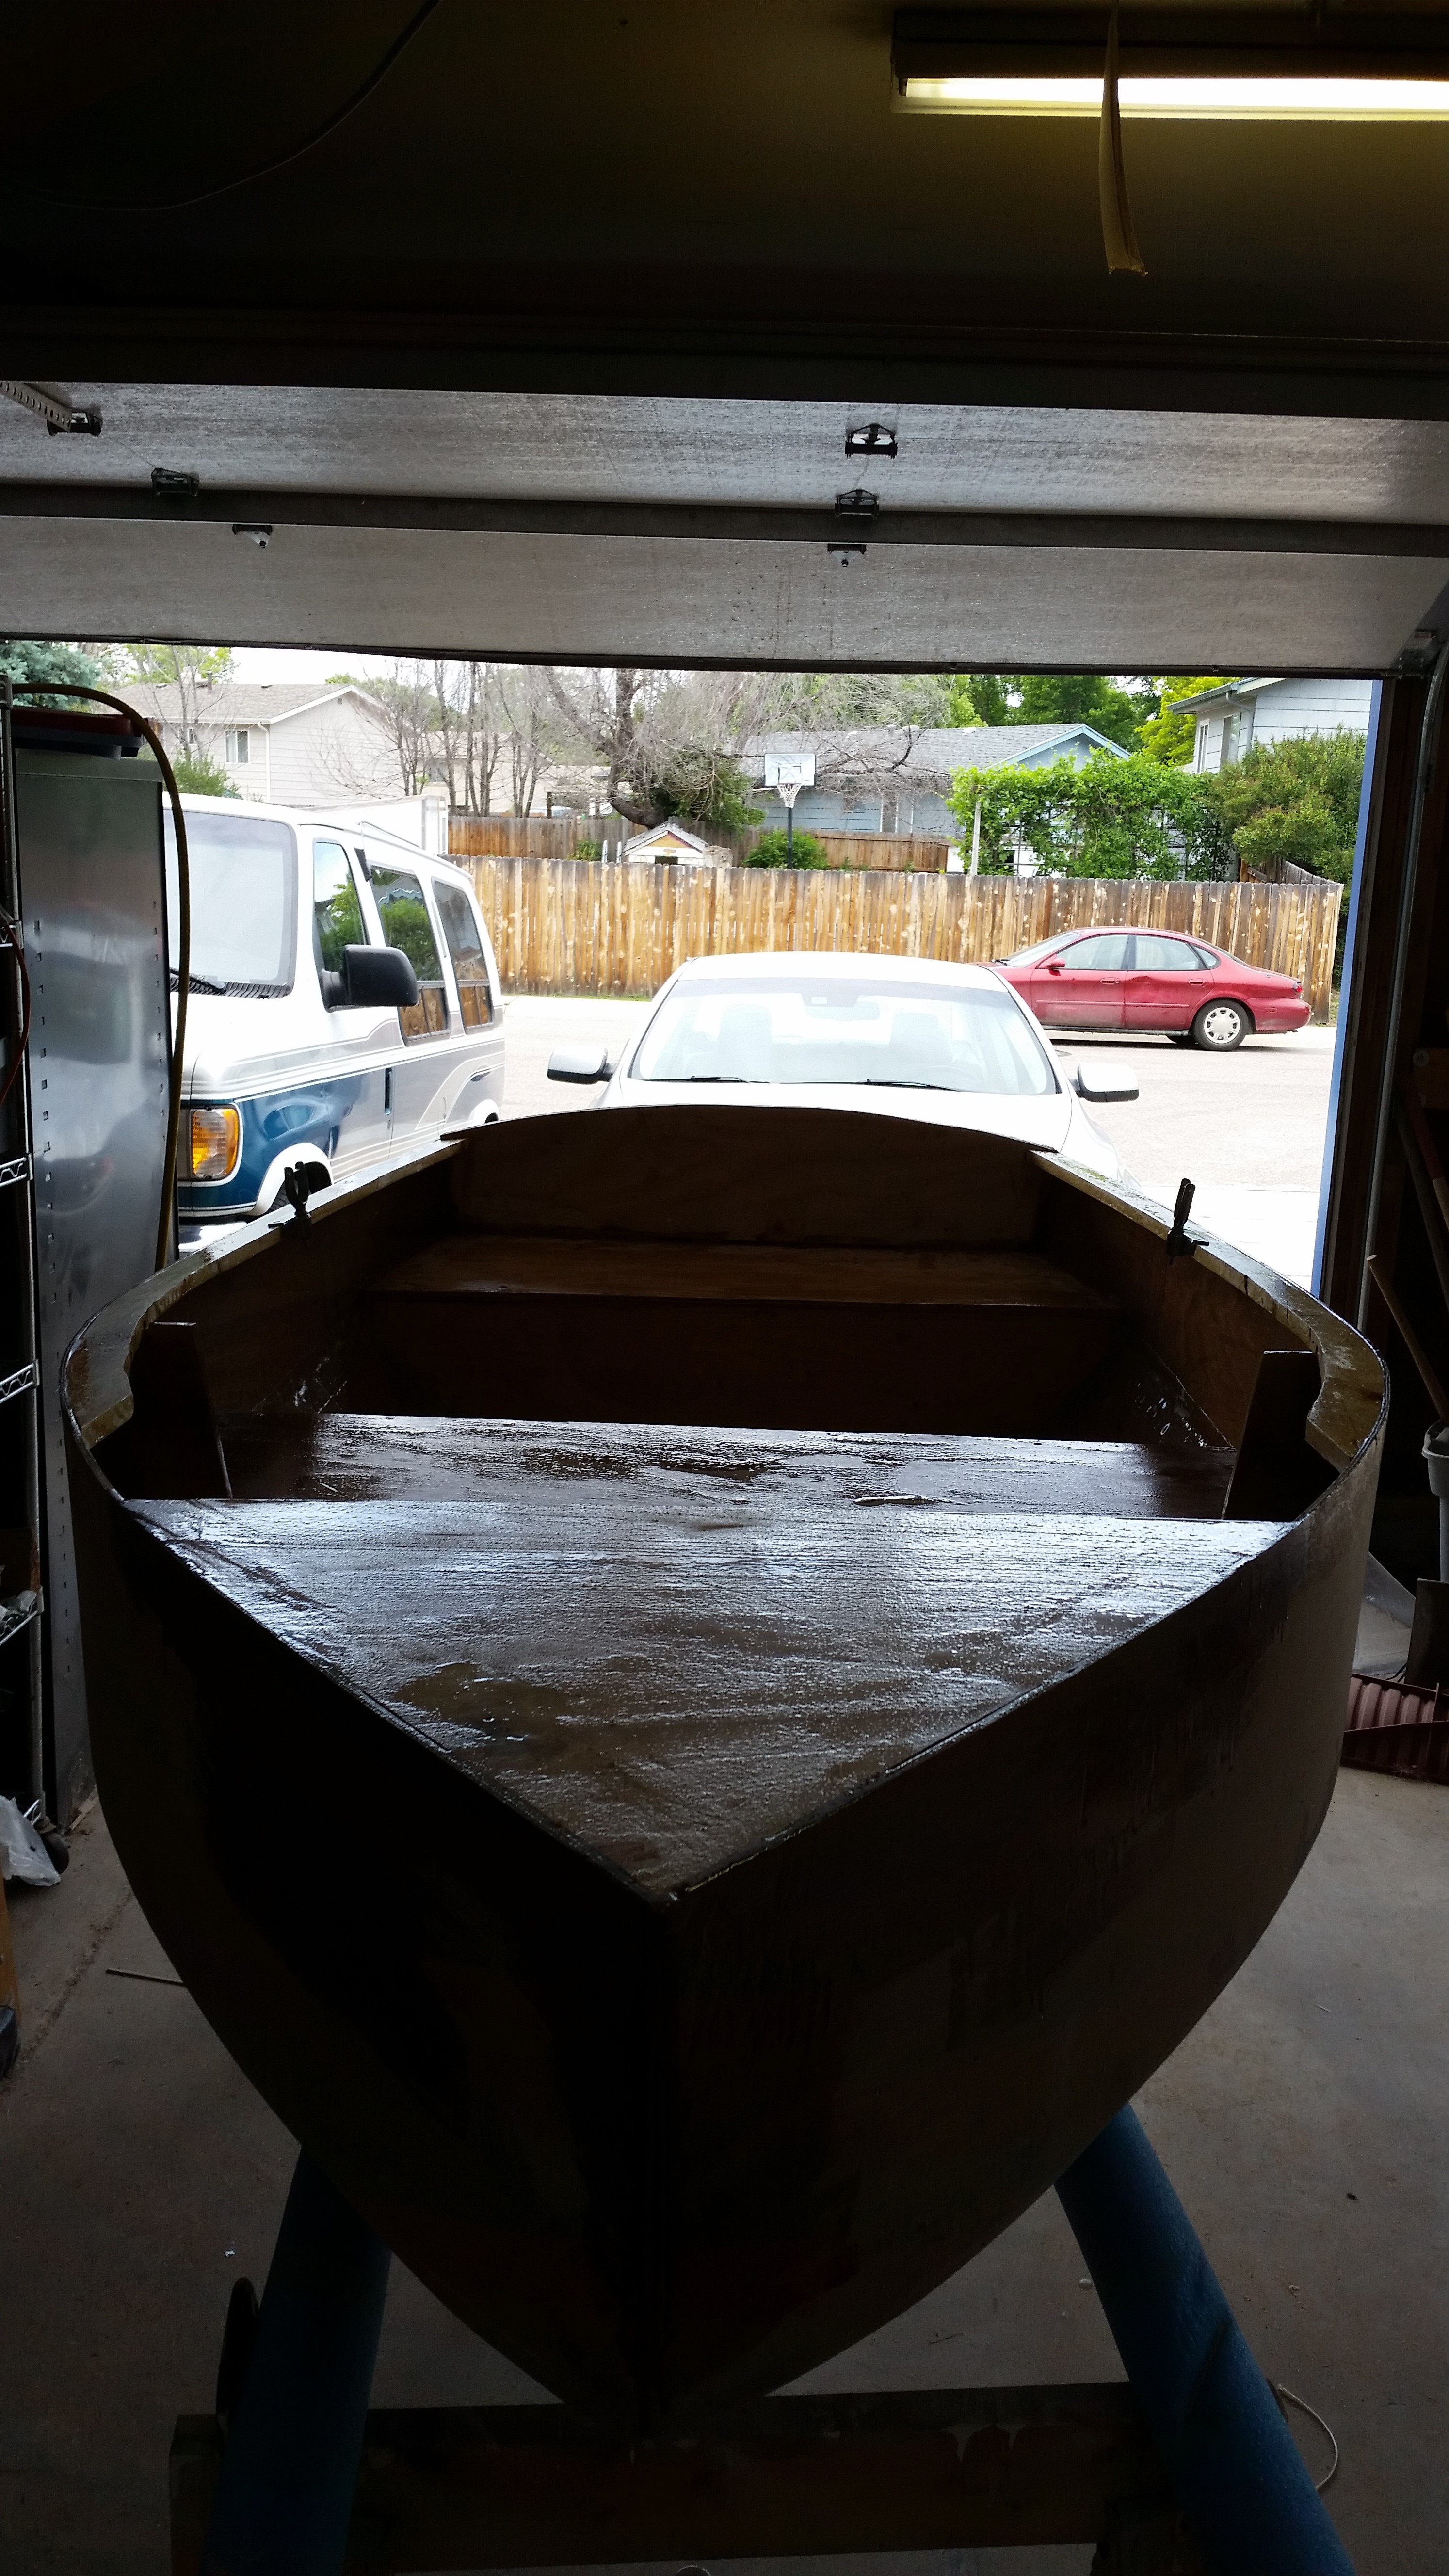
I used fiberglass cloth and epoxy to reinforce the seams on the rearmost compartment (under the seat) and to waterproof the wood. The marine plywood takes on a nice dark color when painted with the epoxy. I discover that cutting 3 inch strips of fiberglass cloth does not work well, and lots of strands come loose and make a mess.
Day 14:
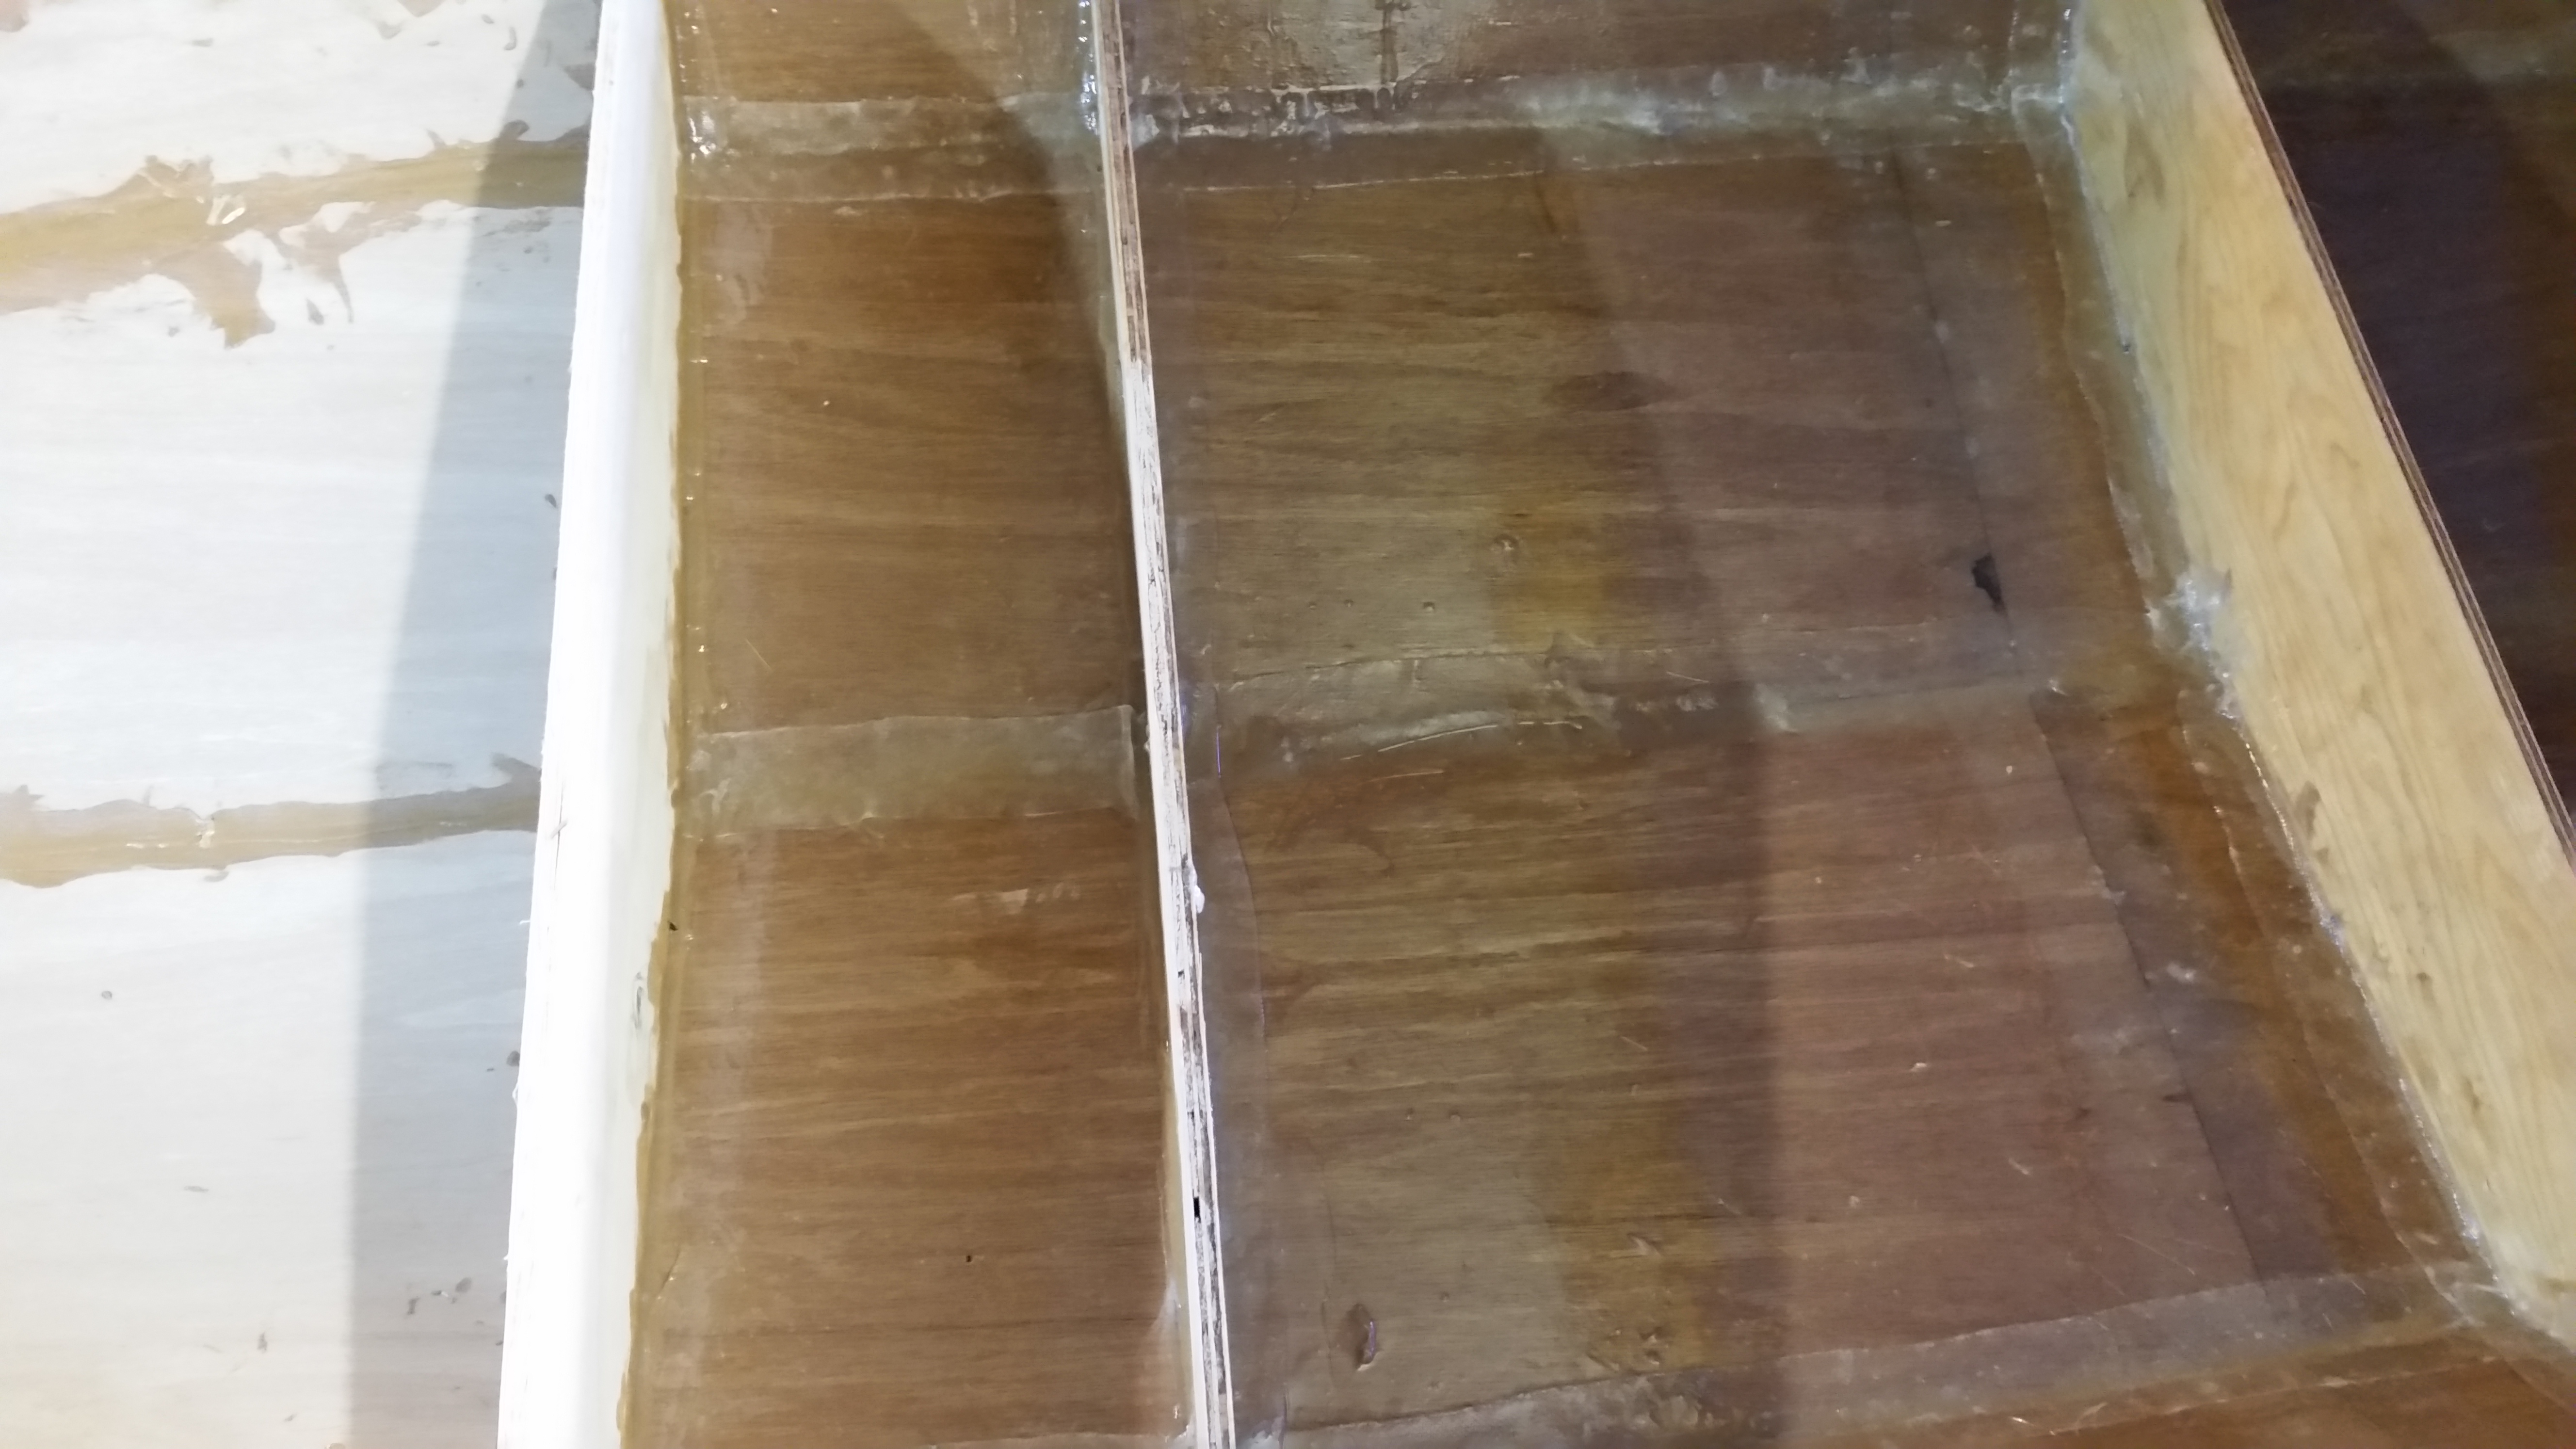
I purchased a roll of 3 inch wide fiberglass cloth with selvaged edges and used it to do the seams in the next section. This works much better with no loose strings.
Day 15:
I epoxied and fiberglassed the next section.
Day 16:
I epoxied and fiberglassed the next section.
Day 17:
Final pieces of fiberglass in the bow. Wood reinforcement of the bow. Sanded the outside of the transom.
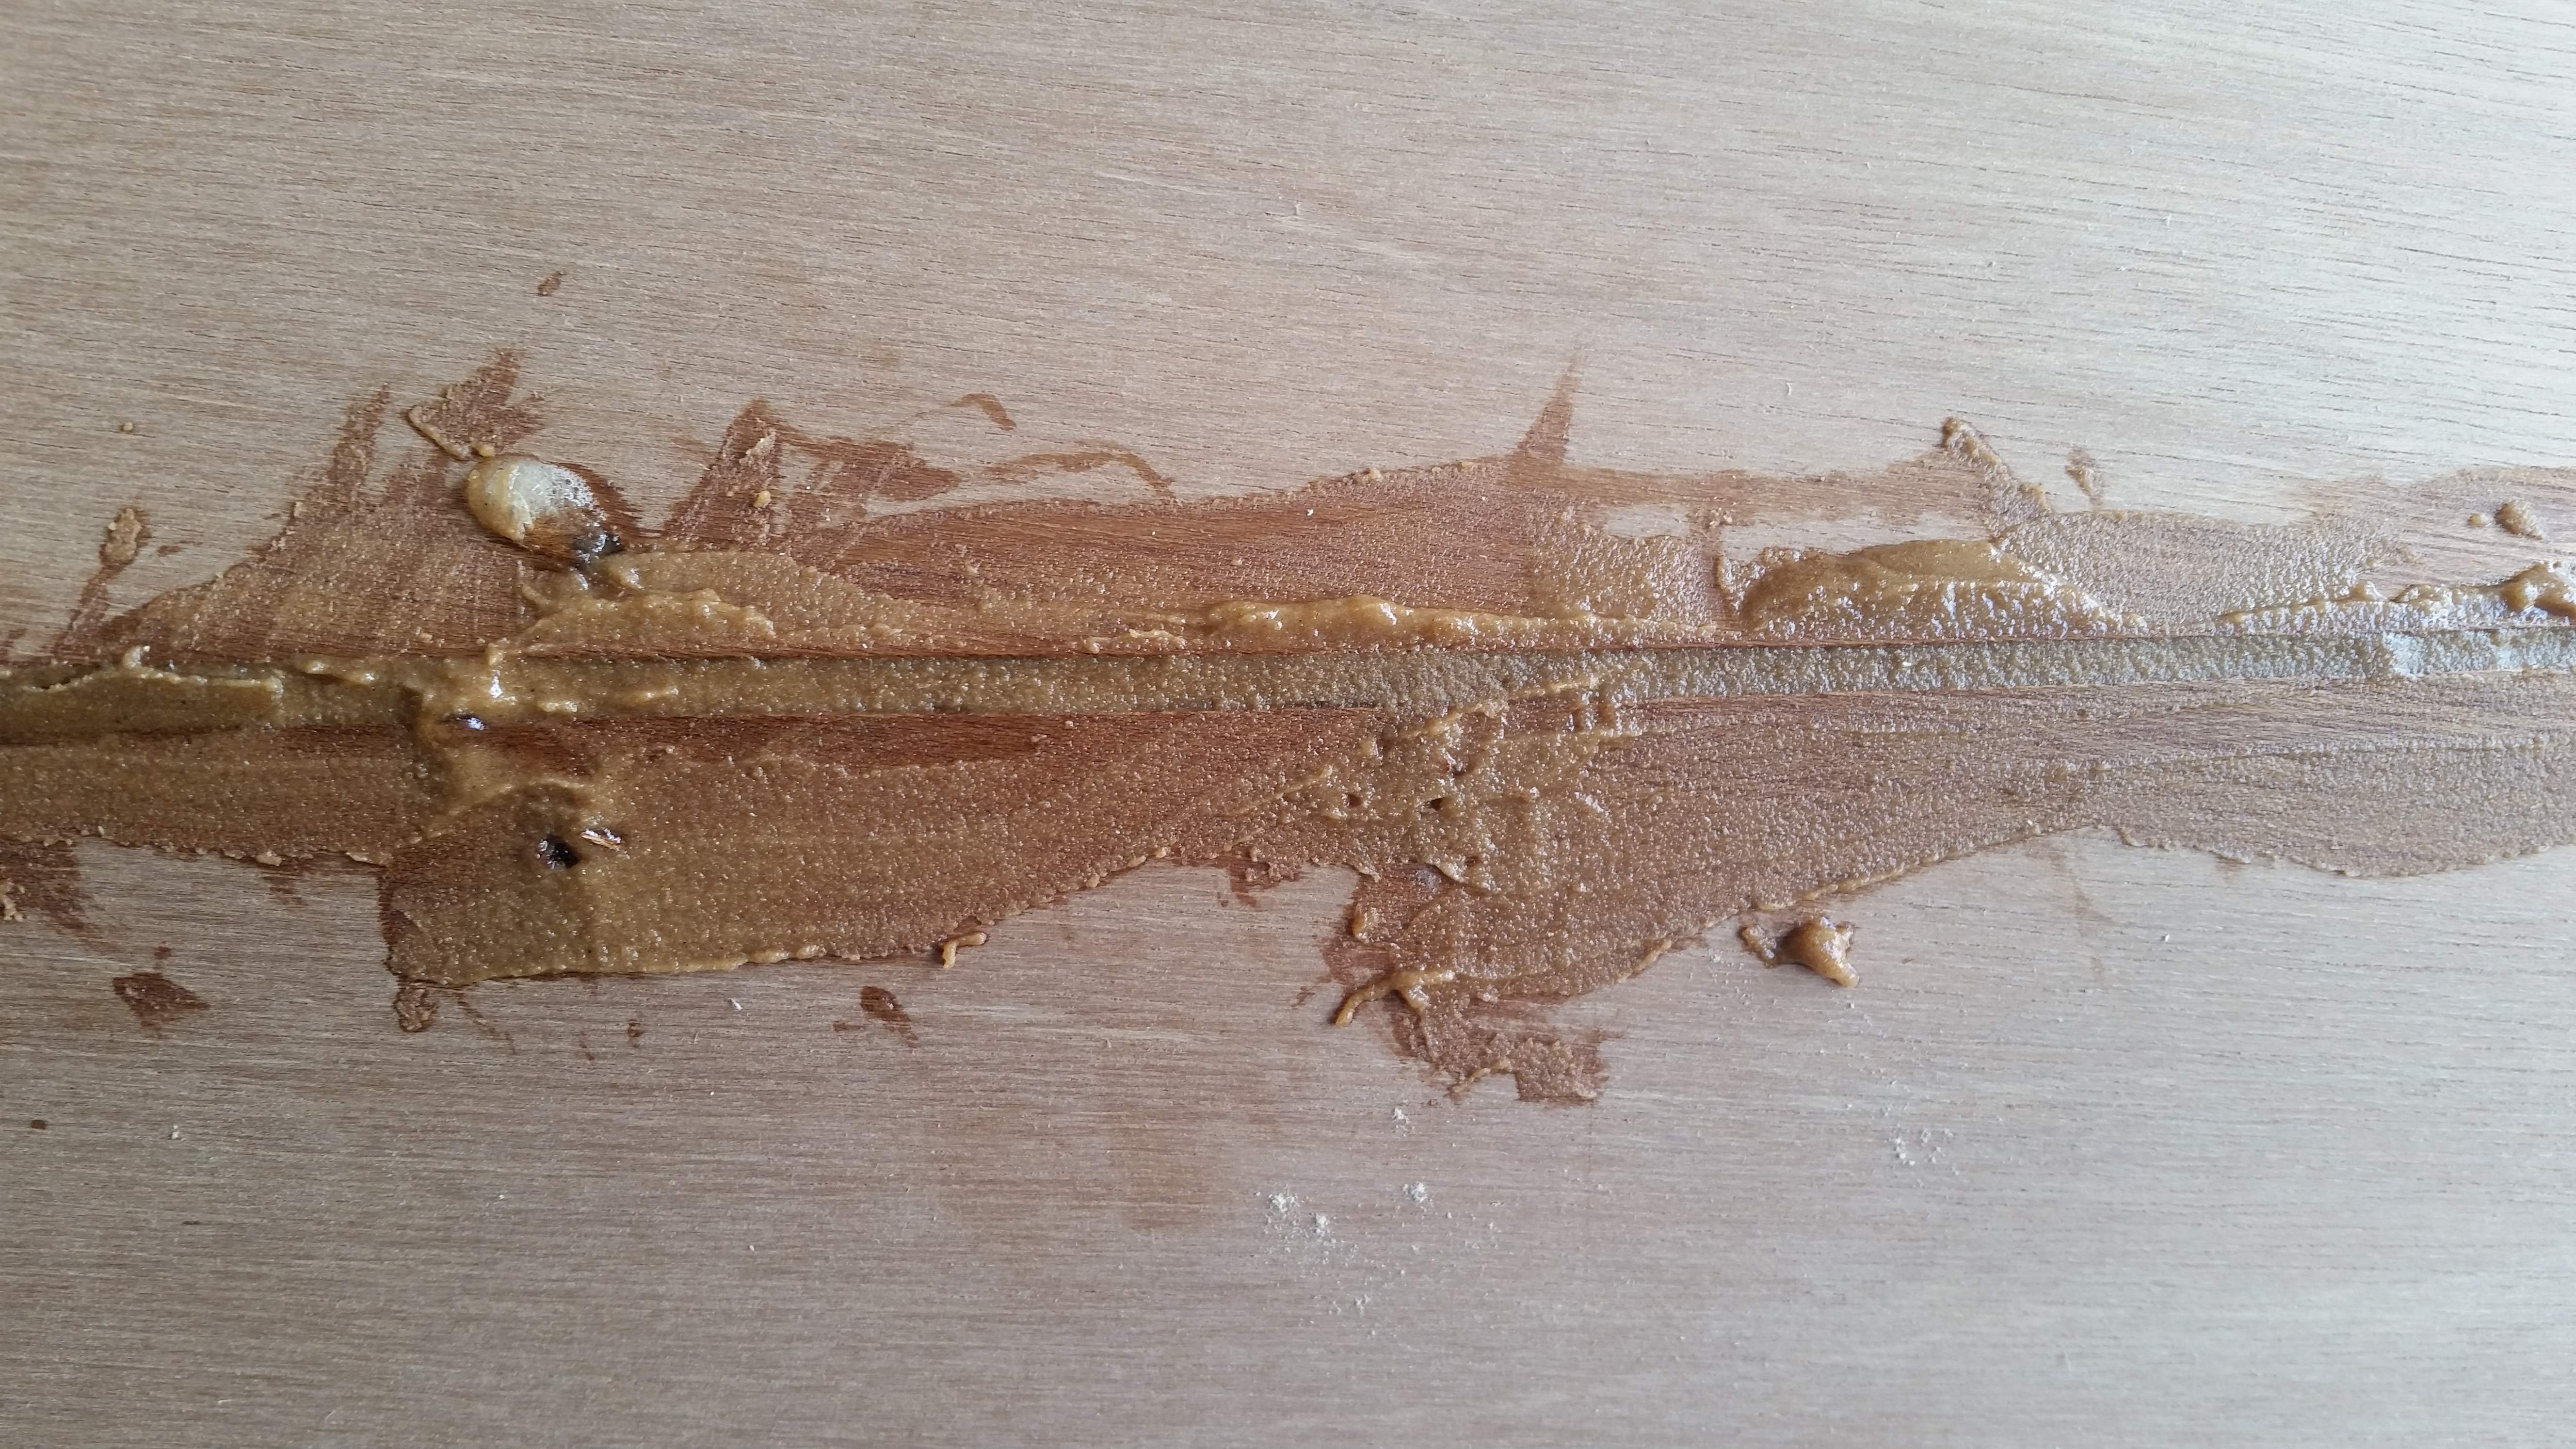
Day 18:
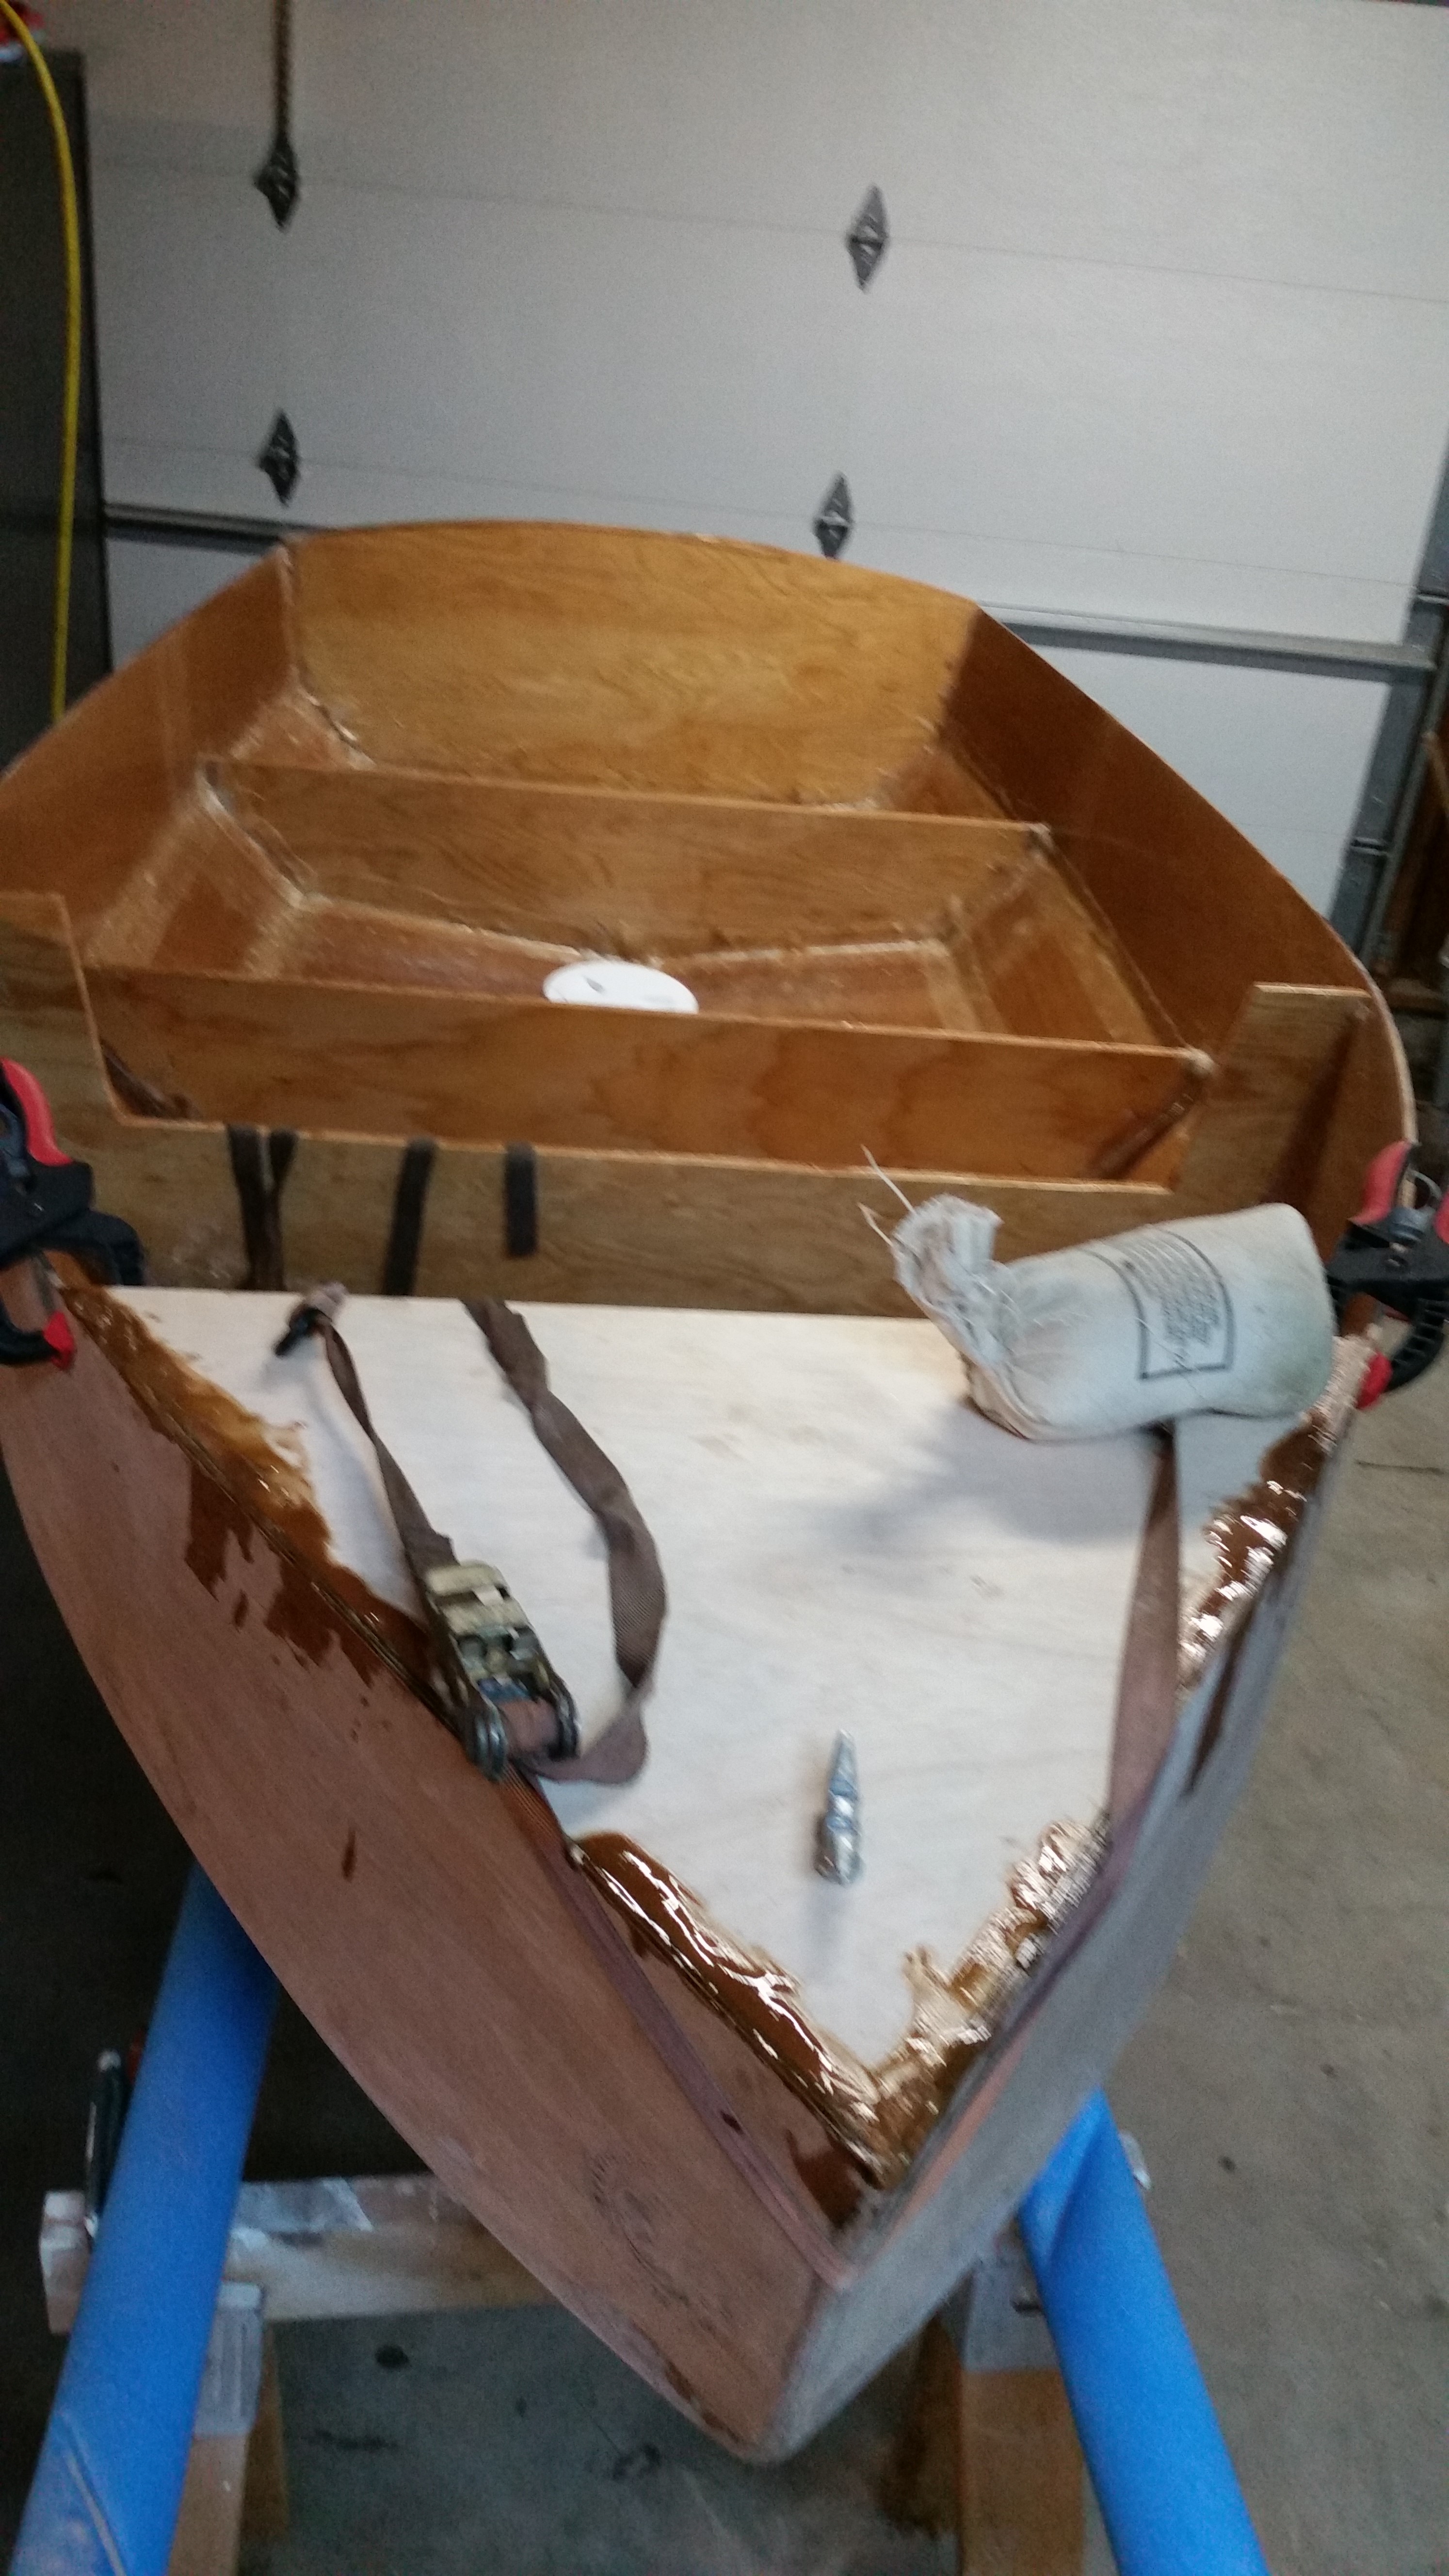
Started sealing of bottom seams. I got the center and one side finished.
In the pictures you can see a spot where the epoxy flowed from the inside and the seam was already filled.
The next photo shows one of the outside seams filled with thickened epoxy.
The final picture shows the seam after the epoxy has dried and been sanded.

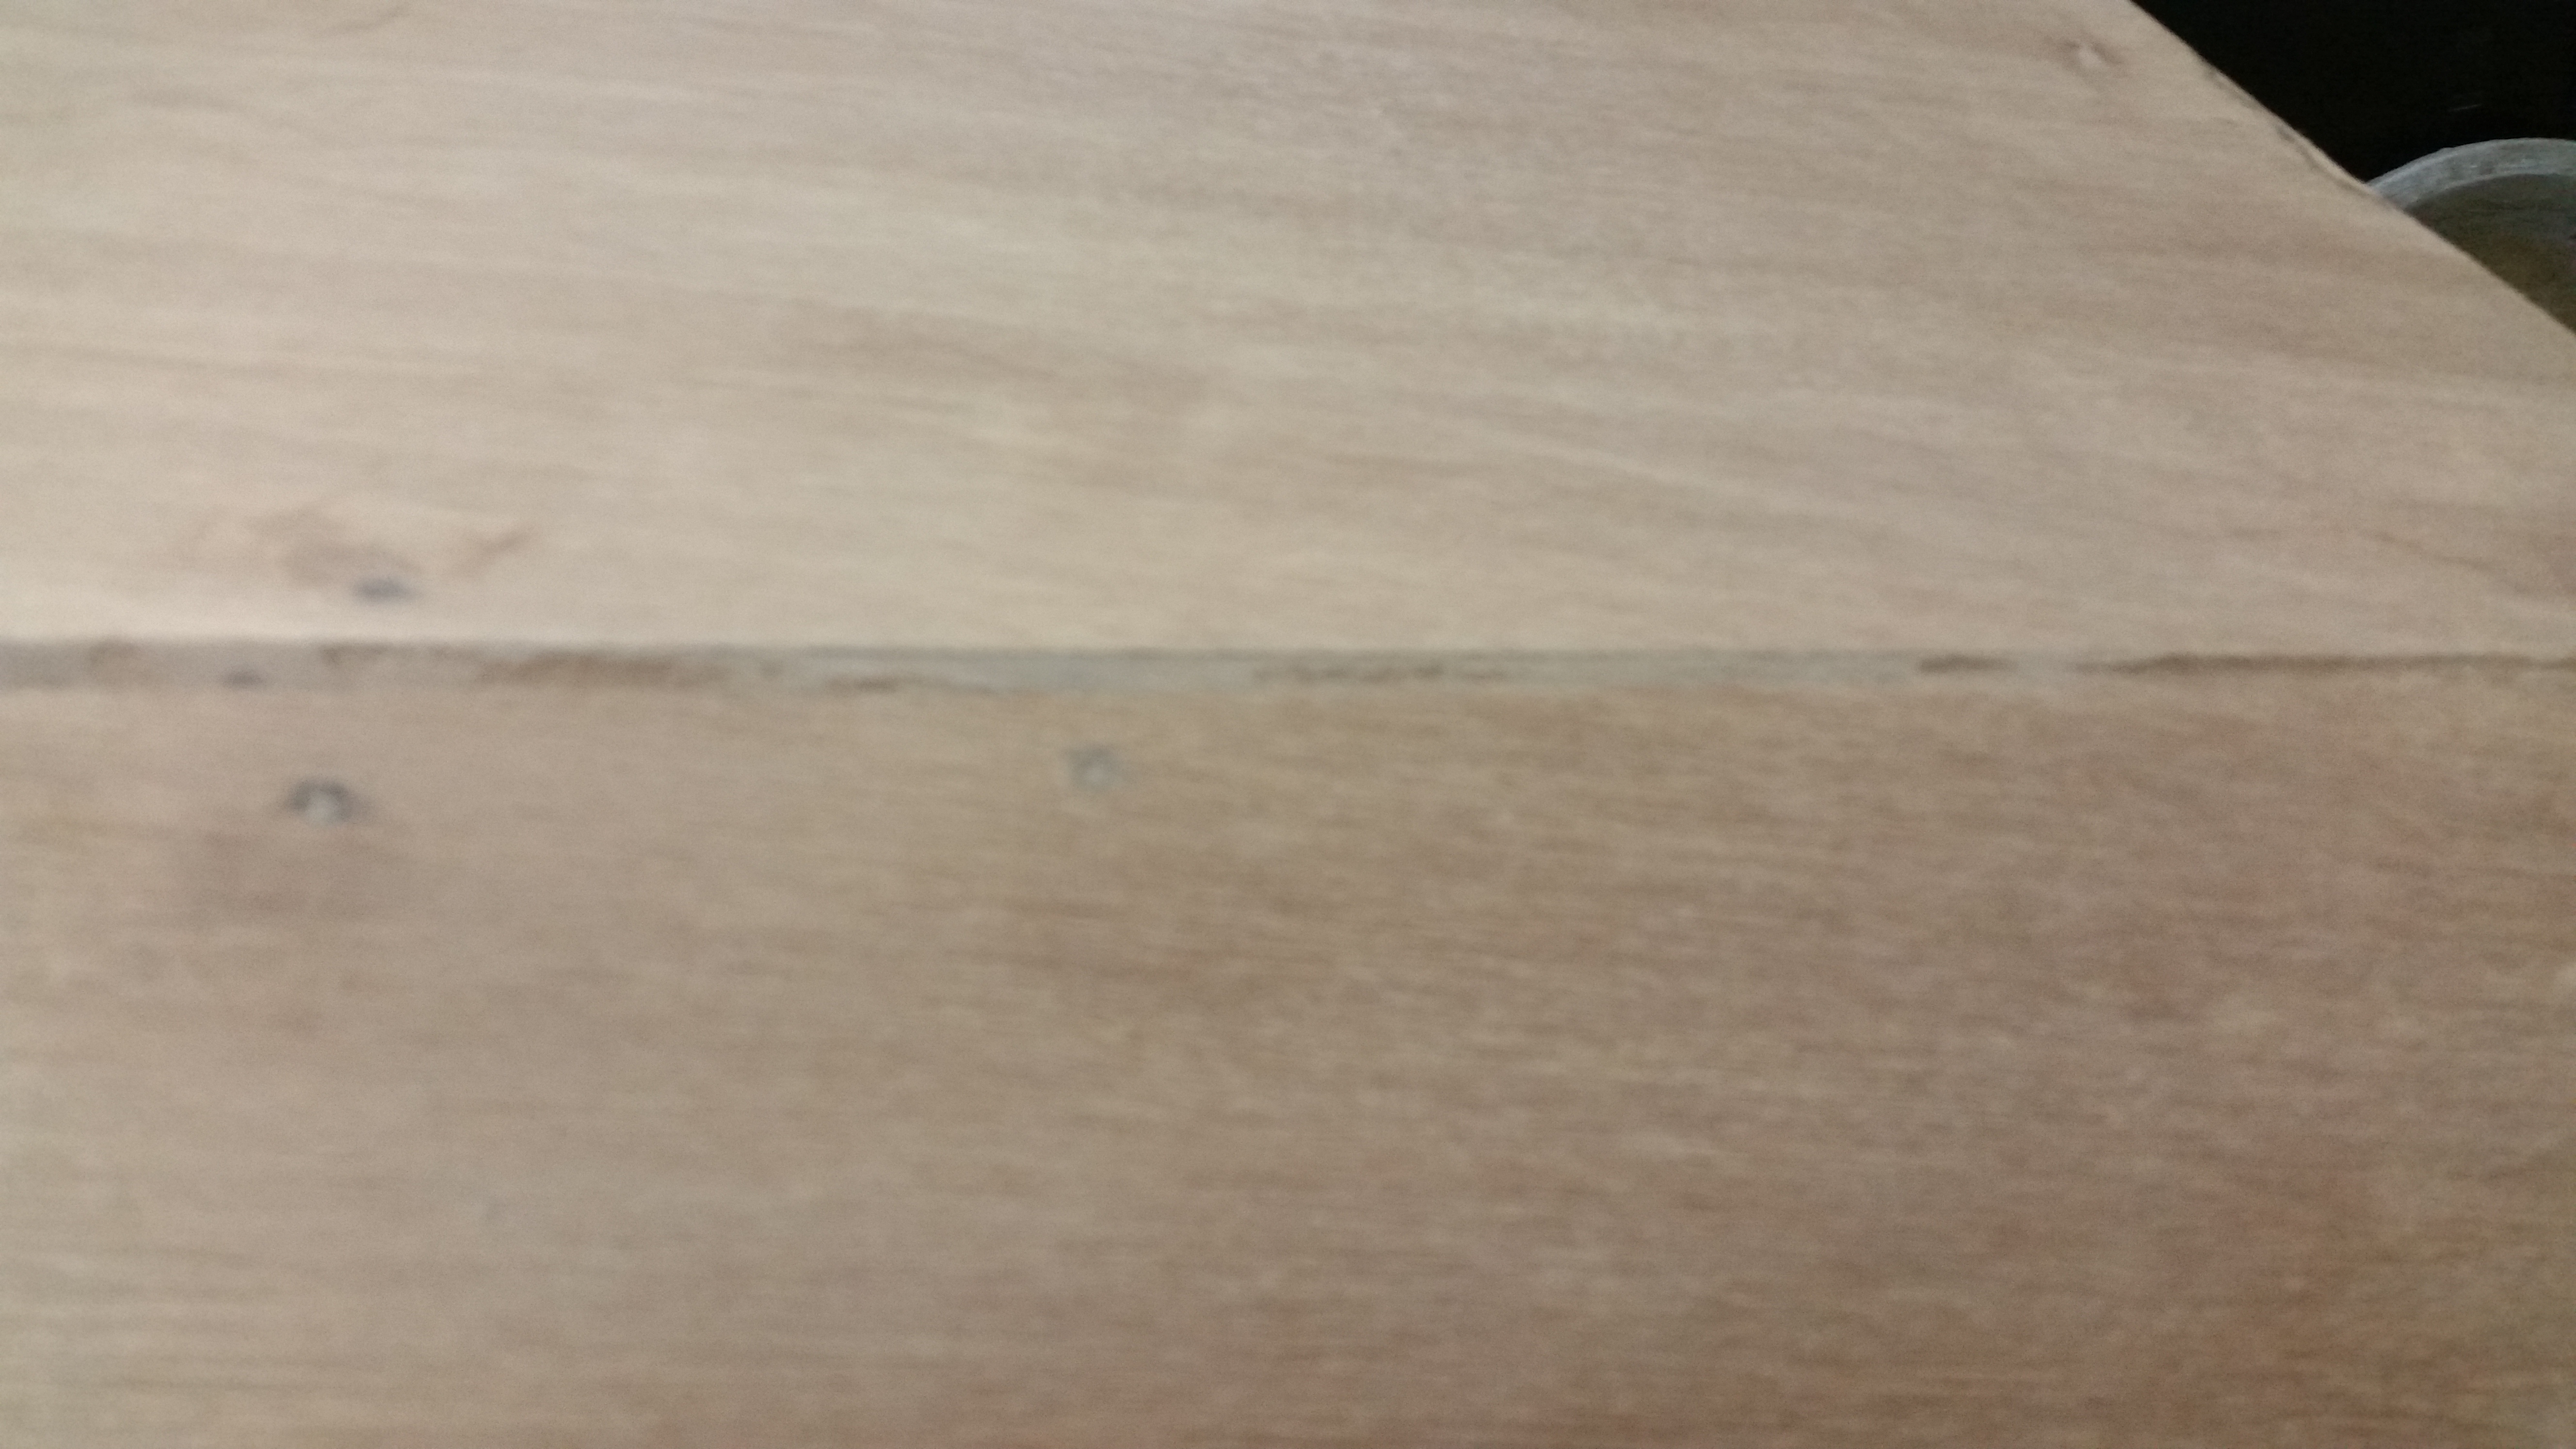
Day 19:
Finished sealing of bottom seams.
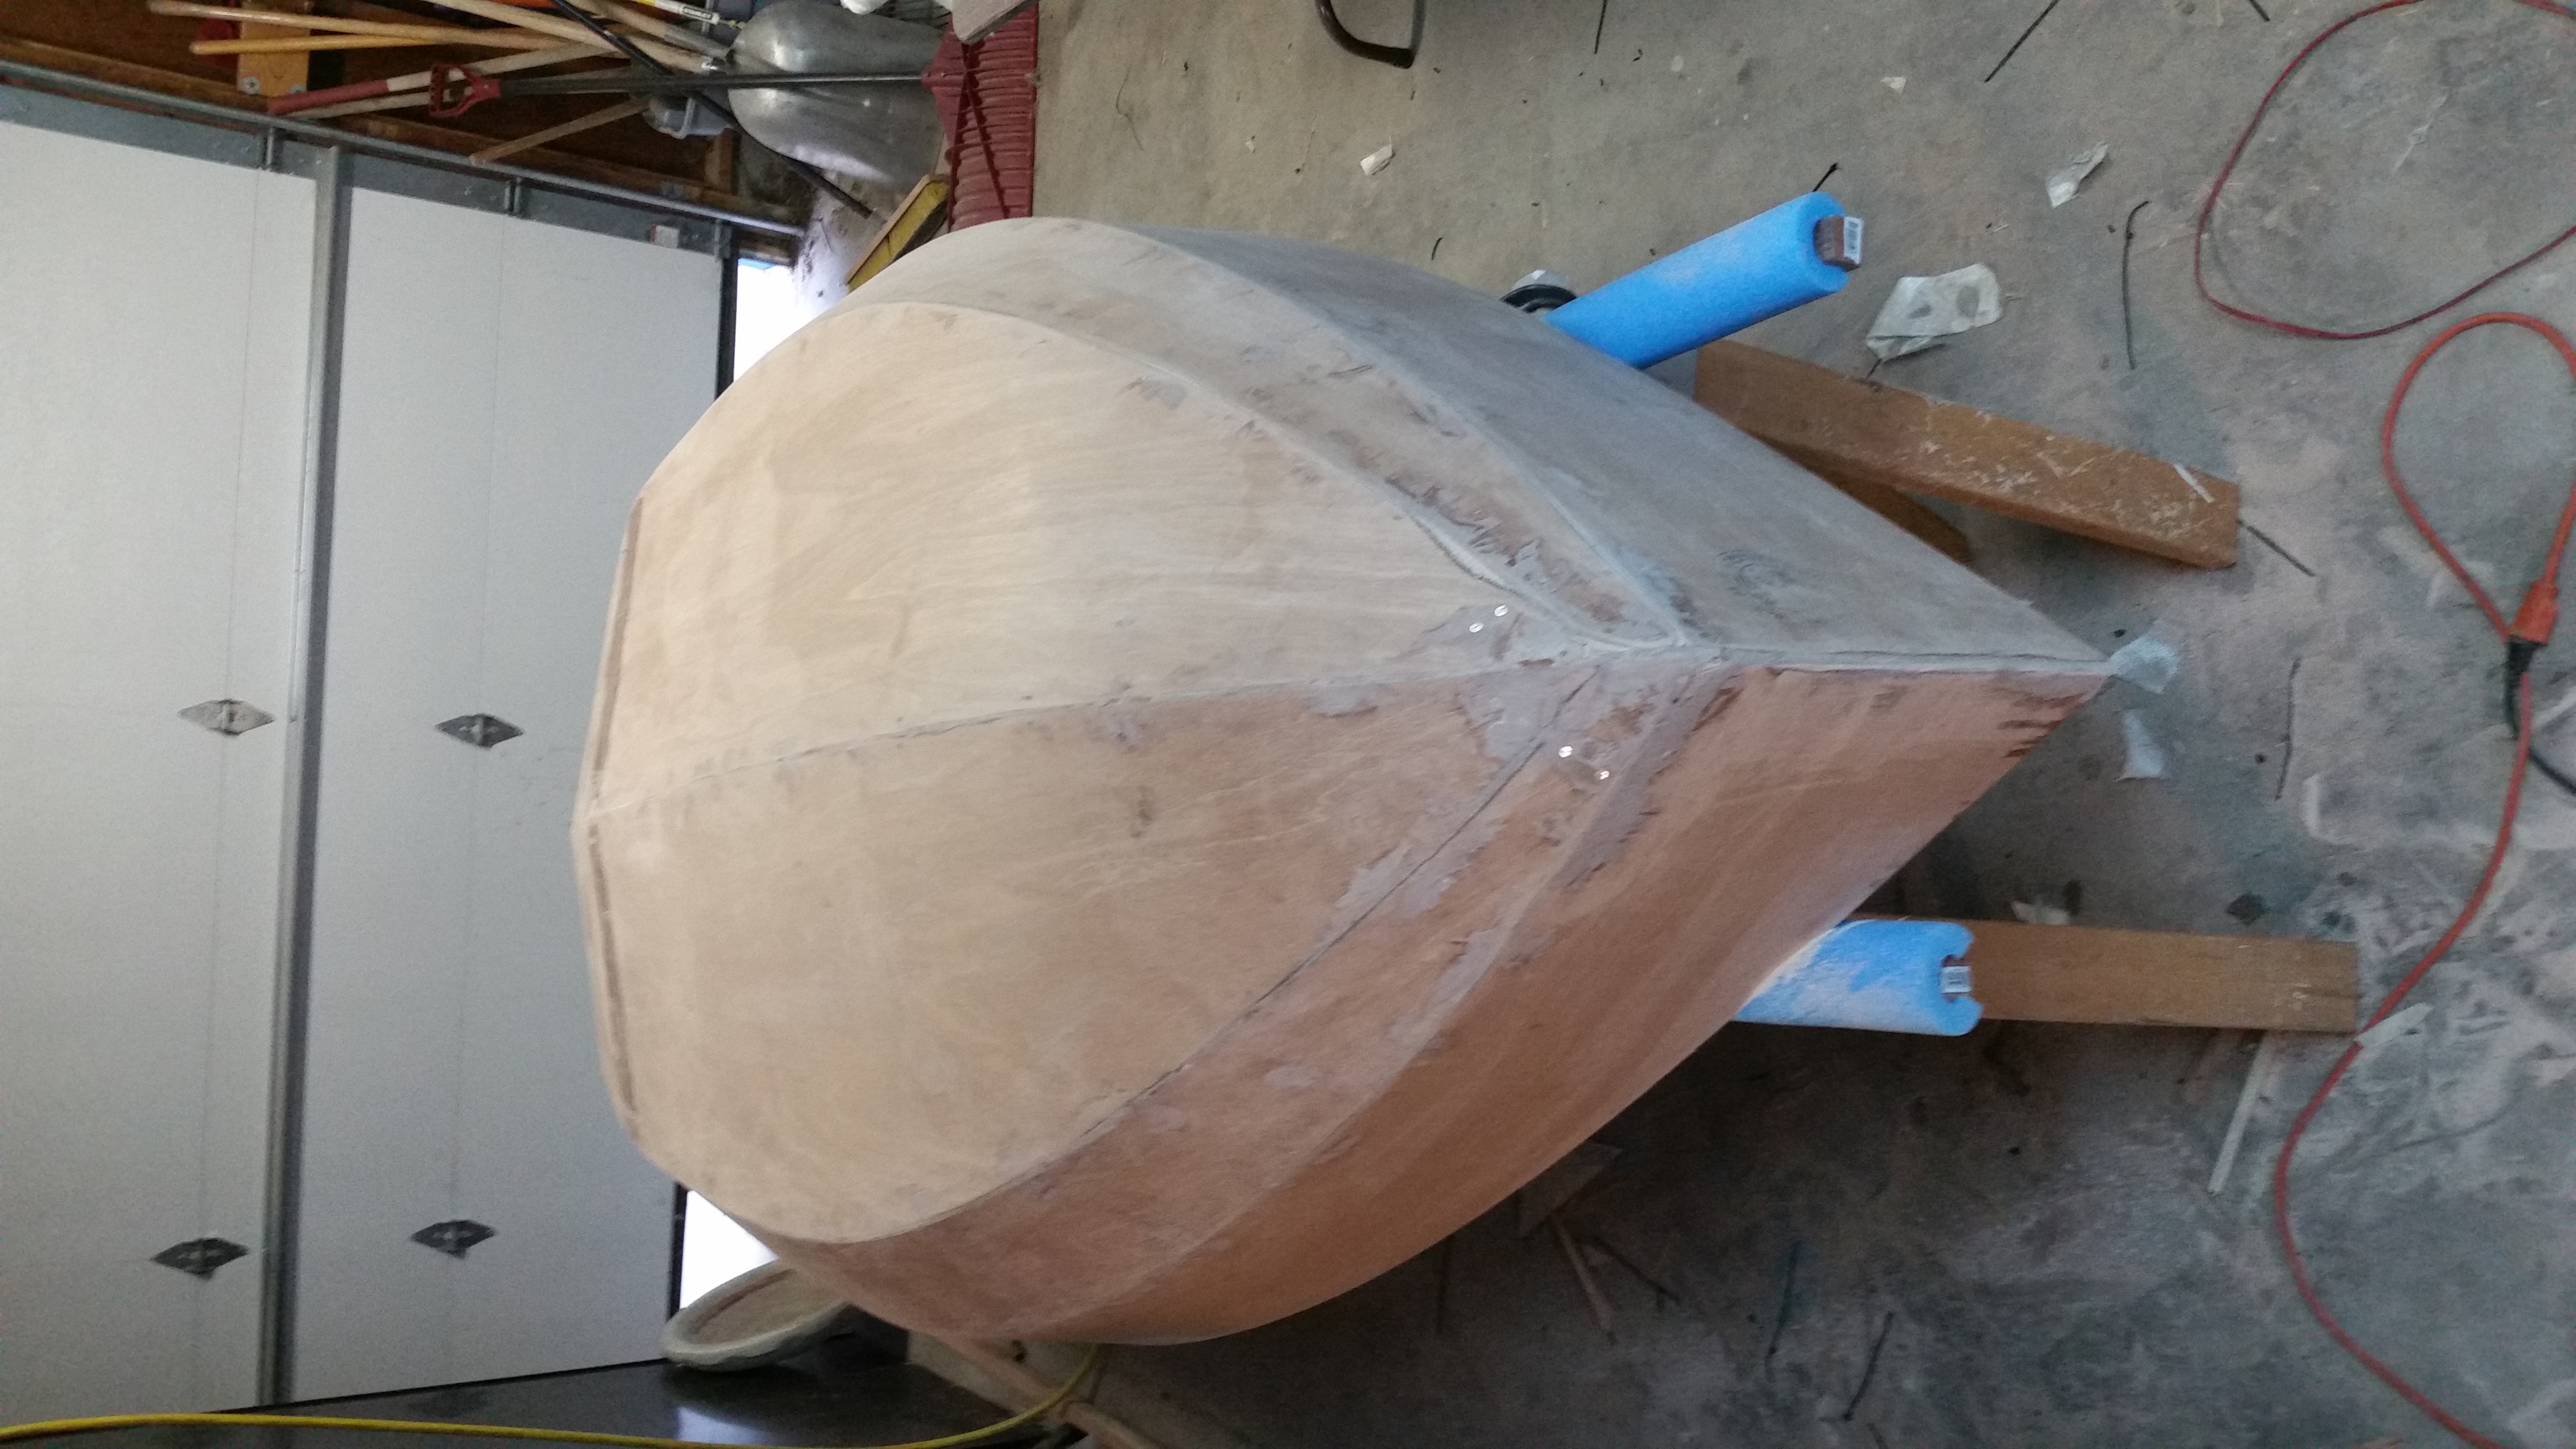
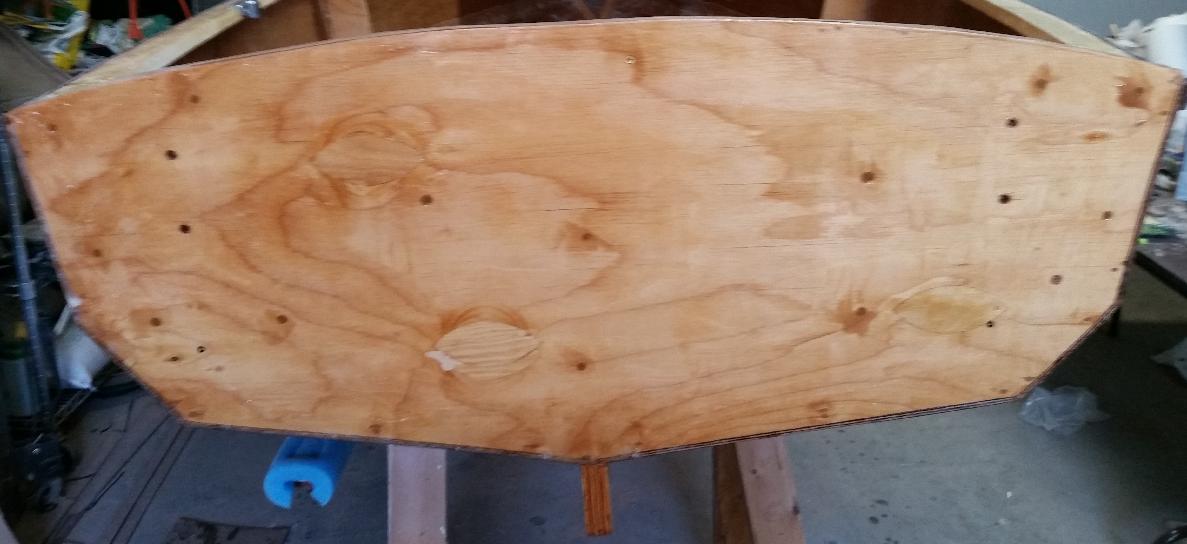
Day 20:
Finished sanding the bottom seams.
In the pictures you can see a sanded bottom, and the fiberglass cloth laid out on the bottom.
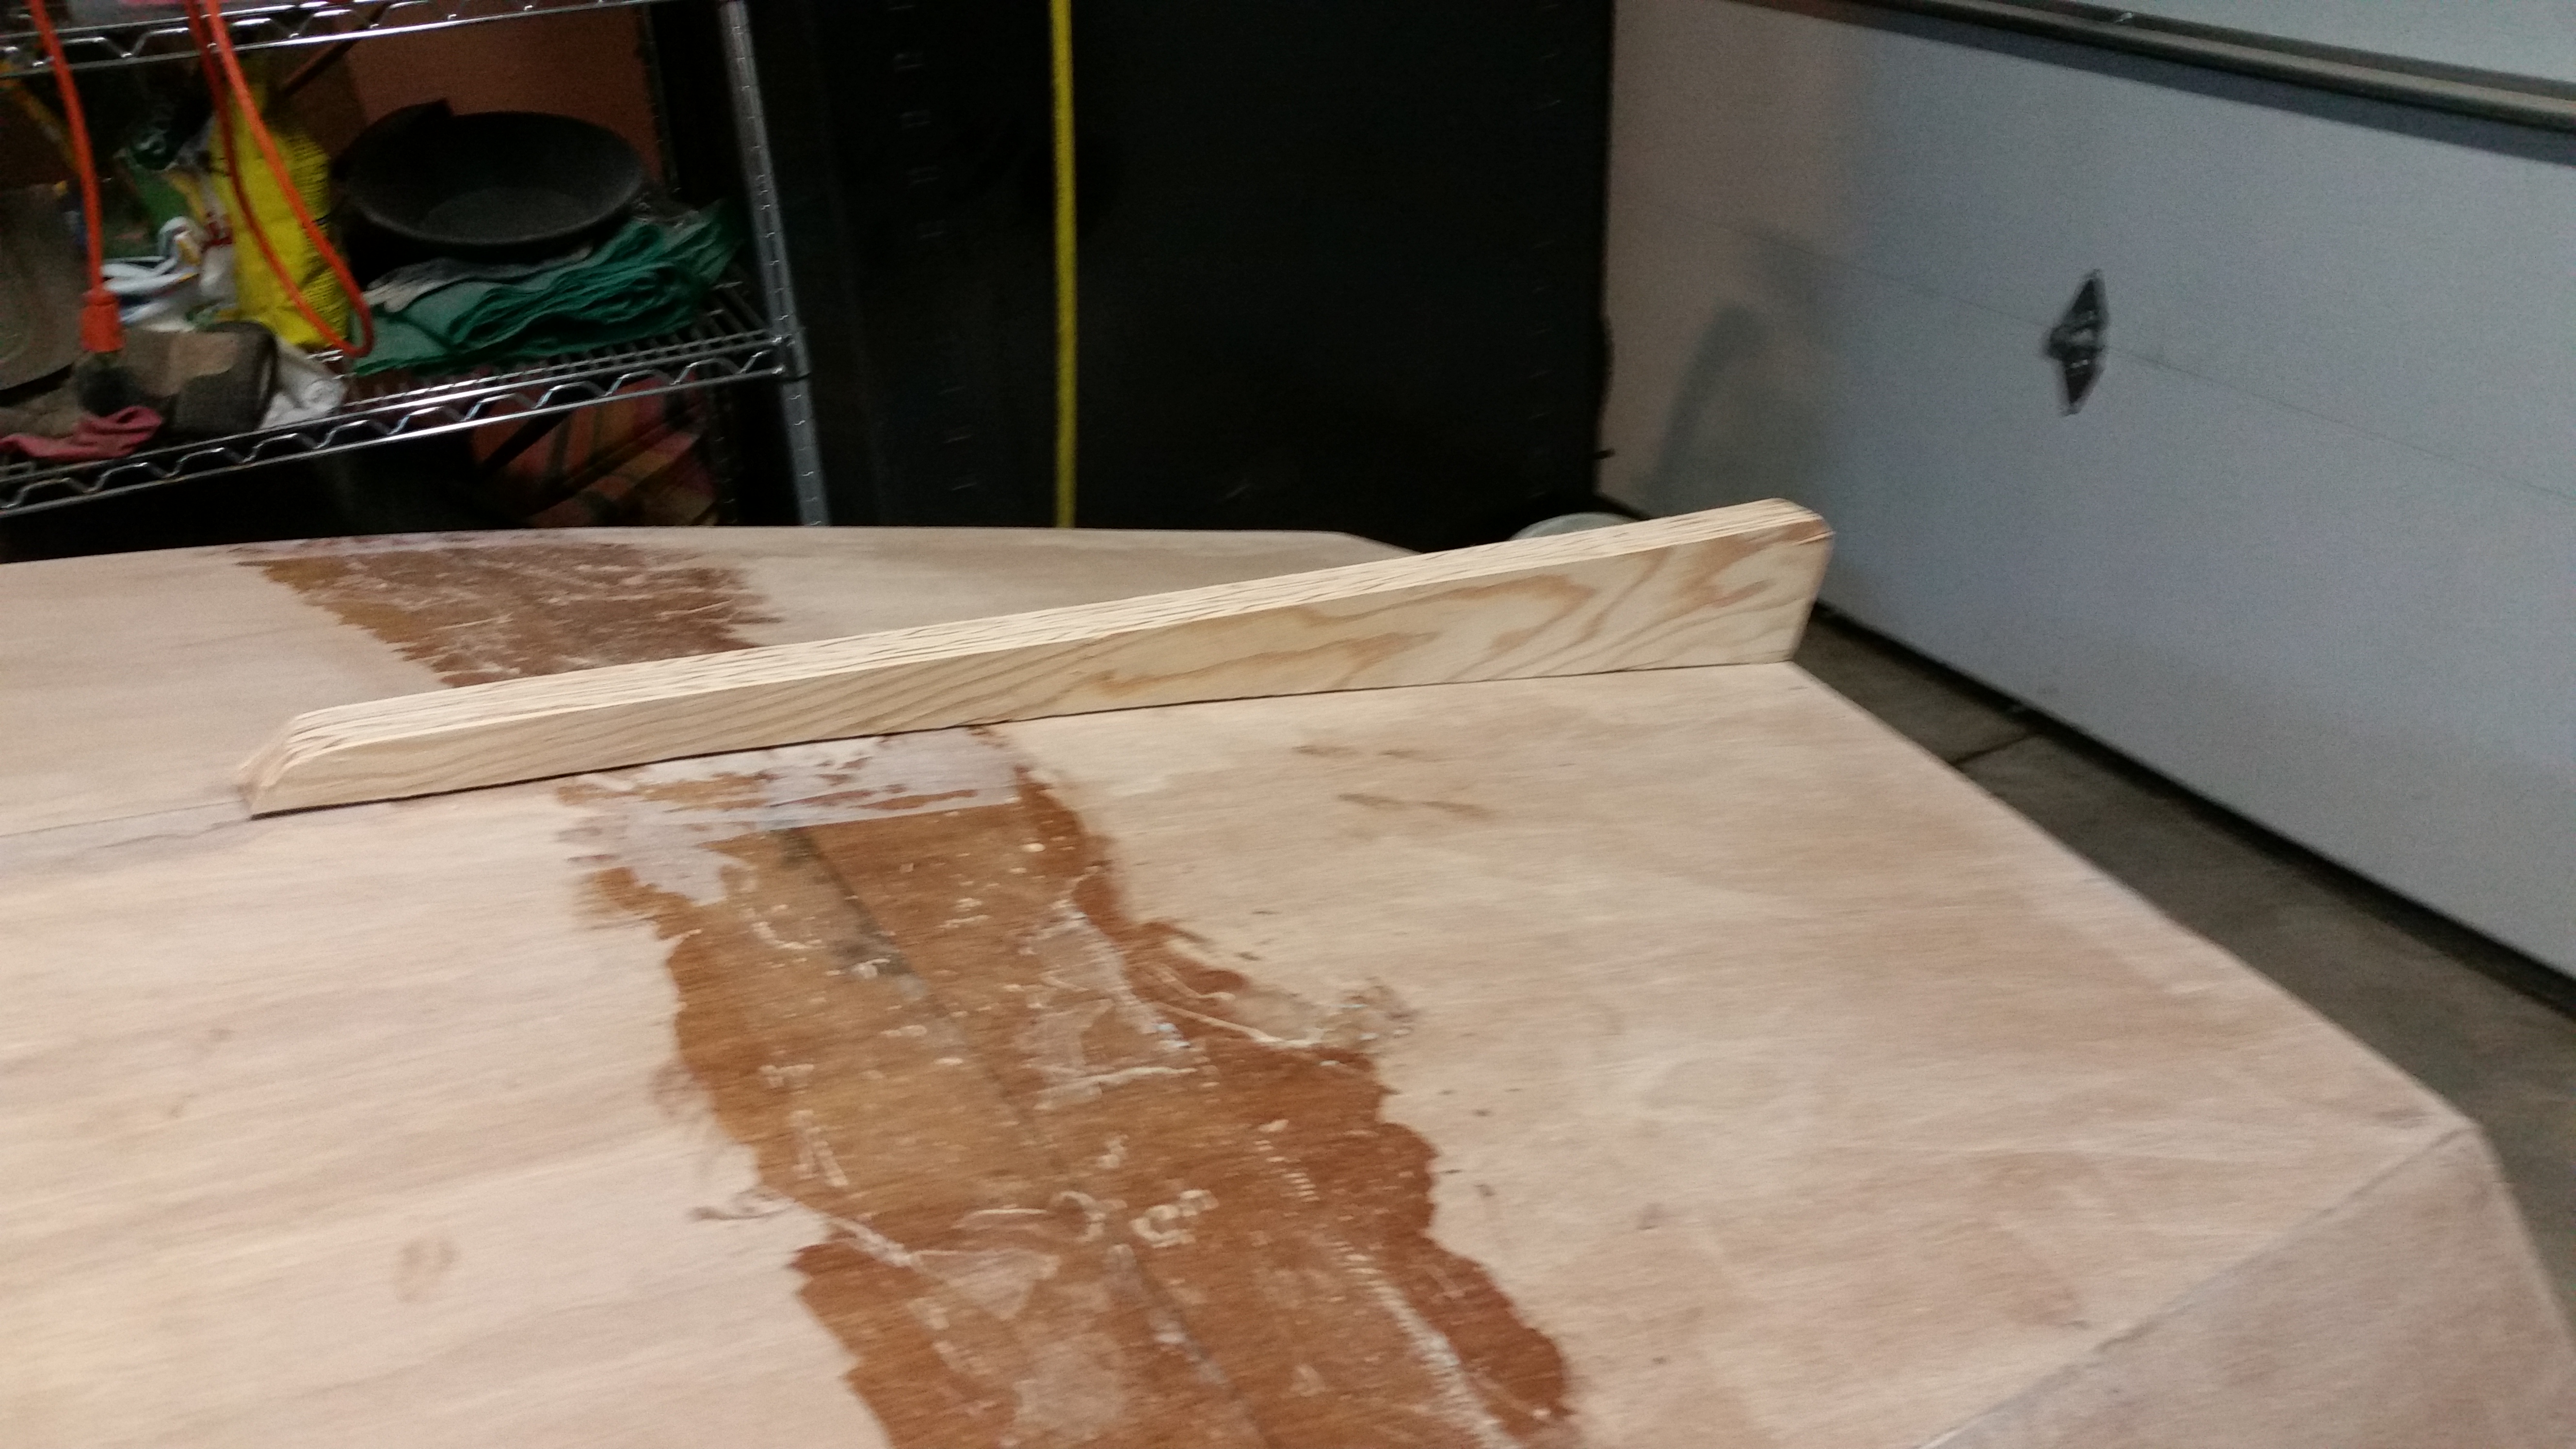
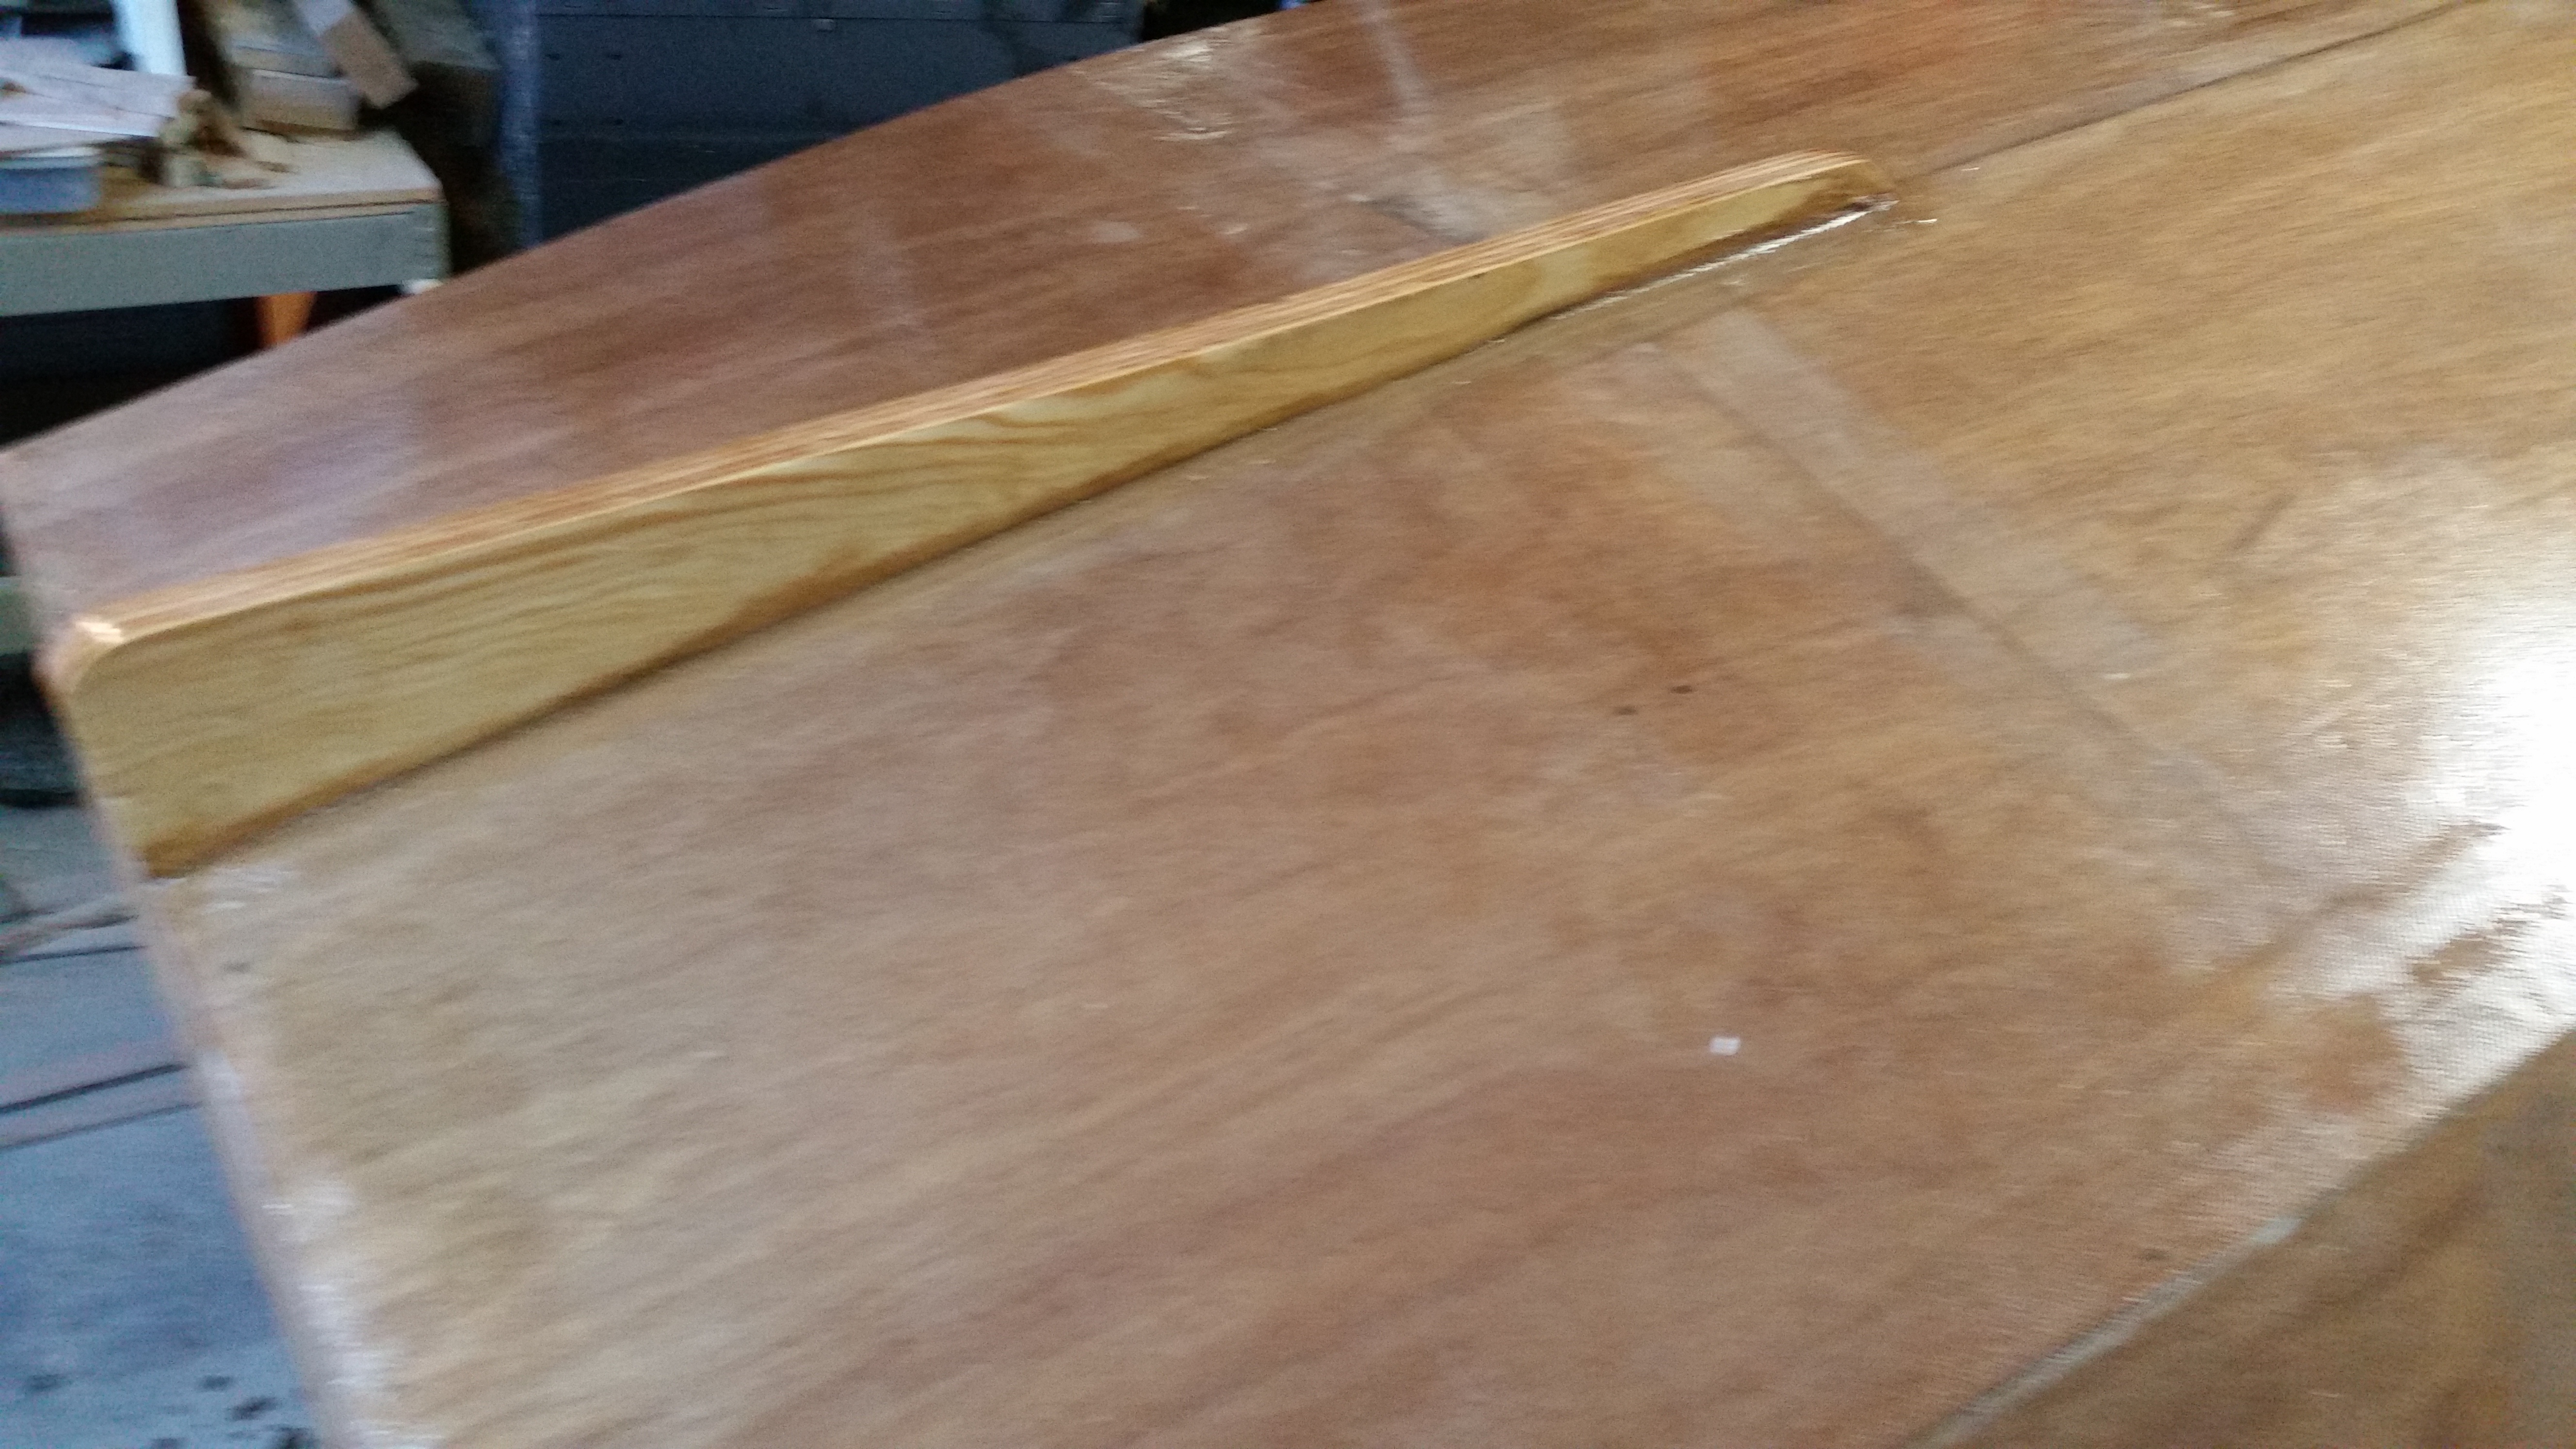
Day 21:
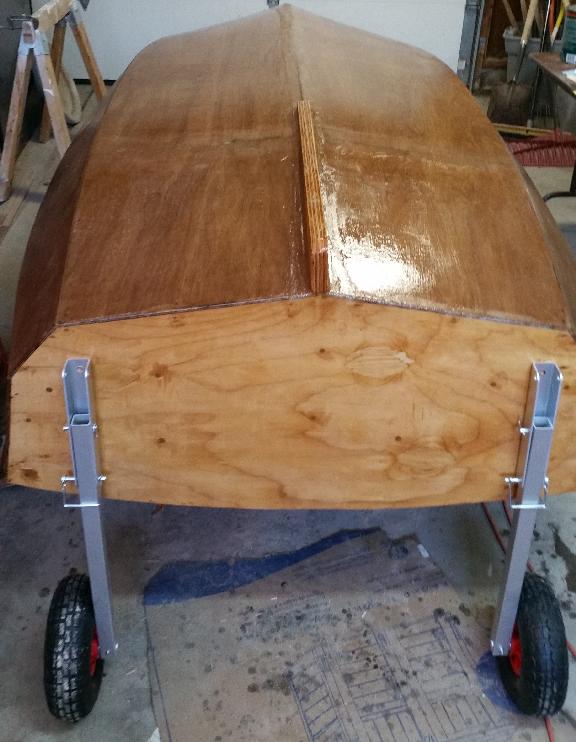
Made the skeg (keel). Because the hull is not flat it needed to be cut/sanded to match the boat.
Cut and glued the cowling into place.
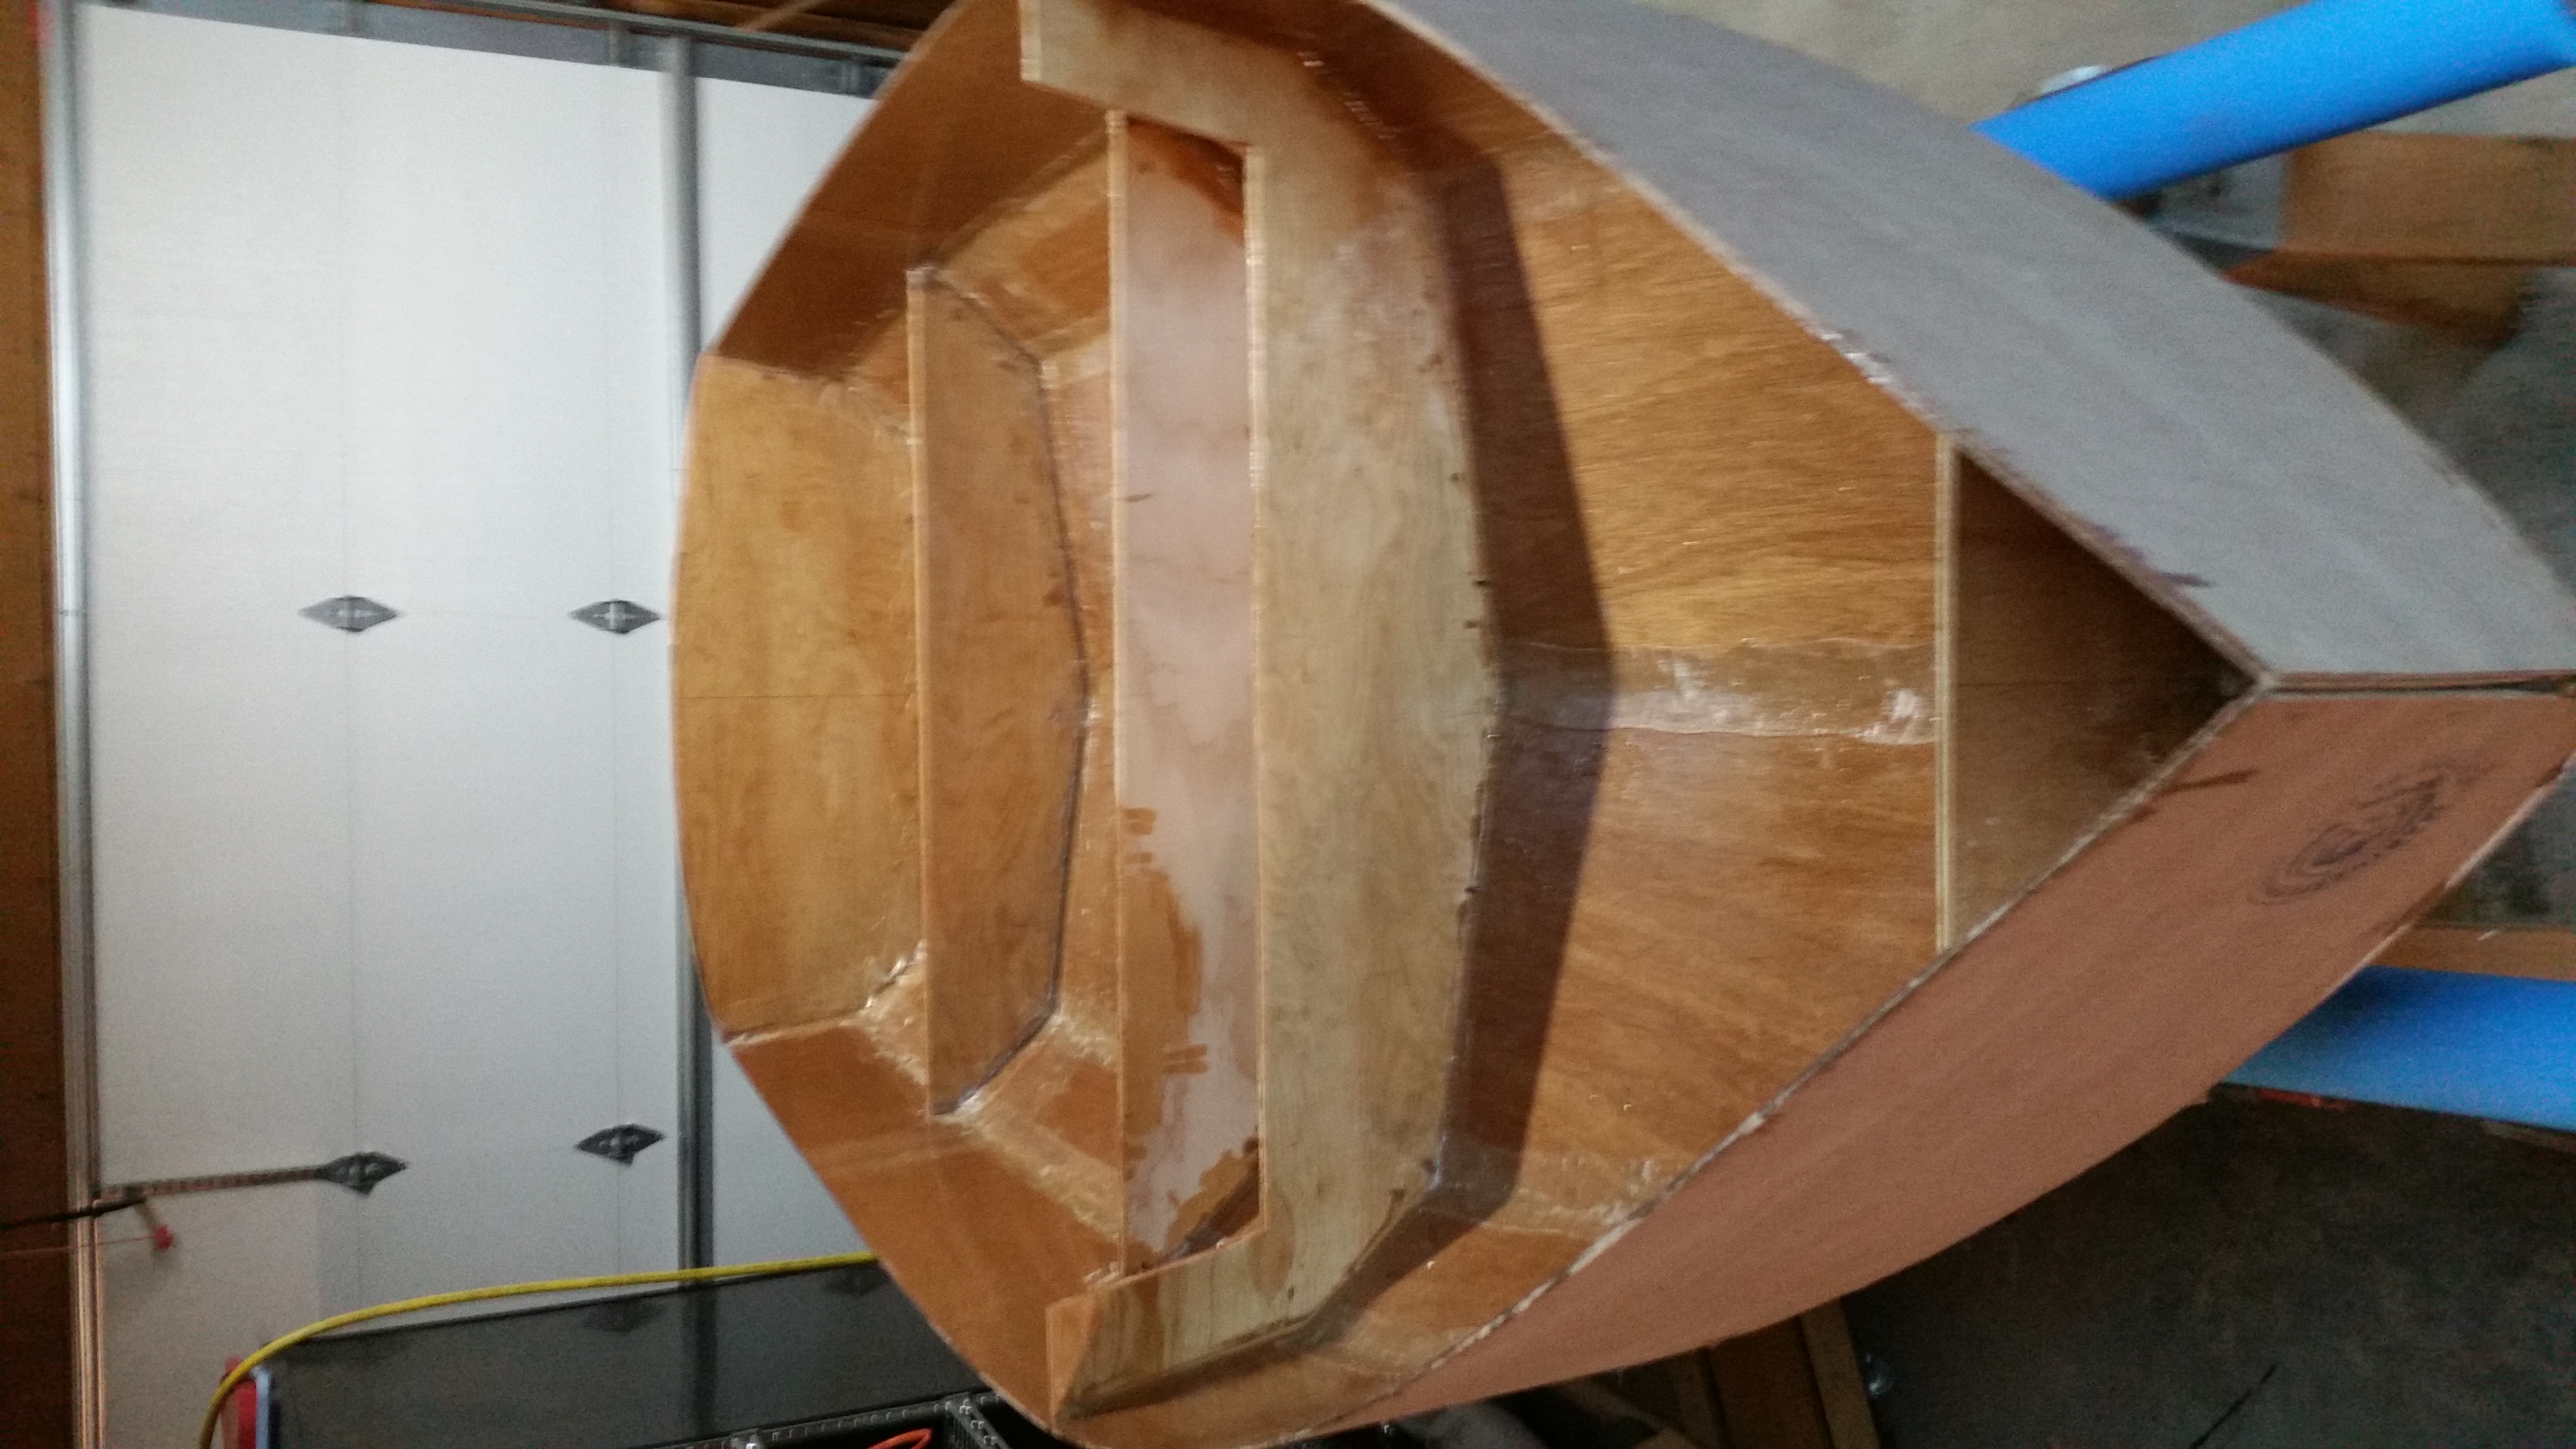
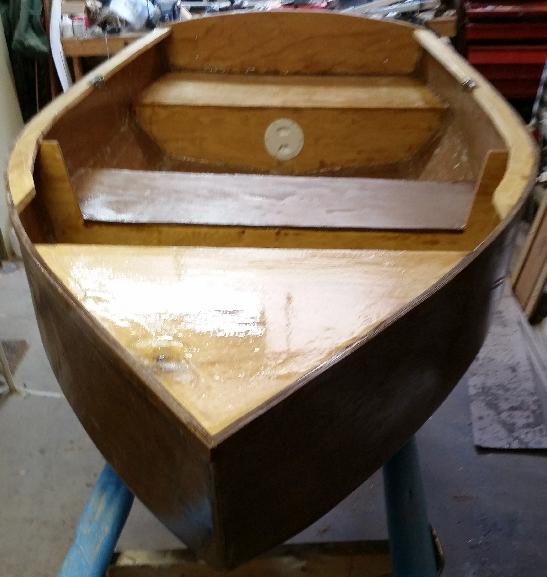
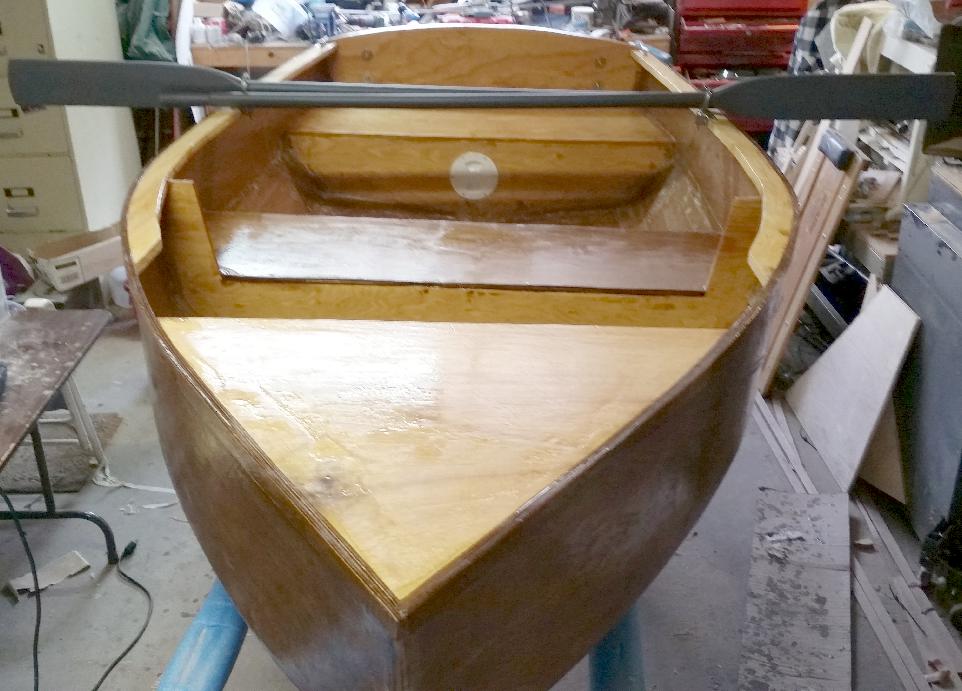
Day 22:
Made and installed the seats, transom re-enforcement, inwhales, and oar locks.
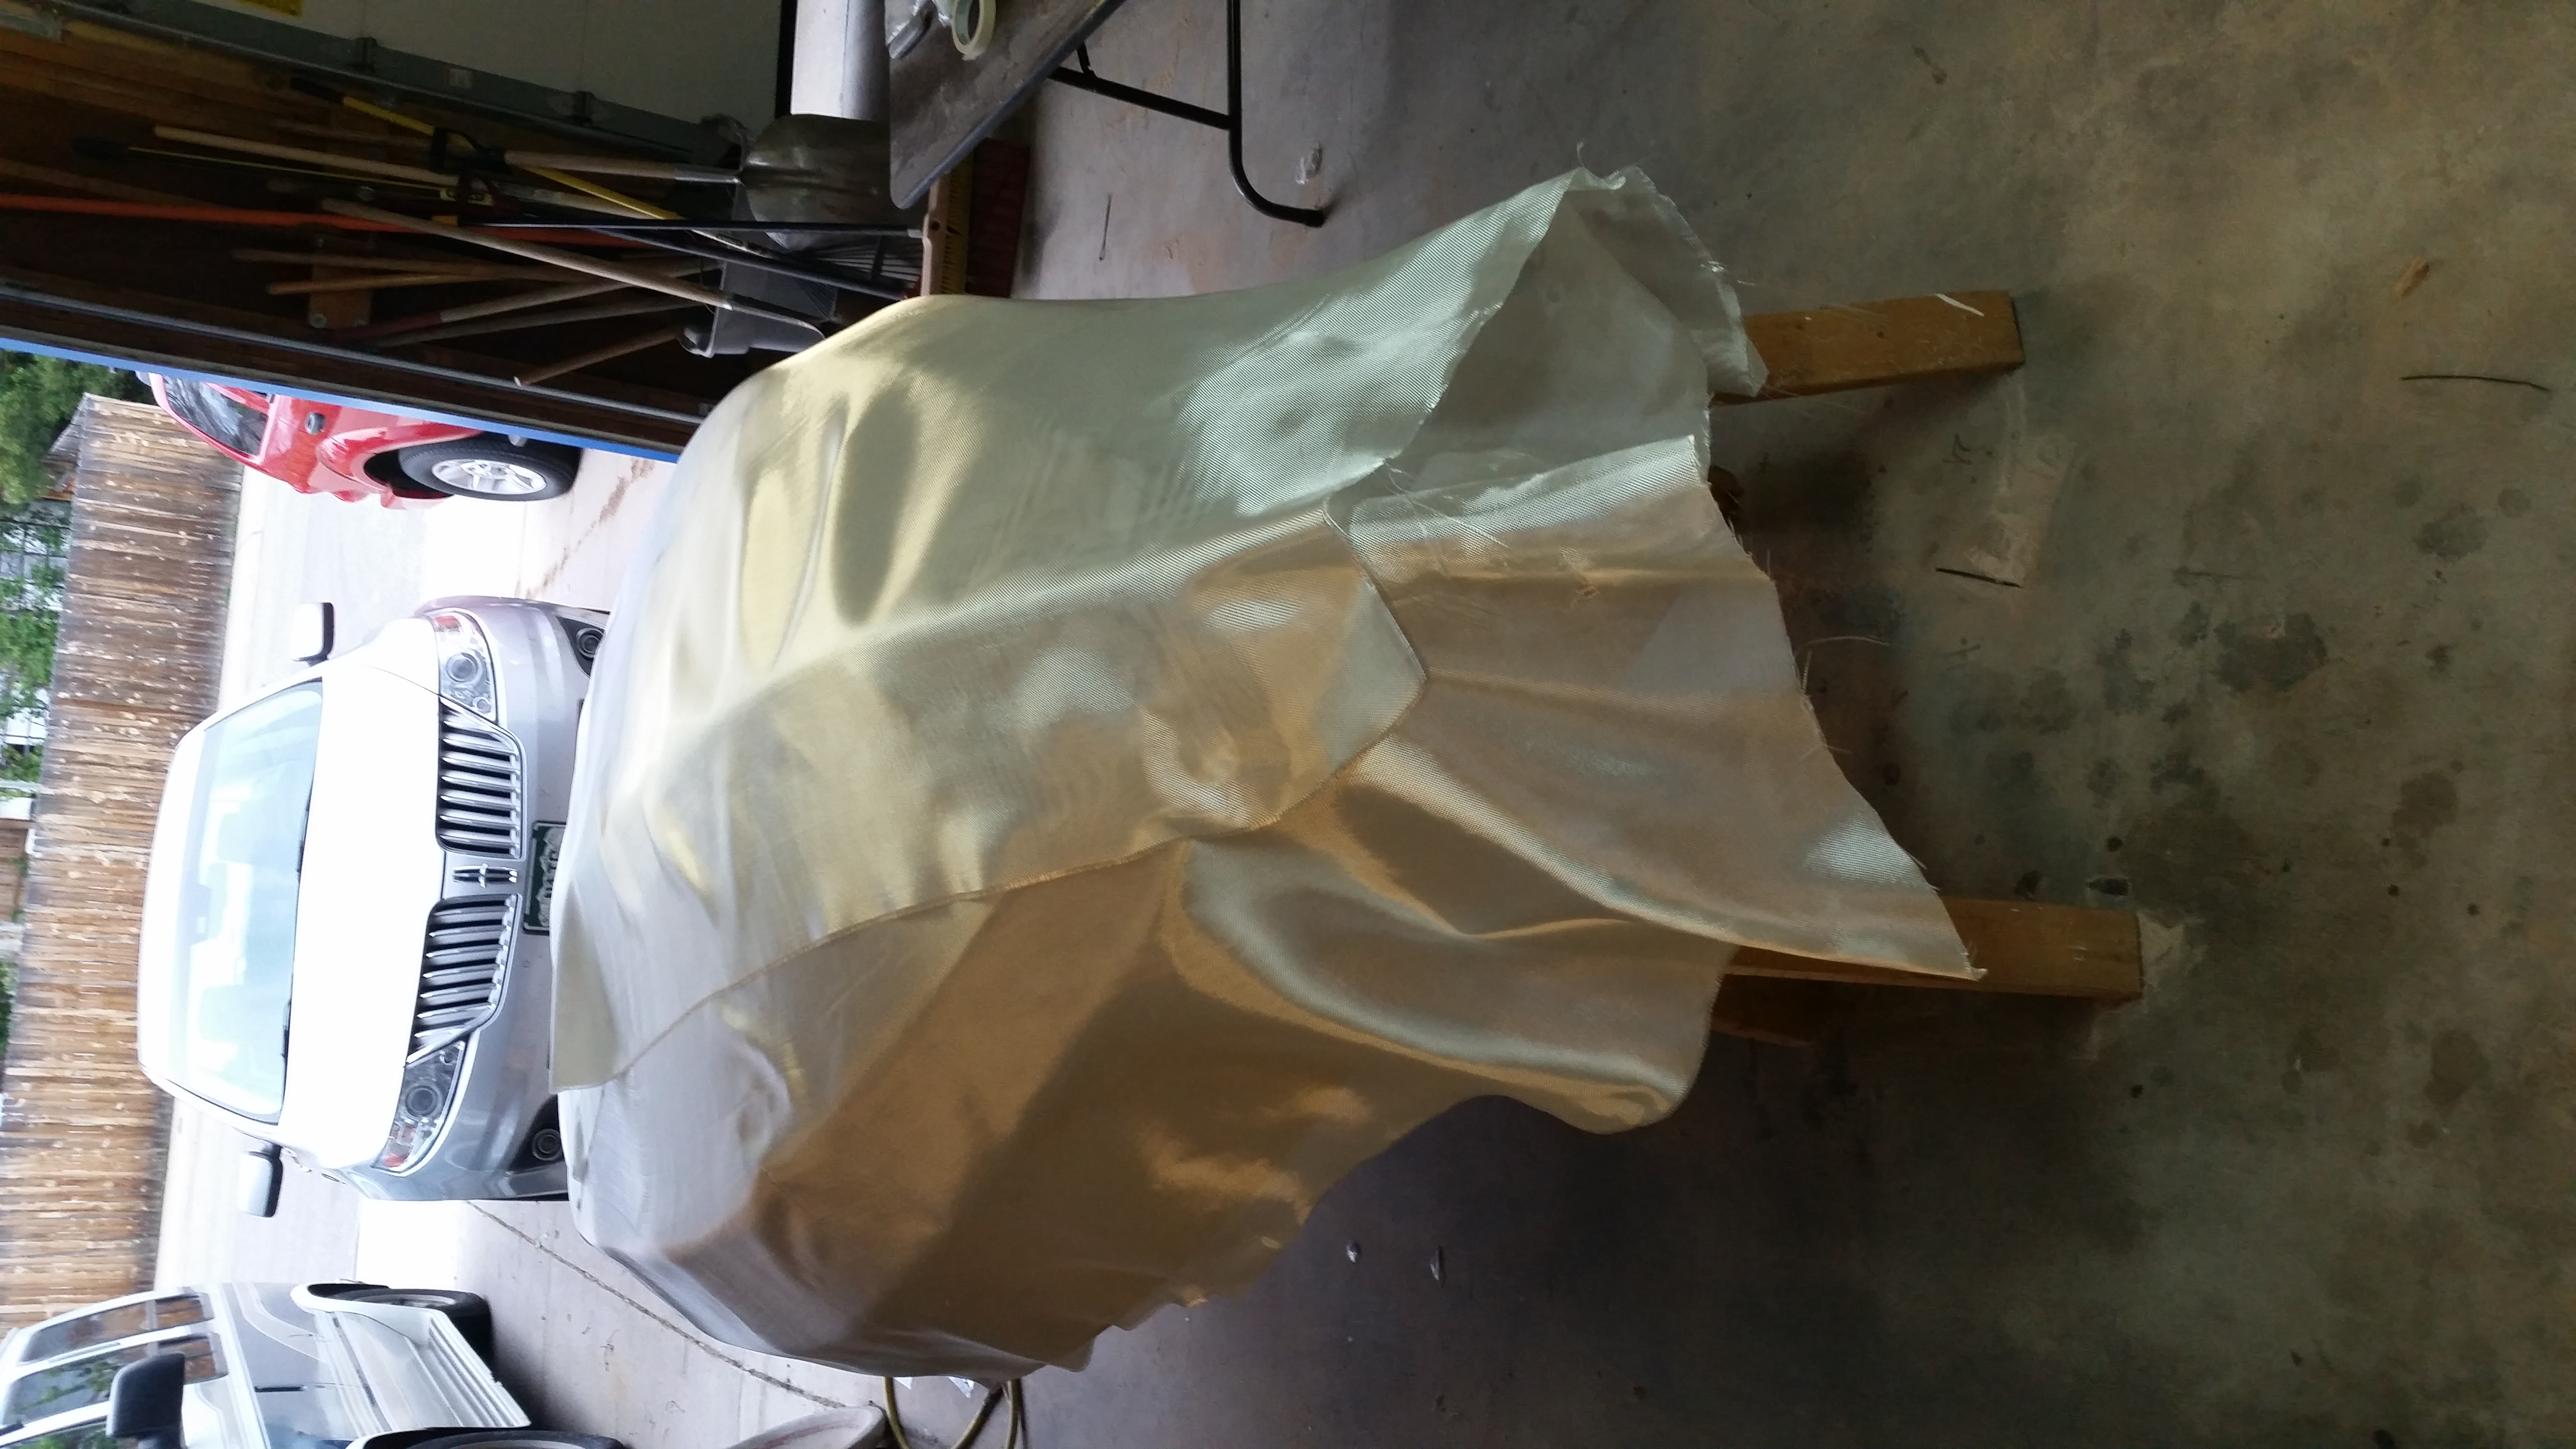
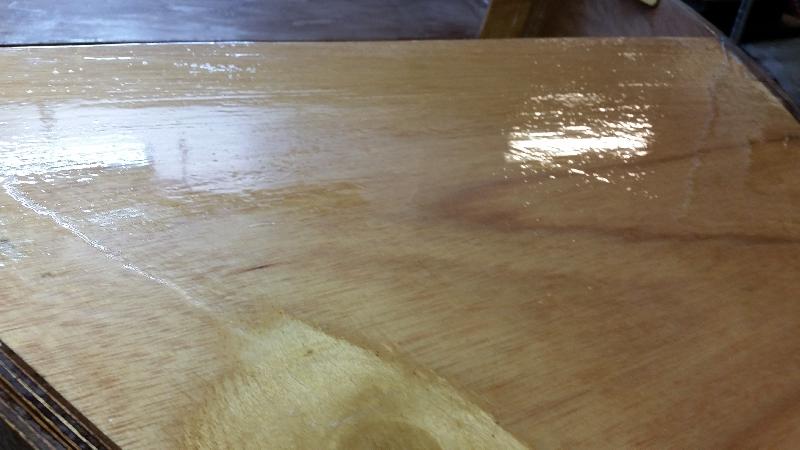
Day 23:
Long day today. My wife, Cyndee, being much neater and much more artistic than me,
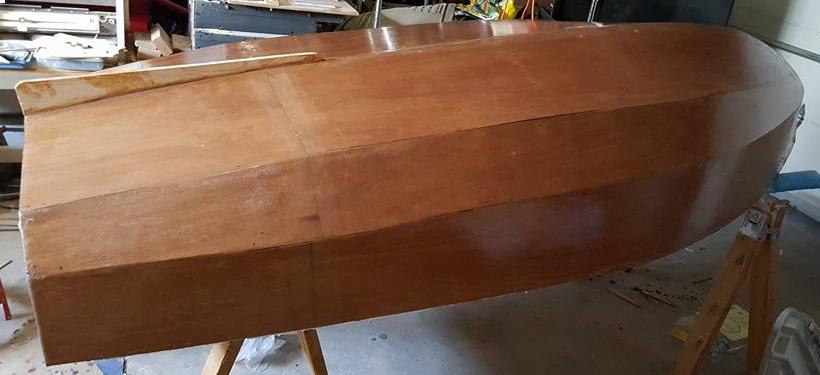
did the fiberglass on the outside of the hull. It looks so good.
I had to buy another gallon of epoxy.

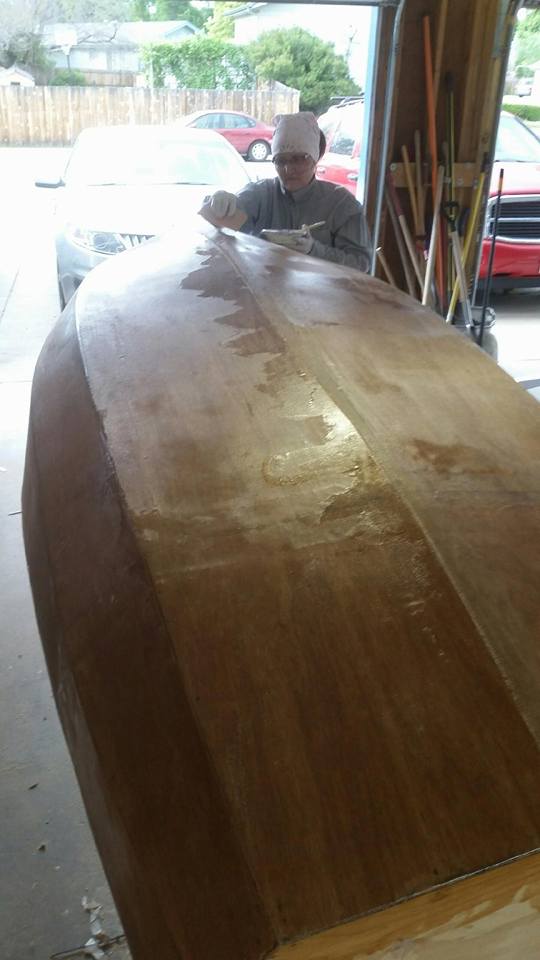
And another picture of it dried in the morning, because it looks so good!
Day 24:
Just about 10 minutes today. I sanded and put a coat of epoxy on the skeg (keel).
Day 25:
I put on the first outwale.

Day 26:
I put on the second outwale.
Day 27:
Put removable covers in the seats. Added wheels.
Day 28:
Sanding inside the boat.
First coat of varnish on the transom.
Sanded and another coat of epoxy on the cowling.
Ready for varnish everywhere when the latest epoxy is all cured.
Day 29-30:
Varnished everything inside and the cowling.
Almost 48 hours later the varnish is is not completly dry.
I think I will set up some fans tonight to speed up the drying.
I used MinWax Spar Urethane.
Day 31:
The varnish sat for a week, some parts were still tacky. I sanded
washed and dried the inside. A new coat of varnish dried in a few hours.
The question now is, varnish the outside or go ahead and put it in the lake?
Day 32:
First coat of varnish on the outside. It seems to be drying correctly.
Day 33:
Second coat of varnish on the outside. Installed cleat on cowling for painter line.
Day 34:
Third coat of varnish on the outside. I think it is finished. What do I do now?